I hope you wanted to see pictures, because I have several.
This is a couple of weekends worth of updates because I didn't post the stuff
from last week.
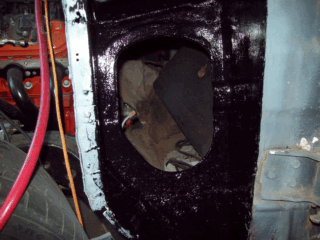 |
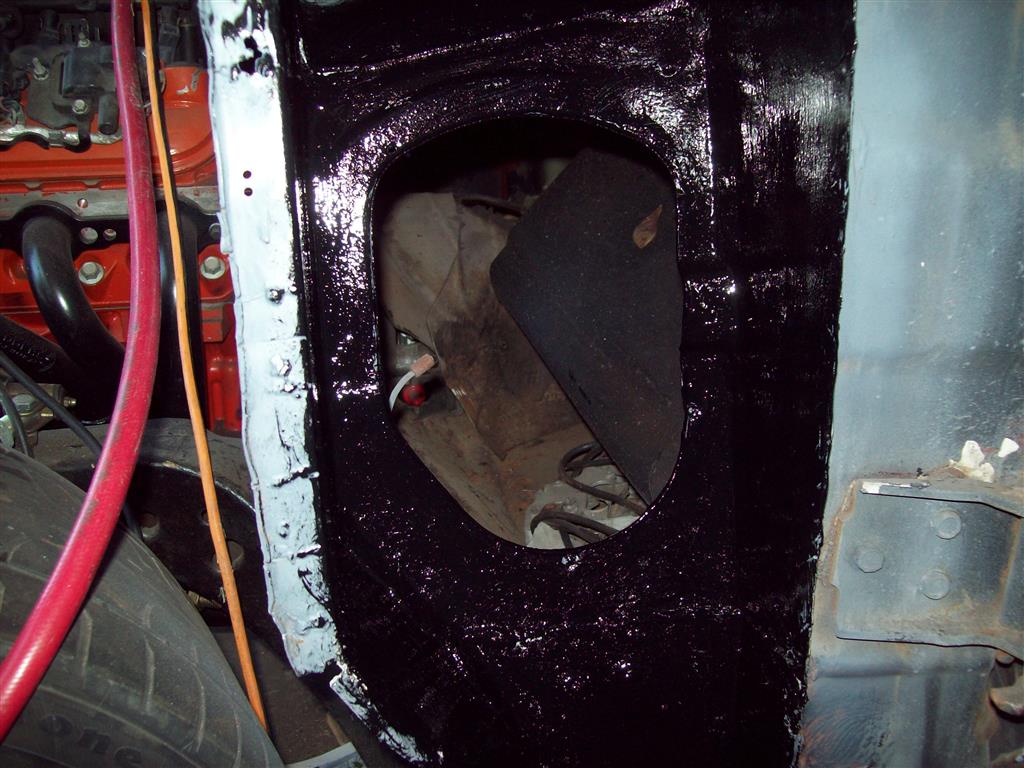
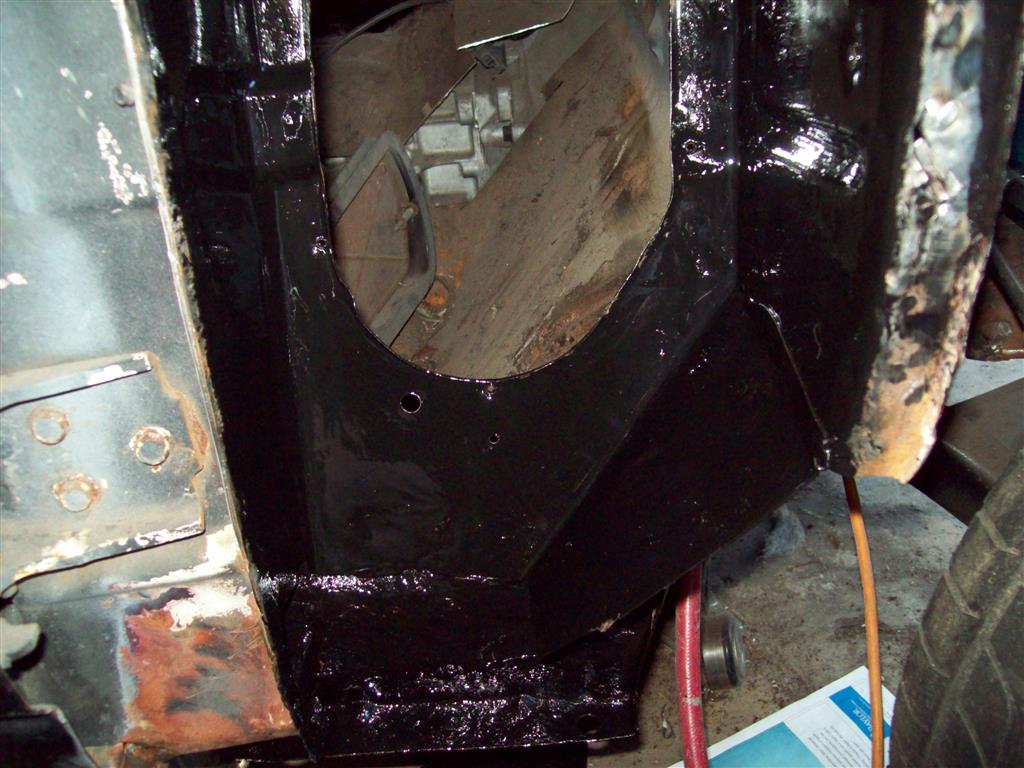
Coated the inside of the driver's cowl with Nason Chassis Black in
preparation for installing the cover. |
| Cover installed. | 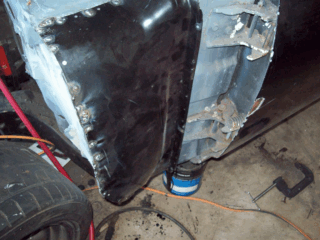 |
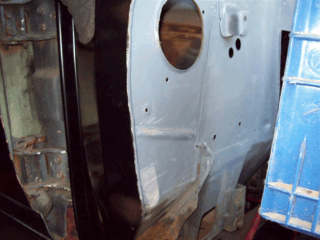 |
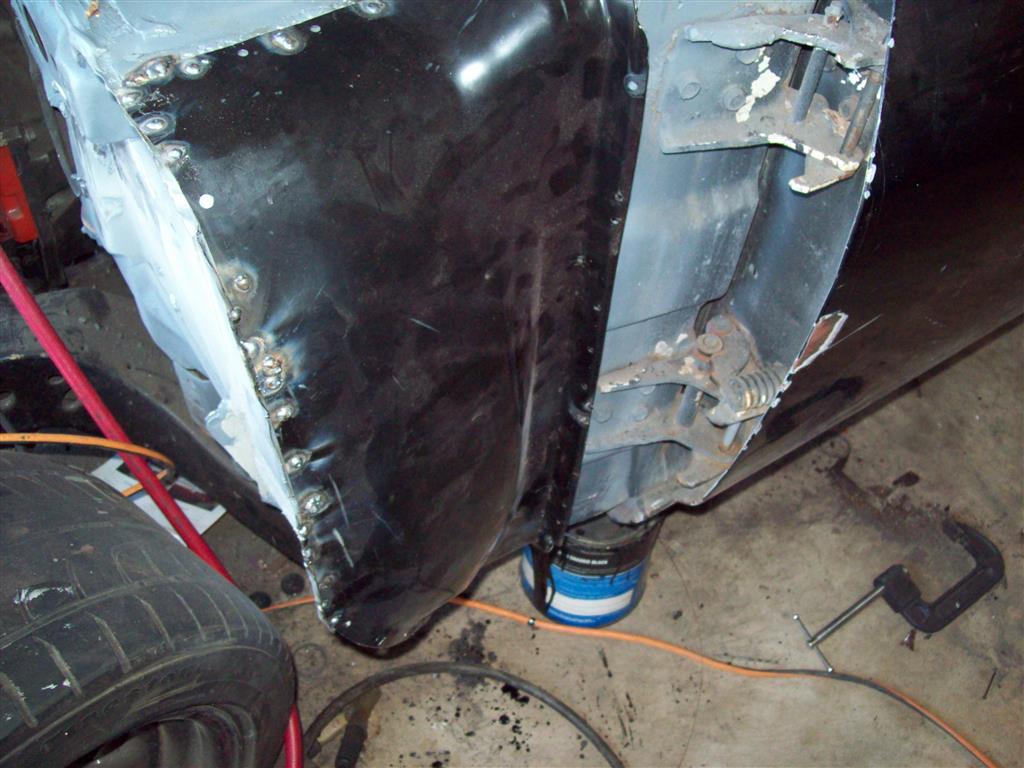
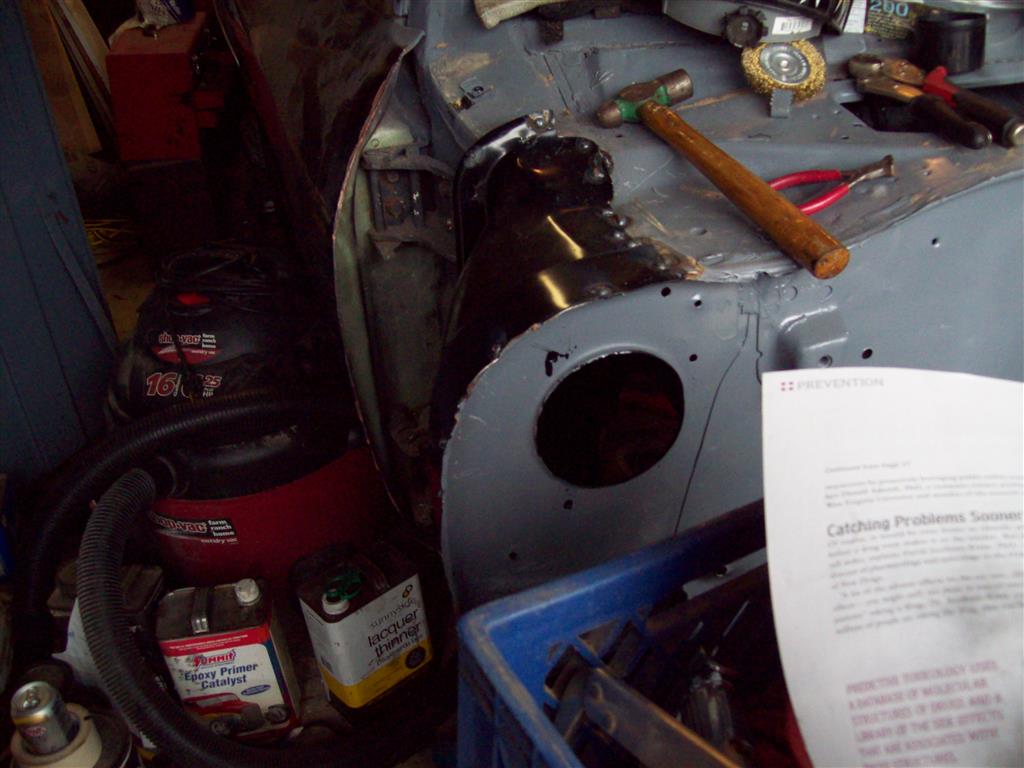
Passenger side seems to fit really well out of the box. |
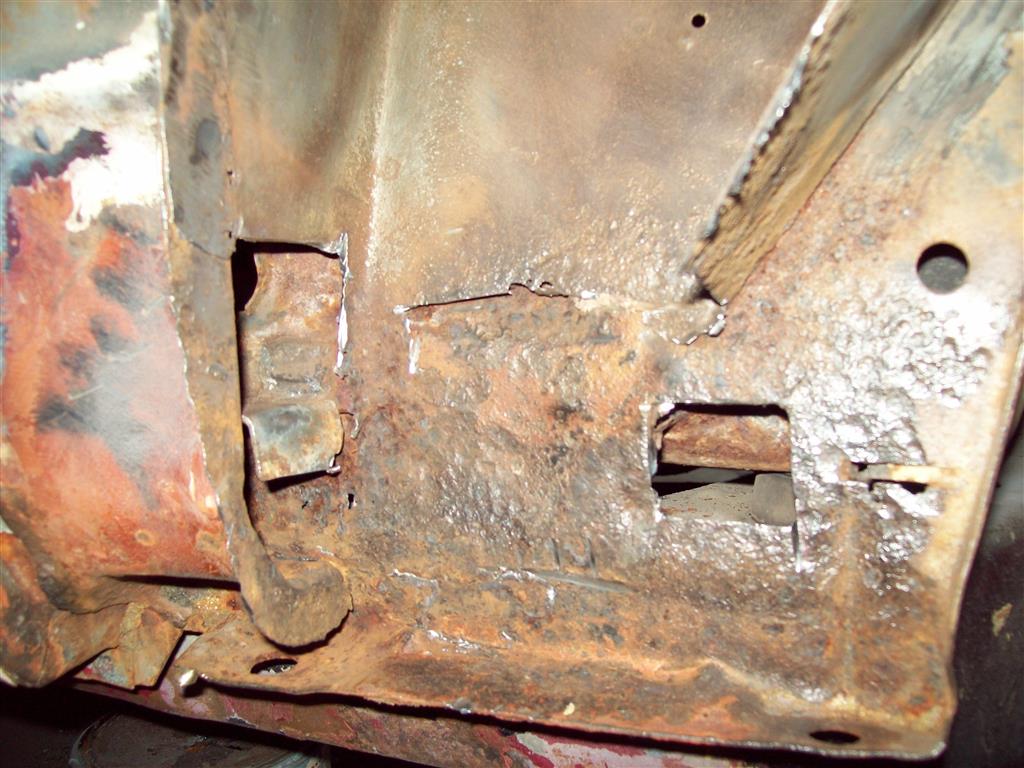
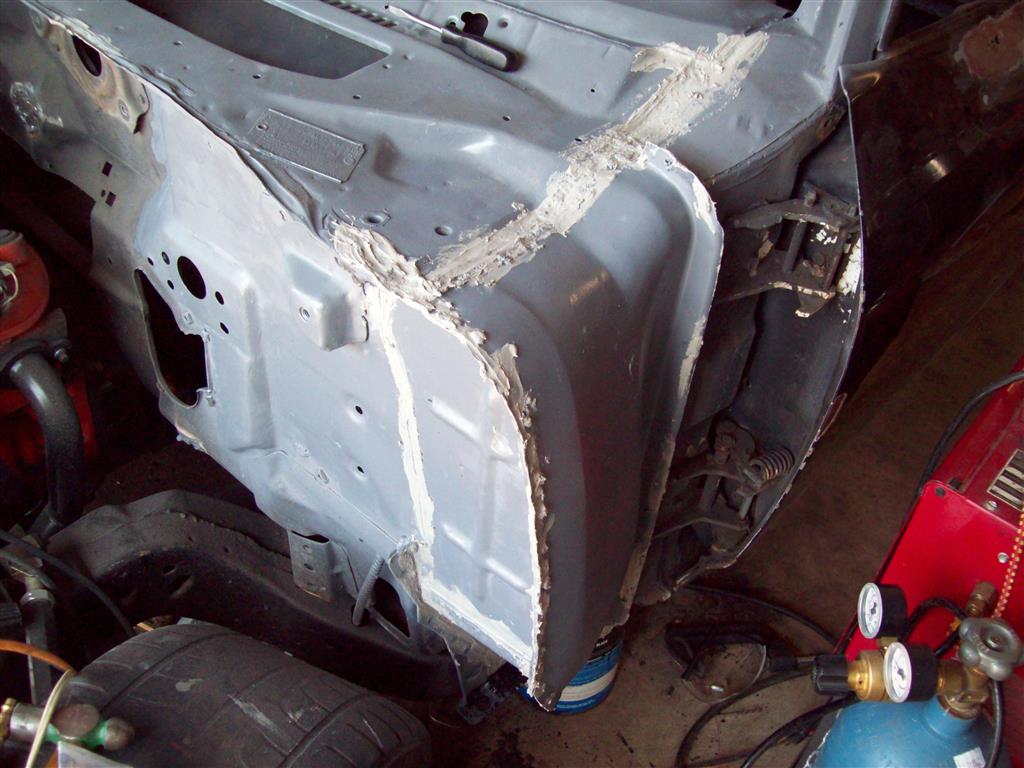
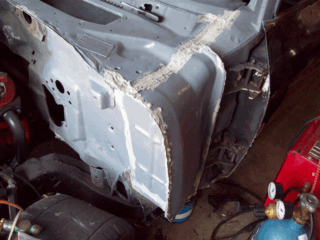
| Of course, first there's the rust to take care of. | 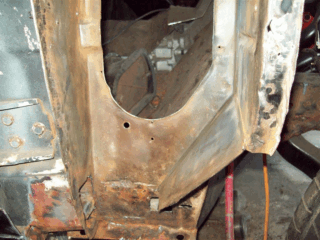 |
 |
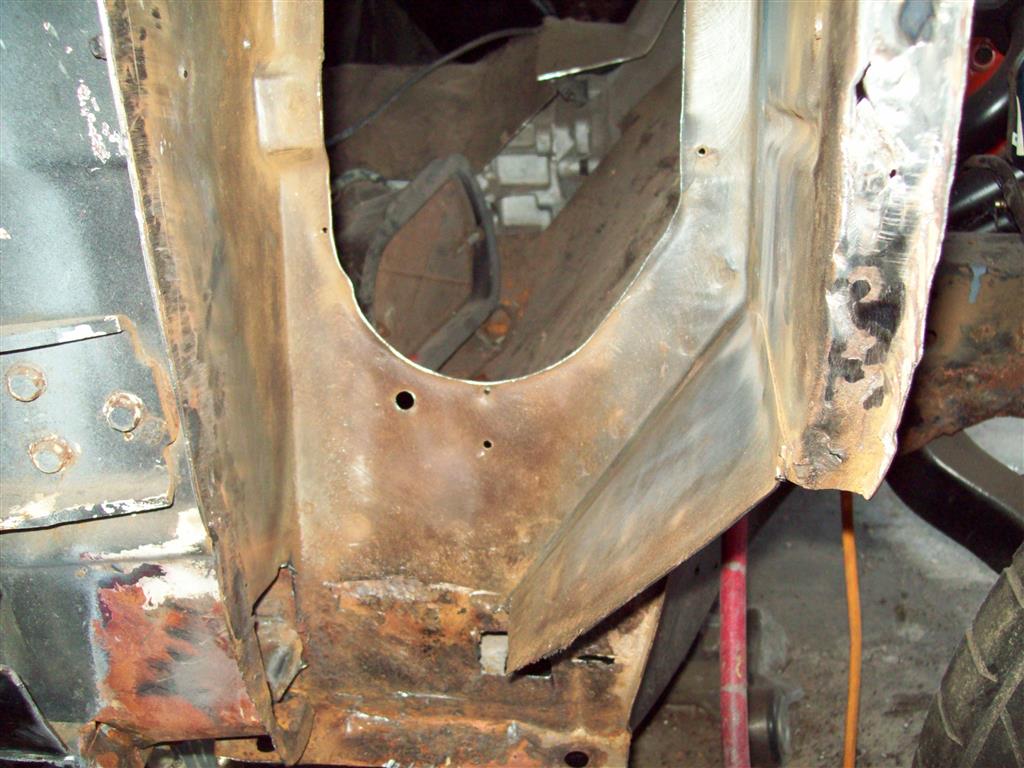
Here I've cut the rusted out portions away, as well as a square that was
rusted through the inner panel. |
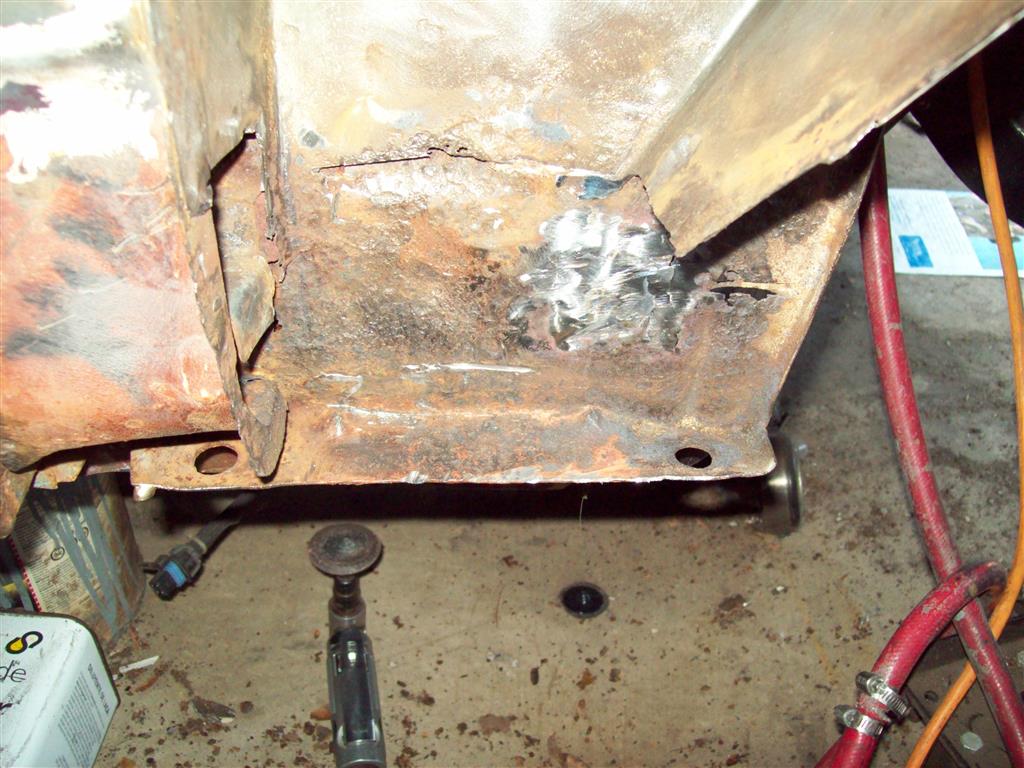
| Inner panel square repair complete. |  |
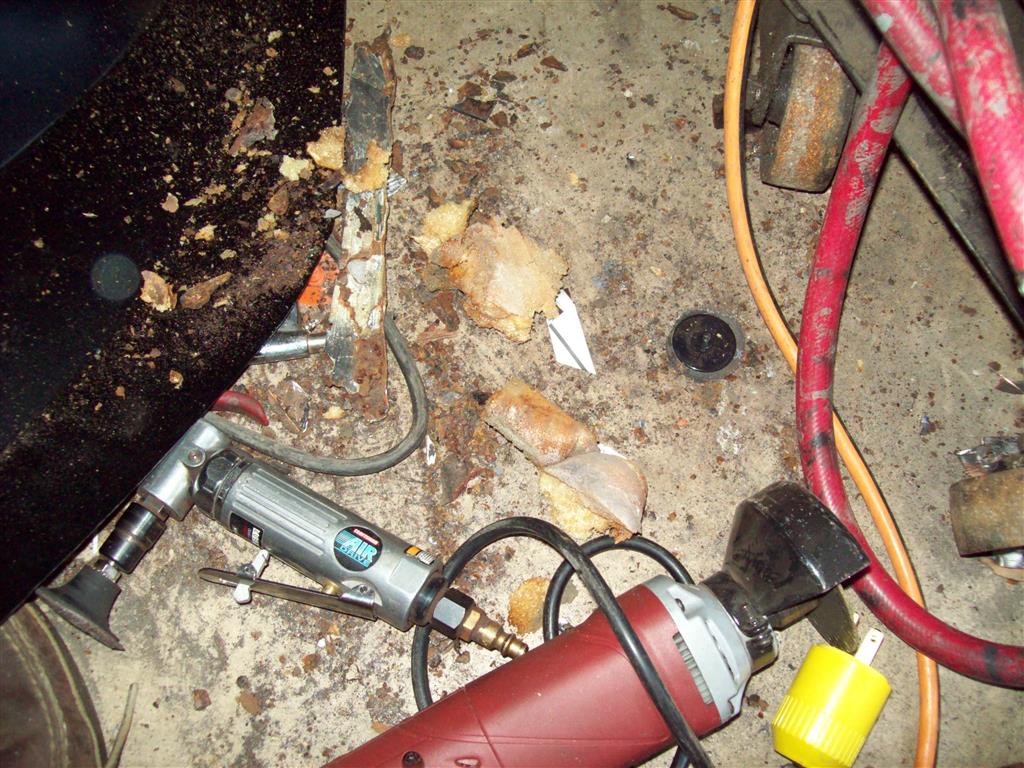
 |
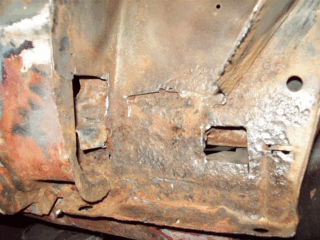
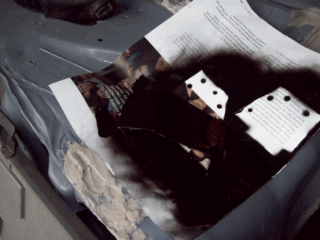
Everywhere that there was rust here, I found the expanding foam that I'm now
going to call "rustfoam".
Folks, please don't use this stuff on your
car. |
Coated the inside of the pass cowl with POR-15.
I found a post on
Chevelle Tech from 2002 talking about POR-15 where I shared the suggestion
the POR rep had given about putting a couple of screws in the lid rather
than opening the can. In that post, I mention that it had been 2 years
since she'd told me that... which puts this can of POR-15 at 13 years old.
Guess her suggestion works, although if I'd been opening the cans I'd have
bought quite a bit more since then. |  |
 |
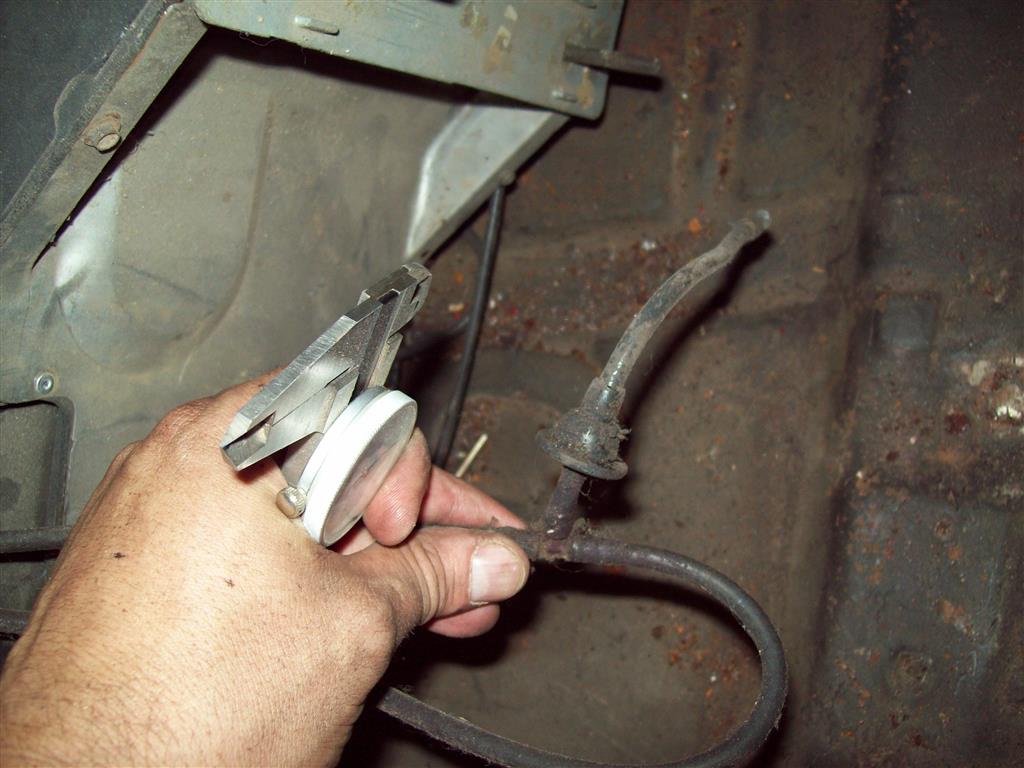
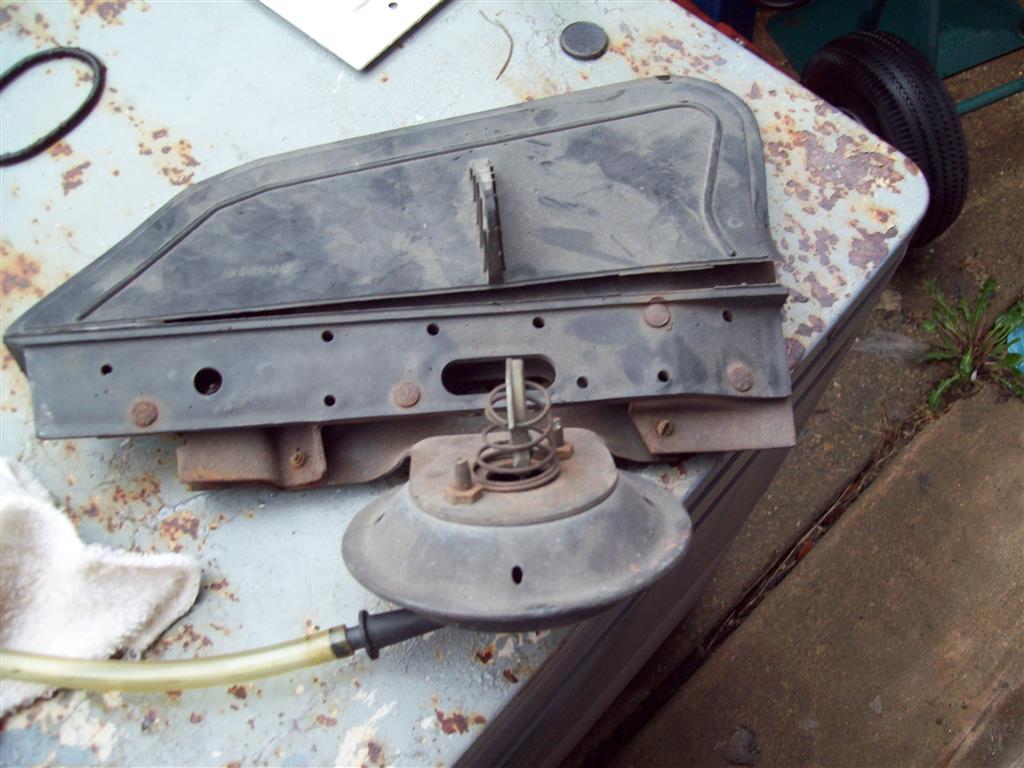
I'd mentioned the vacuum hose for the cowl flap thing. Here's the hose
with grommet. |
| Here, in the shadow, is the hole that grommet goes into. | 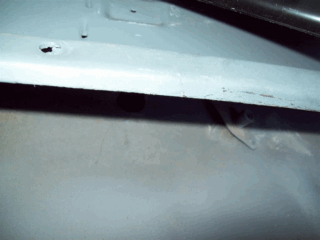 |
 |
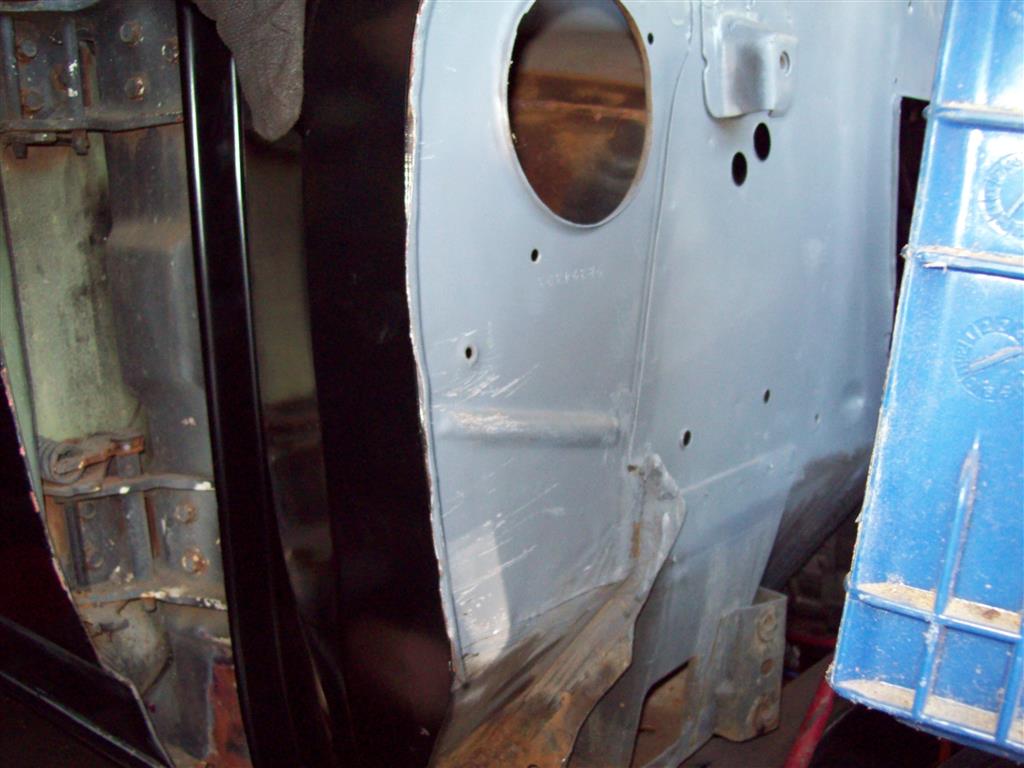
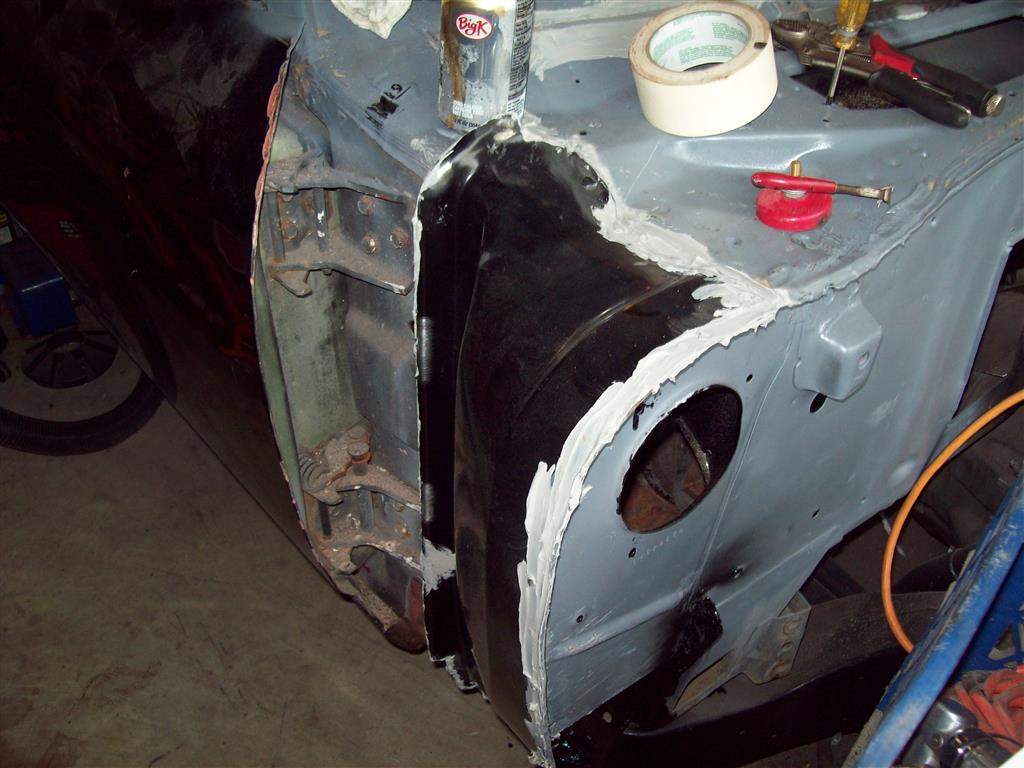
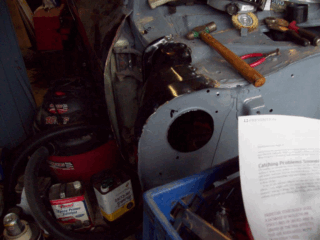
Driver's side primed and seam-sealed. |
They say that it takes 10,000 hours to become an expert in something.
Obviously I've spent quite a bit less than that welding - my welds are ugly
and have huge beads... but I get good penetration and they do hold the metal
together.
So the realization that I had here is: it doesn't matter.
They're fine being ugly. I don't even have to grind the beads down
much, here. | 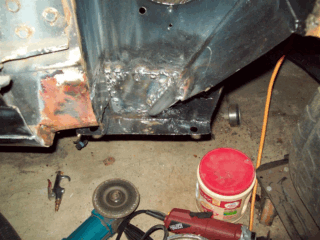 |
 |
Alternate view. |
| I am also apparently not good at applying seam sealer. However, I
appear to have had practice doing finger-painting. | 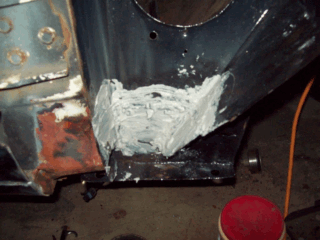 |
 | |
| I did coat the inside of the panel with Chassis Black before doing these
welds. | 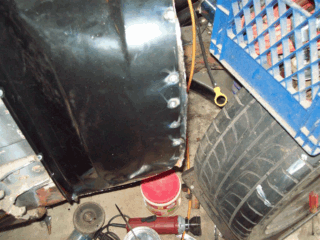 |
 |
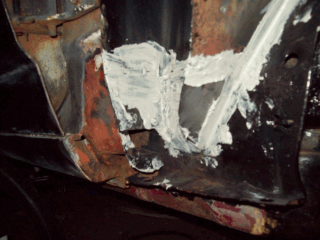
Weld beads smoothed a little. |
| Seam sealer applied. Guess on this side I'm seam sealing before
priming. | 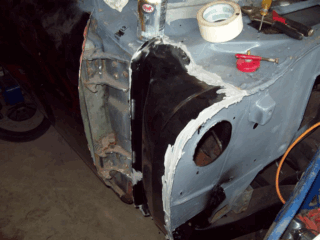 |
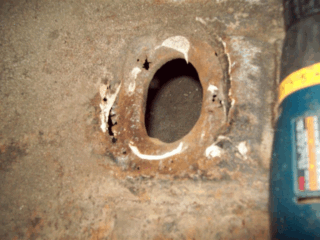 |
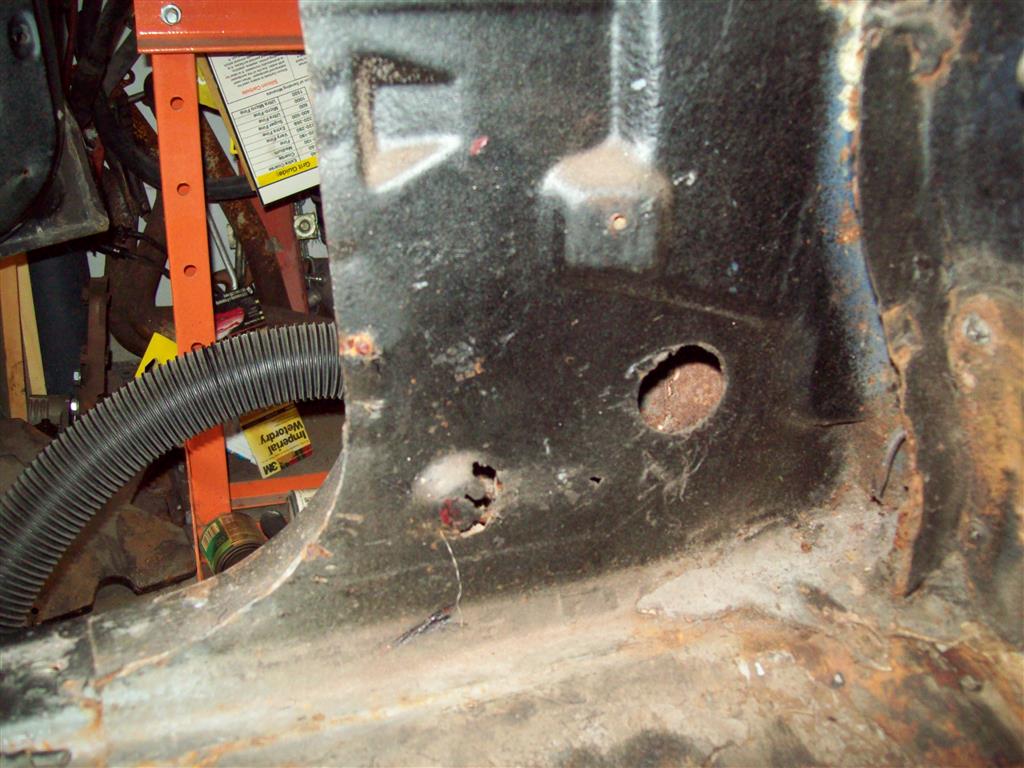
Moving on to the interior.. yes, I will need to replace the rear part of the
pass pan. I've got serious rust around the drain plug thing. |
| Additionally, there are some holes forward of there. |  |
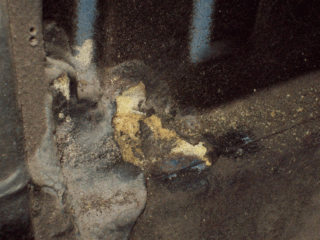 |
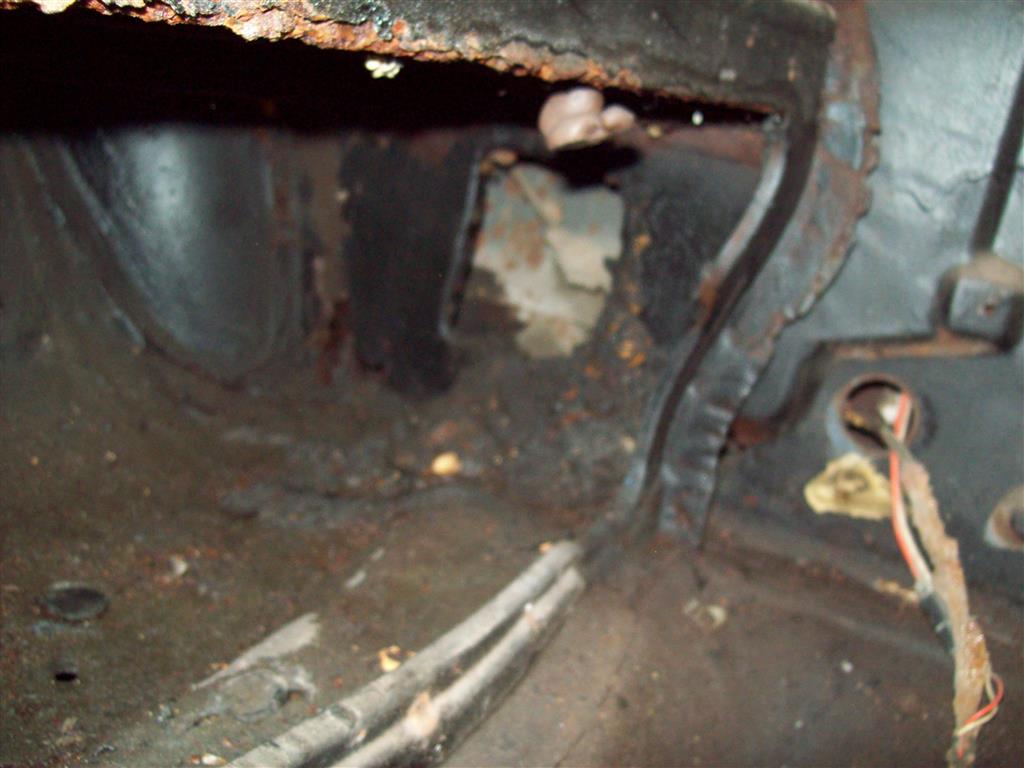
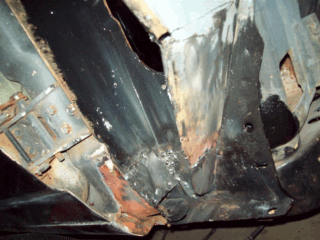
Behind the brace on the back wall: A pile of seam sealer covering a mound of
Rustfoam. |
| The big mound here next to all the rust holes: More Rustfoam. | 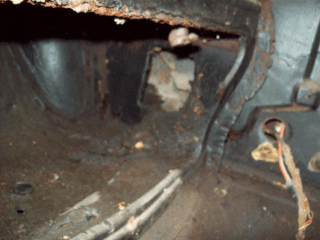 |
 |
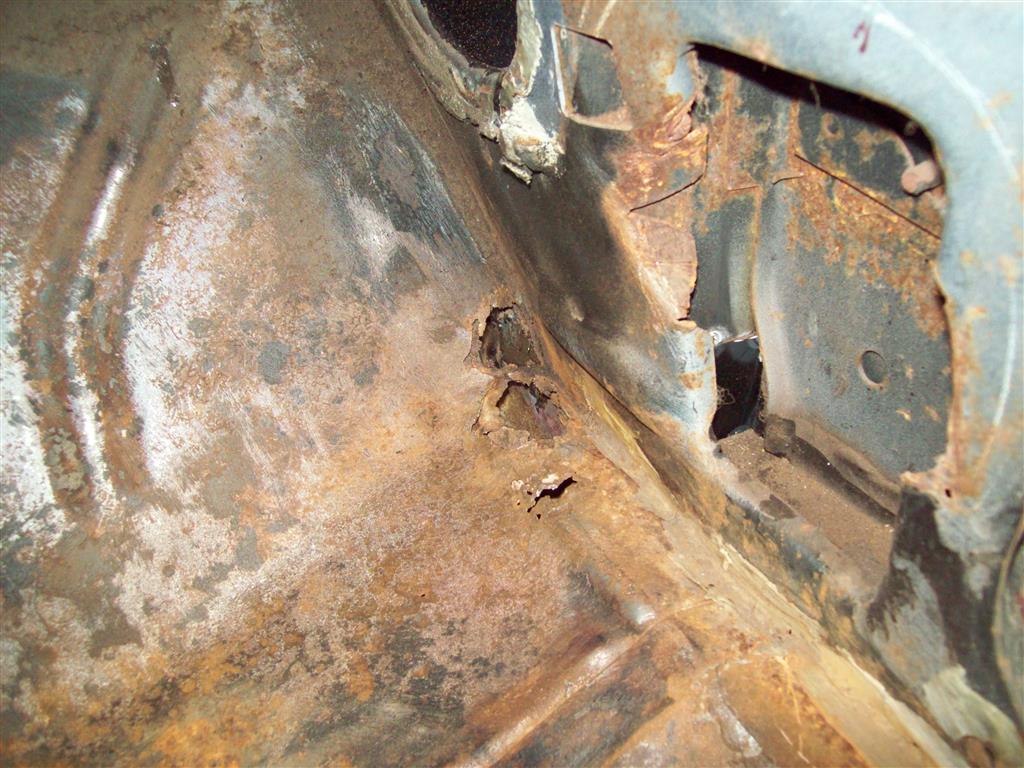
Here is where the Rustfoam was on the front - you can tell where it was
because there's no metal there now. |
| Cut out the rust. | 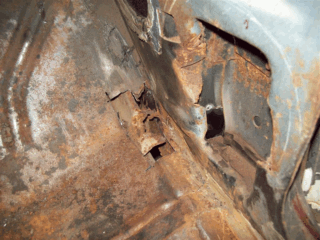 |
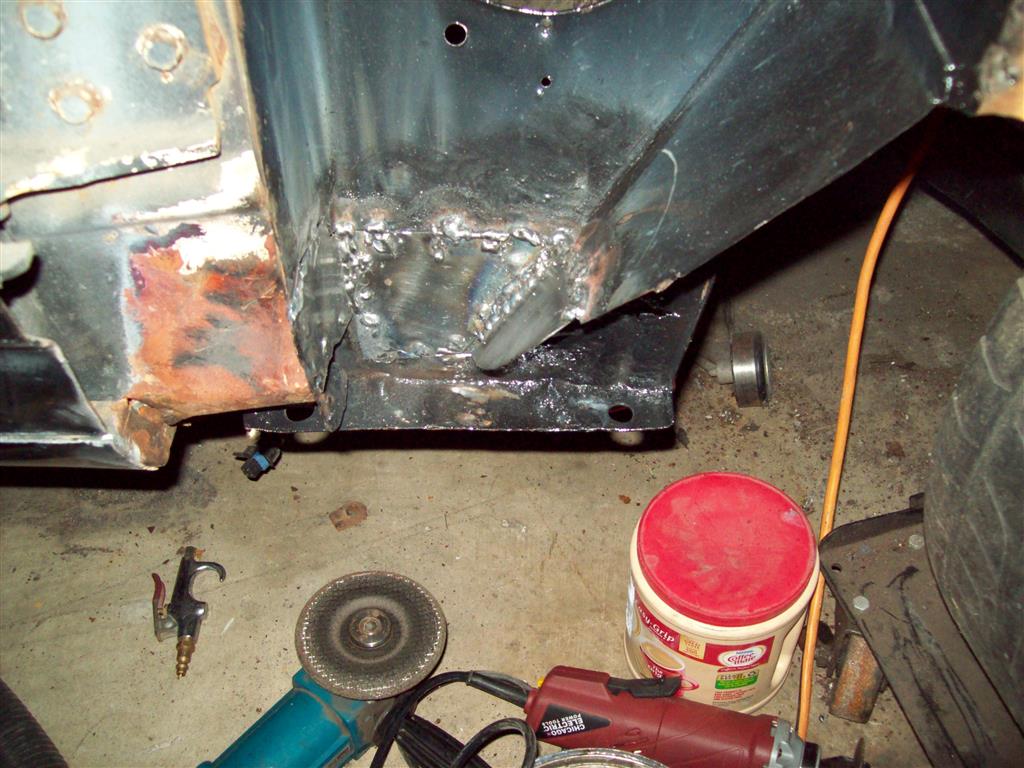
 |
Cut cut cut. |
| Ok, rust cut out. Make a patch. |  |
 |
Coat the patch with something on the outside so it won't rust. Stop
rust repair here so paint can dry. |
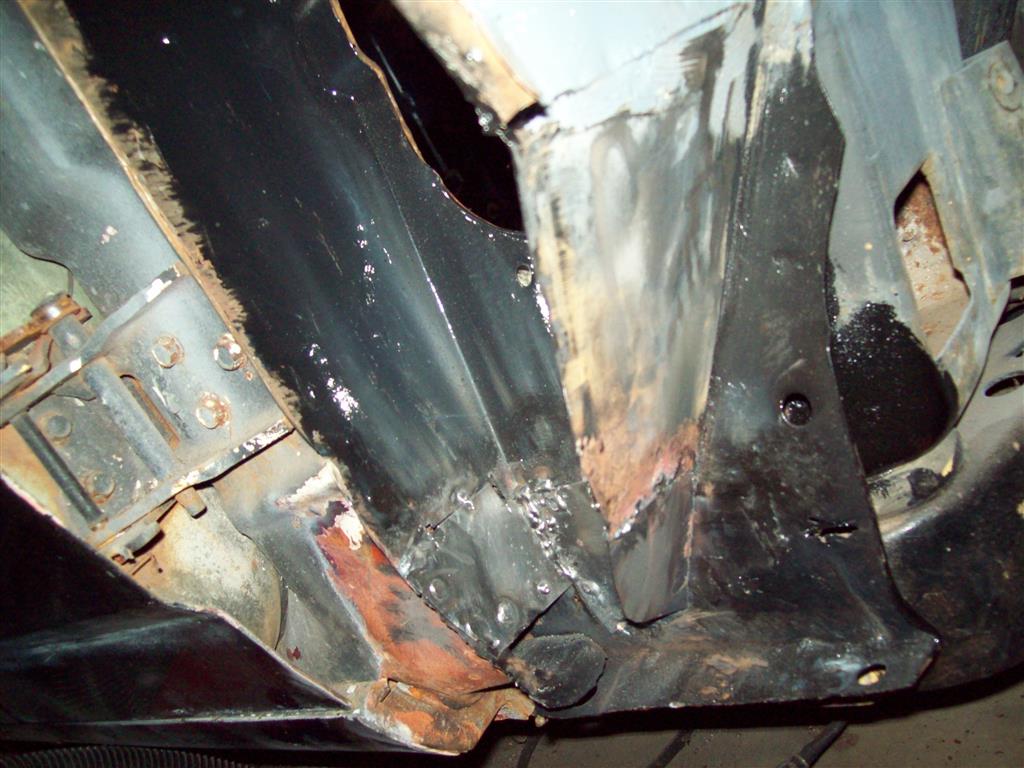
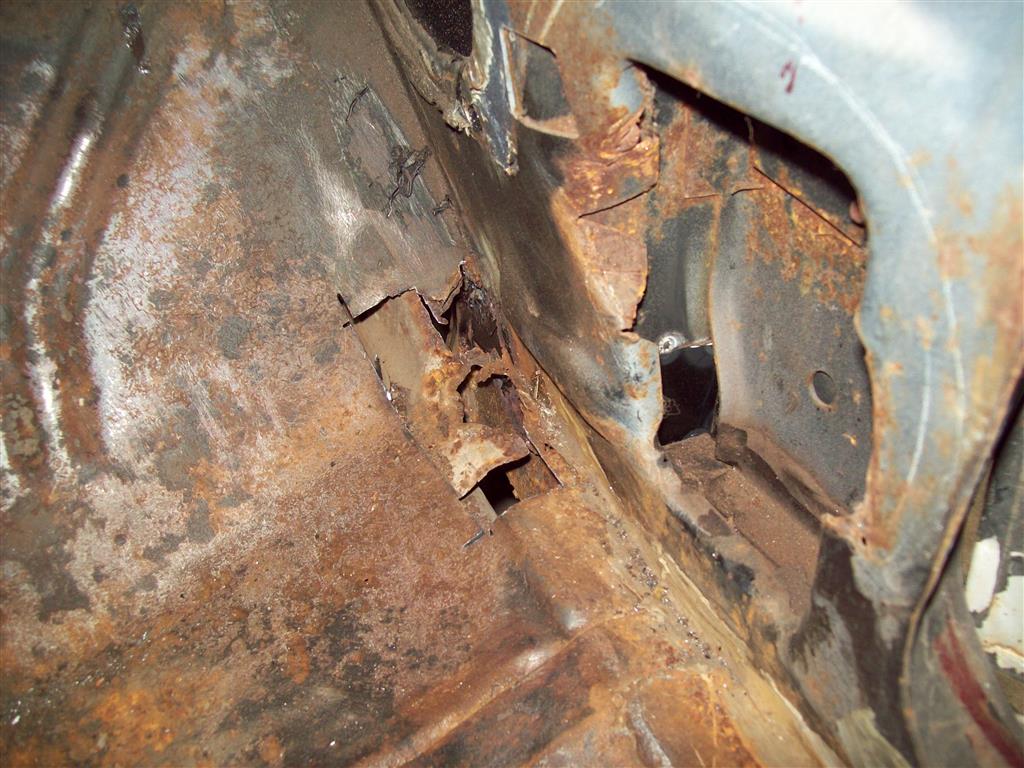
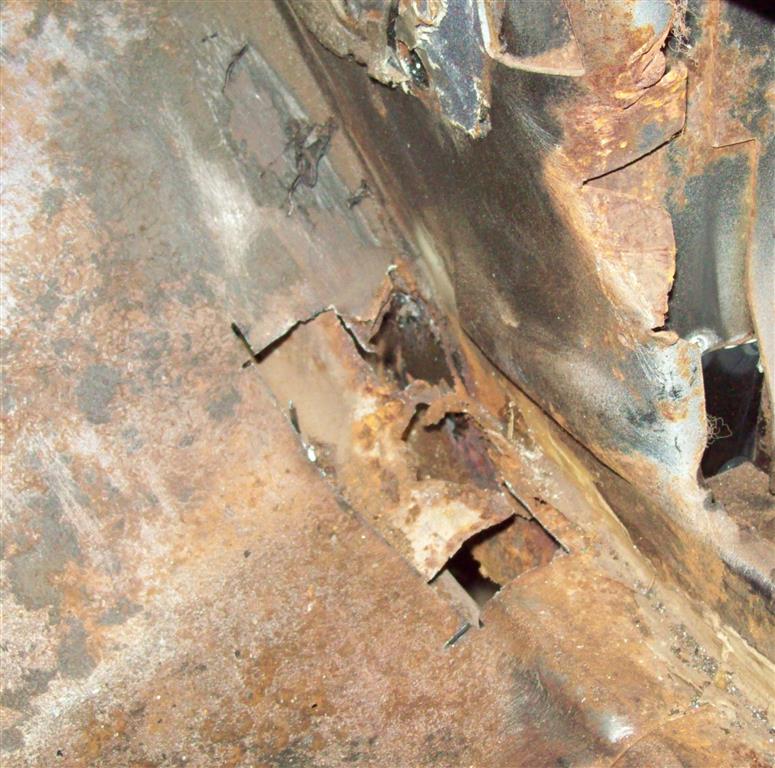
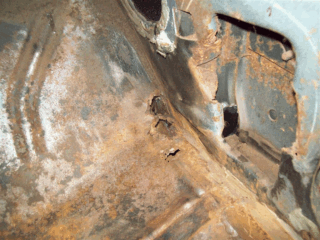
| Some additional rust found on the rear kickpanel thing. | 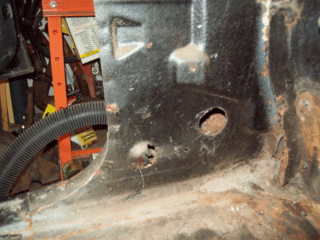 |
 |
Seems to go through to the door jamb. |
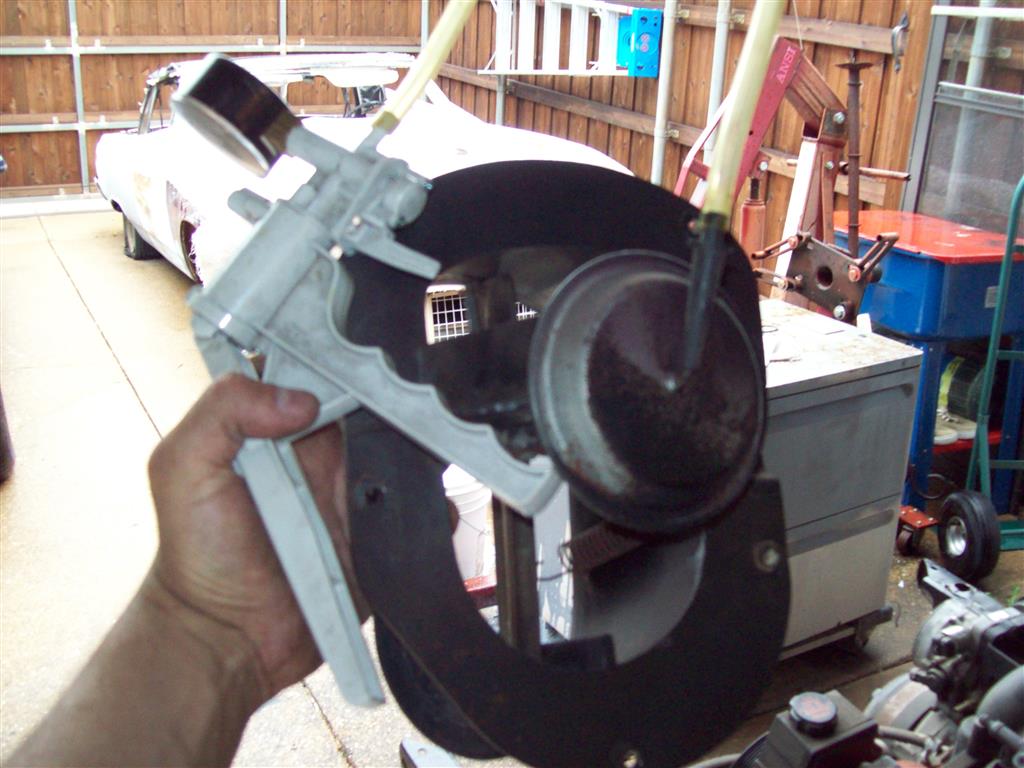
| The vacuum-operated flappy thing from the pass kickpanel has tested
successfully - vacuum makes it open, lack of vacuum makes it close. |  |
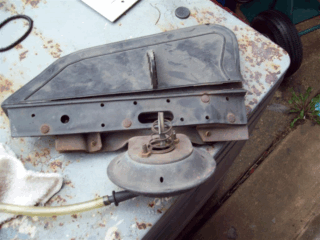 |
Similarly, the flap-thing from the cowl moves with vacuum.
Vacuum applied: |
| Vacuum released. | 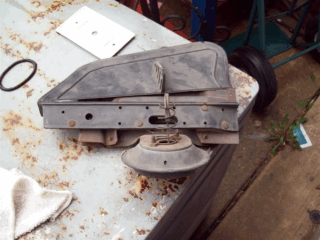 |
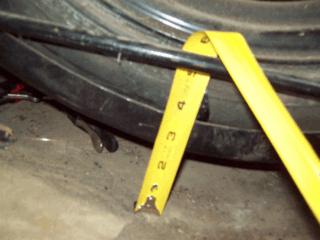 |
The Harbor Freight wheel dollies appear to give about 2 1/4" additional
clearance from the ground. |
This means that my 9.5" crossmember clearance is actually 7 1/4" from
the ground.. found a couple of posts on Pro-Touring.com where people are
talking about 3-4" crossmember height... no wonder my UCAs are hitting the
frame - my ride height is way too high!
The spring adjusters are set
to halfway already - guessing I need to cut the top portion of the adjusters
down by about 2.5-3 inches when I pull the front suspension all back apart. | 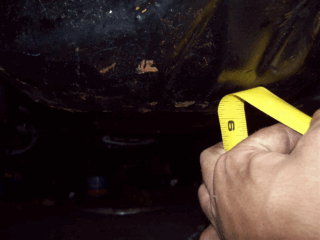 |
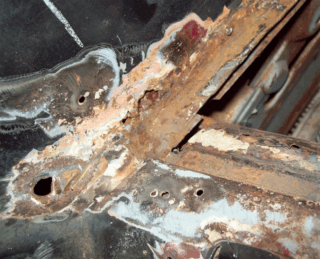 |
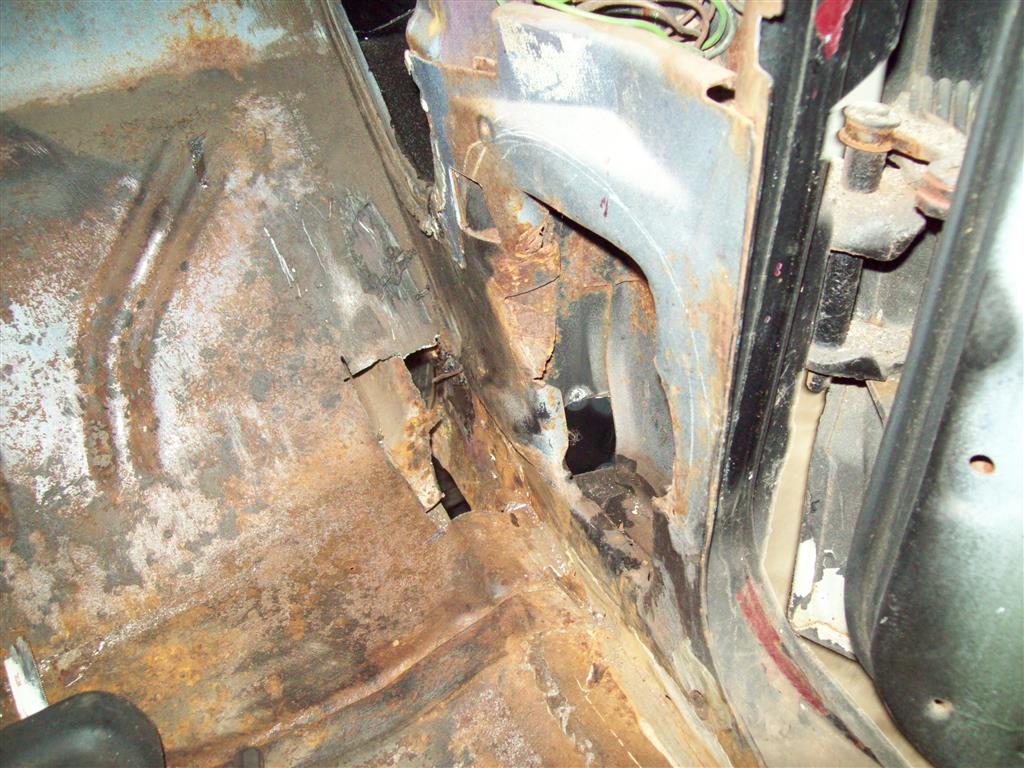
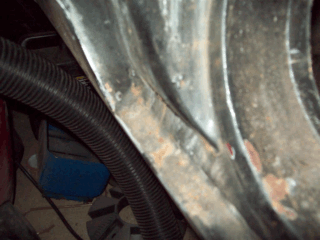
And, of course, it wouldn't be a day with the El Camino if I didn't find
some more rust (beyond the door jamb and rear pass pan) - this is driver's
side behind the rear window. |
| Looks like the dome light also needs to be replaced (not particularly
surprising) | 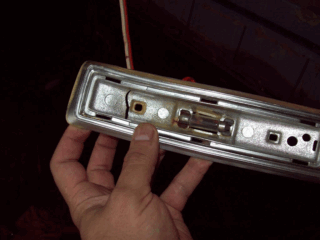 |
Still need to seam-seal the cowl panels from inside, and paint the insides.
Then pass front floor repair, and other rust repair.