Yeah, obvious joke is obvious. Also yes, there's a lot
of updating going on. Don't get too used to it.
 |
So here it is in all its glory - the tank! Insulation adhesive has
dried, so it's time to pull the tank back out, but in the meanwhile: behold! |
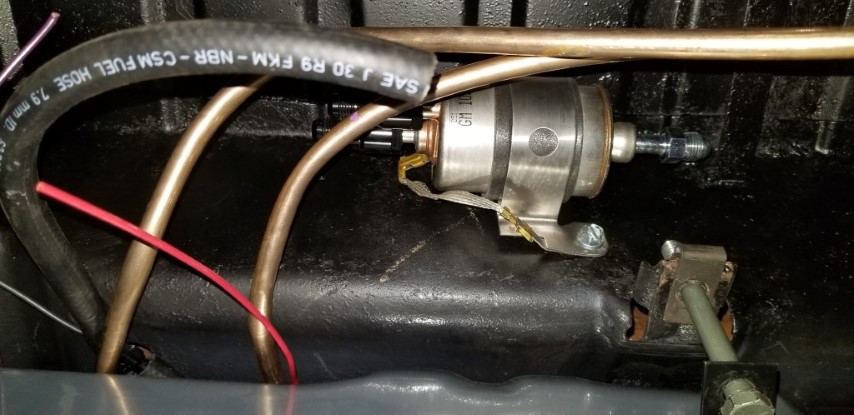
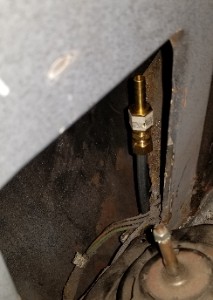
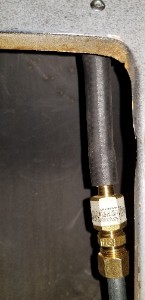
| This is roughly where the fuel filter will be mounted (as demonstrated
by the fact that it's mounted) |  |
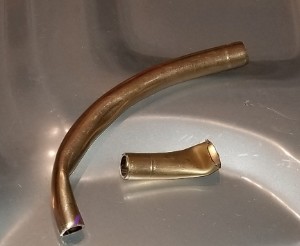 |
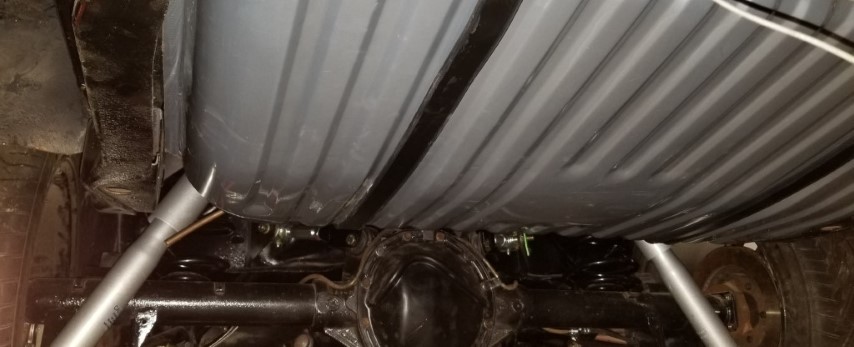
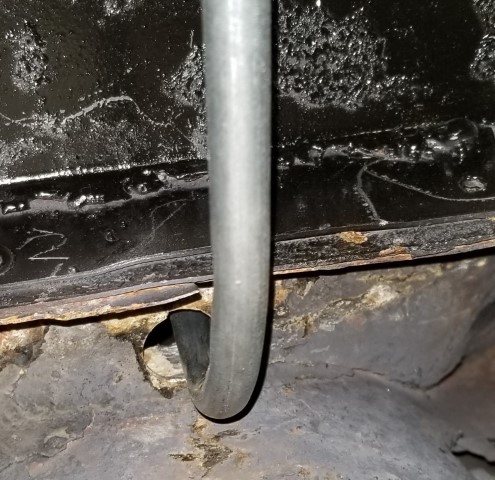
As I mentioned before, the hard lines got kinked. It happened
repeatedly. |
| Fixed part of the issue with one of the 90 degree fittings I found in
The Pile the other day. | 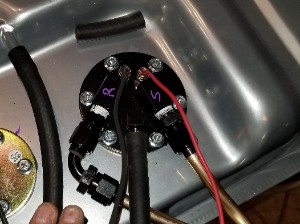 |
 |
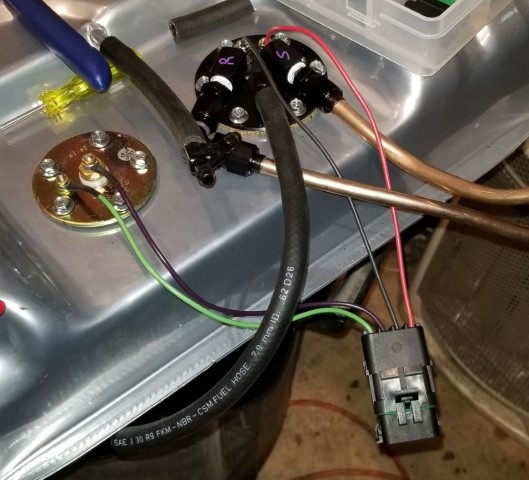
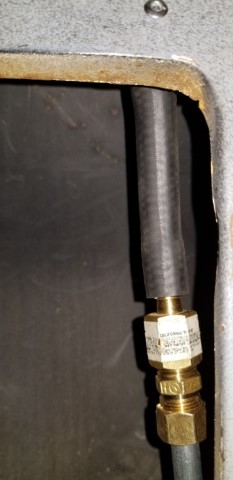
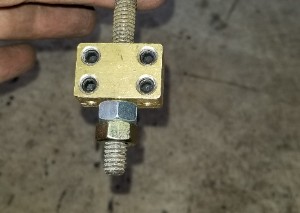
I used connectors. This isn't easy to just step into! I need to
replenish some of these, mainly about a half dozen of 12089040 and similar
for the seals (and a 12010974/12015797) |
| but I got the connector made. |  |
 |
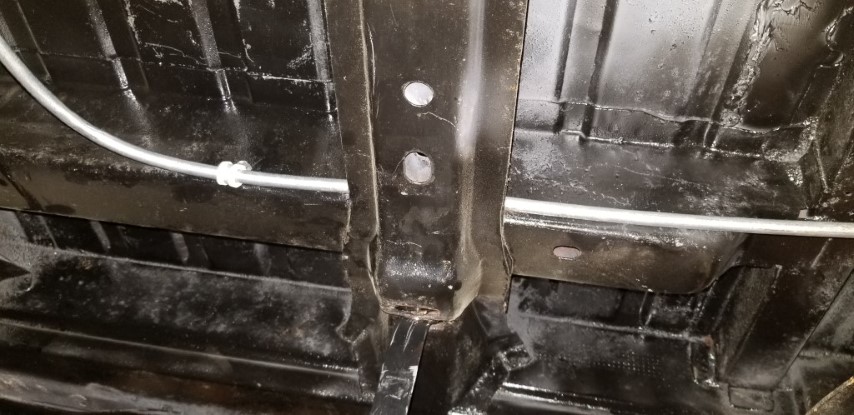
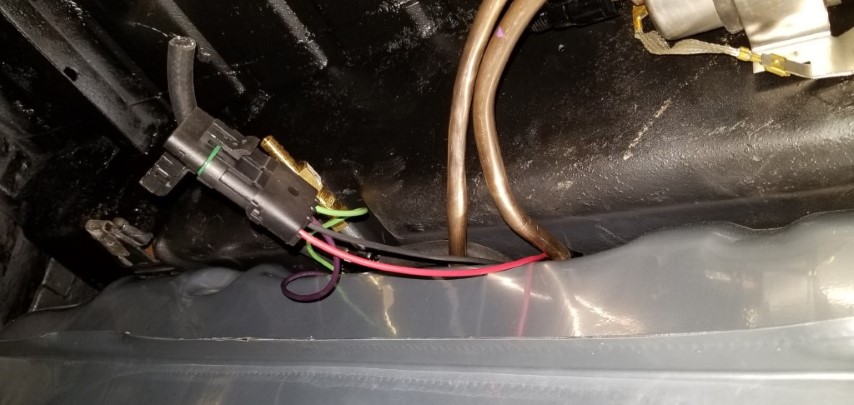
So the Tanks tank requires a vent line, and it says it "must be higher than
the filler neck" which is pretty high on an El Camino. There's not
anywhere near the tank I can use, and I don't have any 5/16" hardline.
What I do have is 1/4" steel line that I'm not going to use elsewhere, and
some compression fittings and 5/16" hose barbs. Here the line curves
around from the front of the tank to the area behind the filler. |
| Drilled a hole into the area between the bed wall and the outer wall and
ran the tube up there. |  |
 |
Here's what it looks like from the top. Short run of FI fuel hose then
the vent above that. Meets all the requirements! |
| |  |
 |
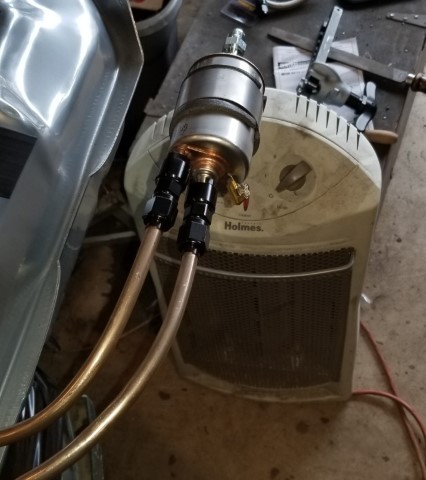
Need to start in on hooking the hardlines to the
FPR.
Also that looks kinked as well.
Also also you can see the
other end of the vent tube (I shortened it a little after this) |
| Well, they "fit". These are horrible though. |  |
 |
Moving on. Drilled out the threaded hole in the Lokar brake setup and
added the two nuts. |
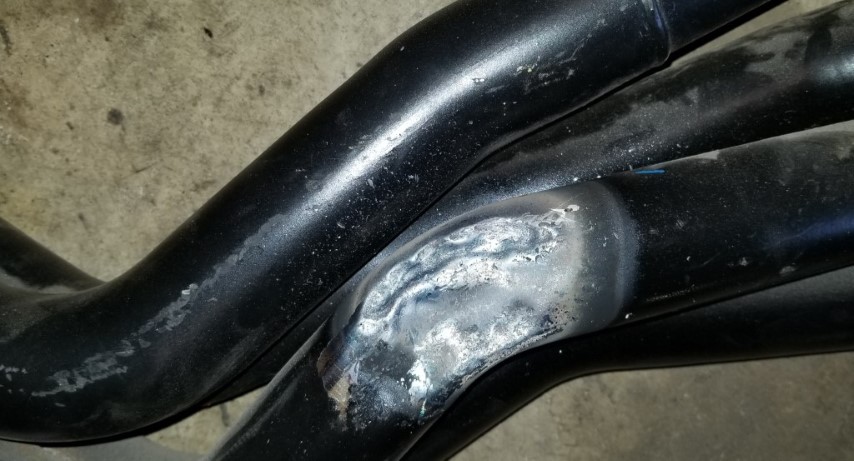
| So the "beat the header with a hammer" plan wasn't working so well...
but I have a torch. It's about a 25 year old Bernz-o-matic but it
counts. With some heat I started making some progress, right until the
point where a leaky valve made the top of my torch into a rocket nozzle (not
pictured). Once I extinguished the flaming bottle of death, I'd made
it to here. |  |
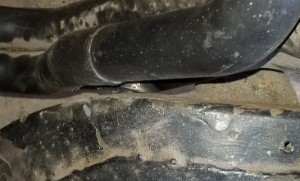 |
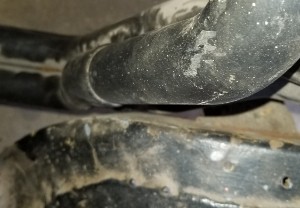
It's close. Still hits though, barely. |
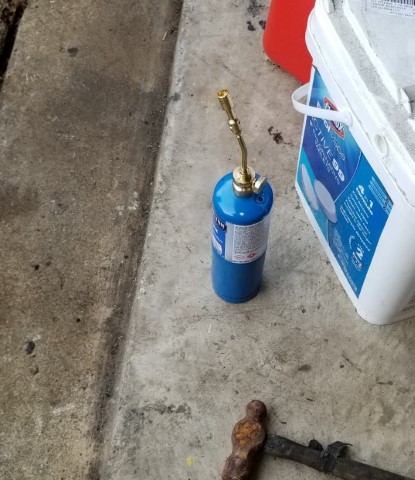
| I bought a new torch. It's... insufficient (but it was cheap), but
I was able to heat enough to hit it a few more times. | 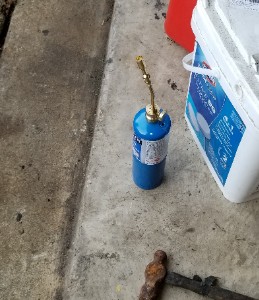 |
 |
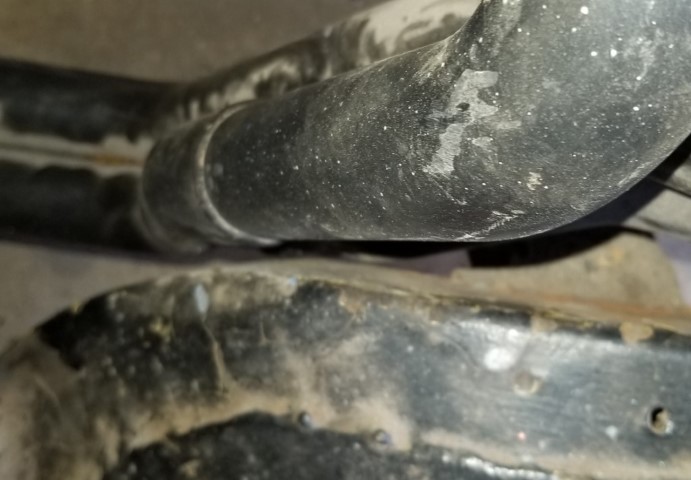
and with those, I now have somewhere between 1/8" and 1/4" clearance (hard
to tell in the pic). |
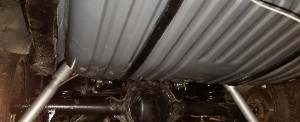
With that done, it's time to get ready for the Next Big Deal: cleaning
up the welds on the underside and the firewall and painting both.
Engine and suspension need to come off for this, and here I've got it almost
ready to come out - the mounts are unbolted, the tranny crossmember has been
removed.
As a bonus - back
in 2017 I found that I couldn't slide the driveshaft yoke in the T56.
I'd thought that maybe my yoke was damaged (as well as the output splines in
the tranny) from trying to force the wrong yoke in. I'd picked up a
proper yoke from an LS-era T56 at a junkyard that also wouldn't slide in.
While I was under there, I wiggled the yoke and it slid all the way
forward... so I guess I don't have to pull the tailshaft housing off after
all! | 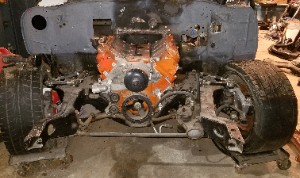 |
I think I'm going to end up replacing the hardlines between the tank and the FPR with flexible so I'll have to at least partially drop the tank for that. Otherwise, we're onto the front end of the car now.