


LS1 assembly, disassembly, assembly, etc.
Large update, due to the 6 weeks or so where my site was down. I think I'm missing some pictures, but nothing can be done about that. I'm also having to go from memory on some of the events and the order.. so bear with me; lots to enter in today.
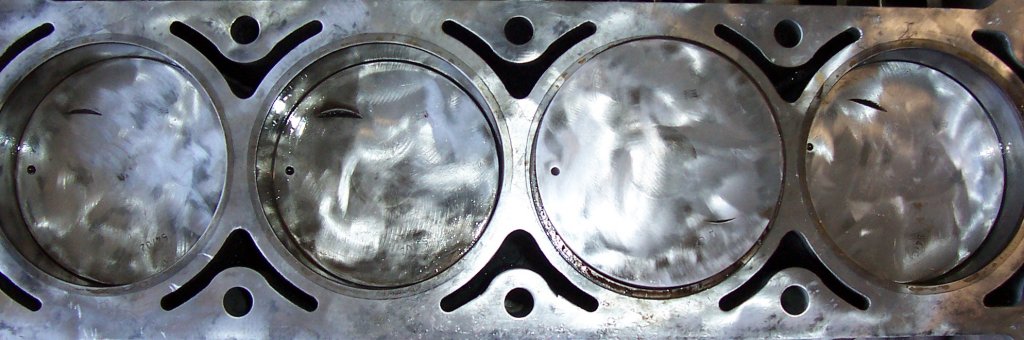
| I'd accomplished putting the pistons in the block - not sure which side of the engine this is; I'd used a scotchbrite pad to clean up the faces (which might not have been that good of a plan). A couple of things to note here: #6/#5 has the valve impact dent on the wrong side of the piston; which would indicate that this piston came from the other side of the engine or was installed backwards (I think I already discussed that) and the #7/#8 impact-dent is not in line with the other dents - perhaps part of a valve fell into the piston? The rod was twisted? |
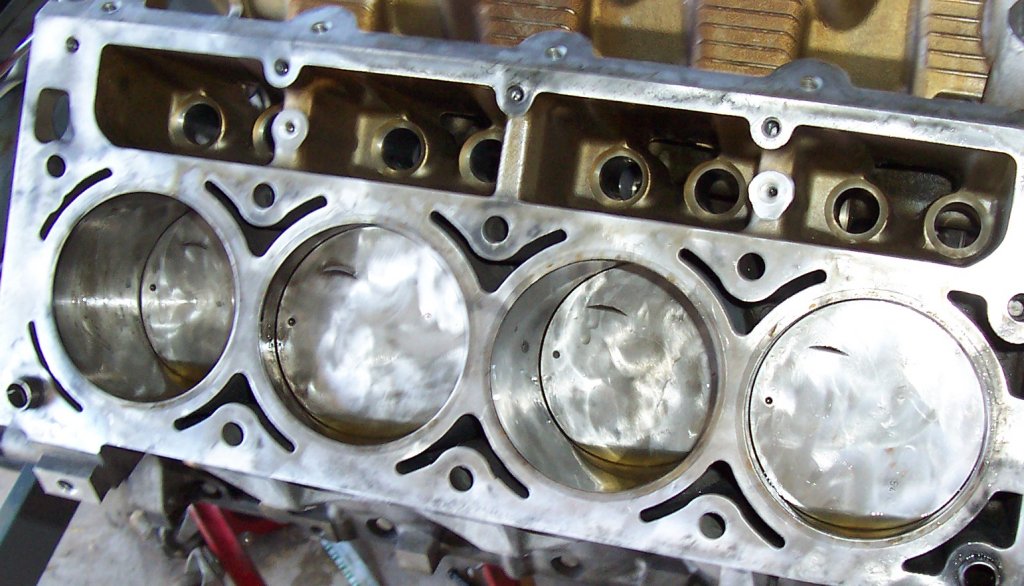
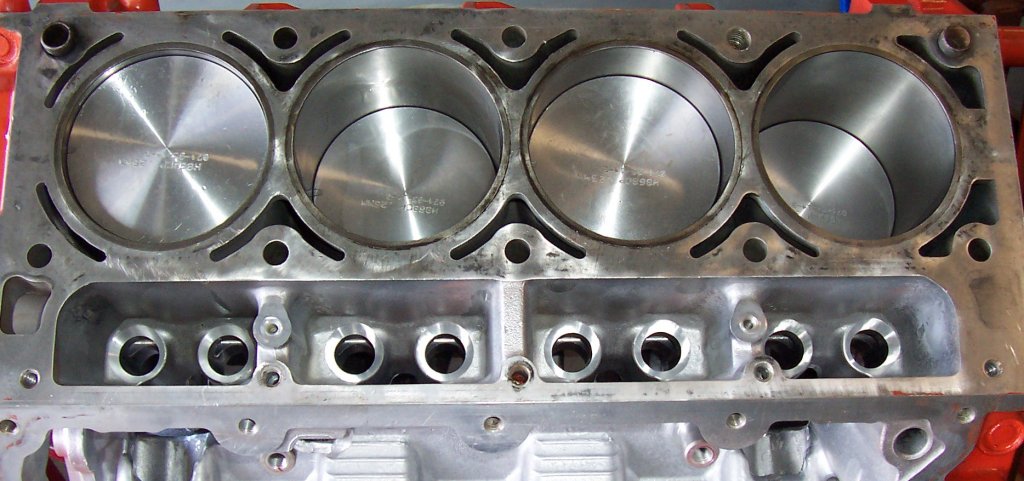
| Not sure which side this is either. All the dots face forward and the dents are all in the proper location. All the cylinders held oil, which I guess means that the rings aren't TOO boogered up. |
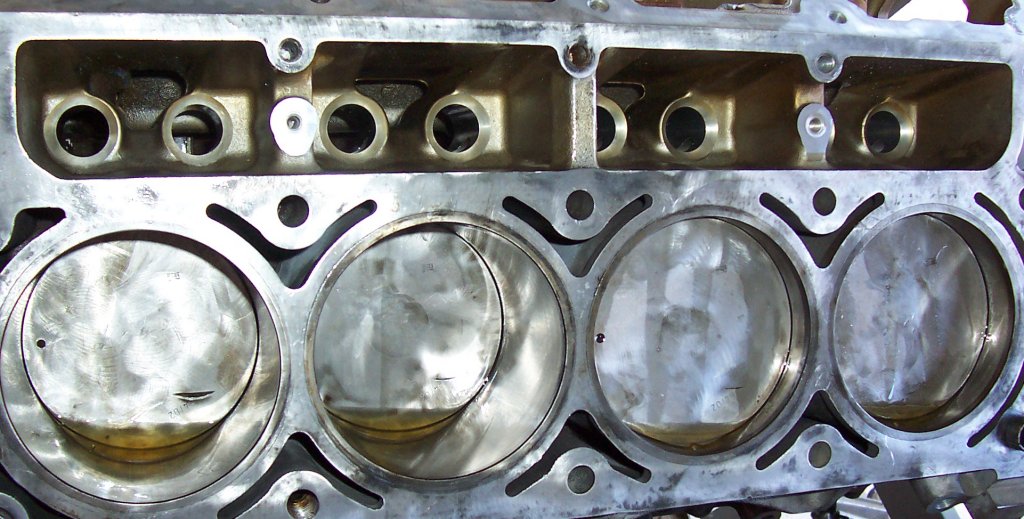
| Pulled it apart and tried again. Here's the second attempt - I think this is the passenger side. All the dots face forward and the rods appear to be "right" but the dents are in the wrong place. At this point I decided I really didn't like the looks of the cam bearings so I pulled it all apart and took it up to the local machine shop to get the cam bearings replaced and the block cleaned. While they were at it they could try to remove that goofy broken headbolt and check the bores, since I lack the tools to measure the bores correctly. |
| I got the news: one of the cylinders had a micro-gouge in the wall. Punching the block out .010 was sufficient to take care of that. New cam bearings, a good cleaning (although the back of the block didn't seem to get cleaned much) and a new set of pistons and rings and I was back in business. They were not able to remove the broken headbolt. |
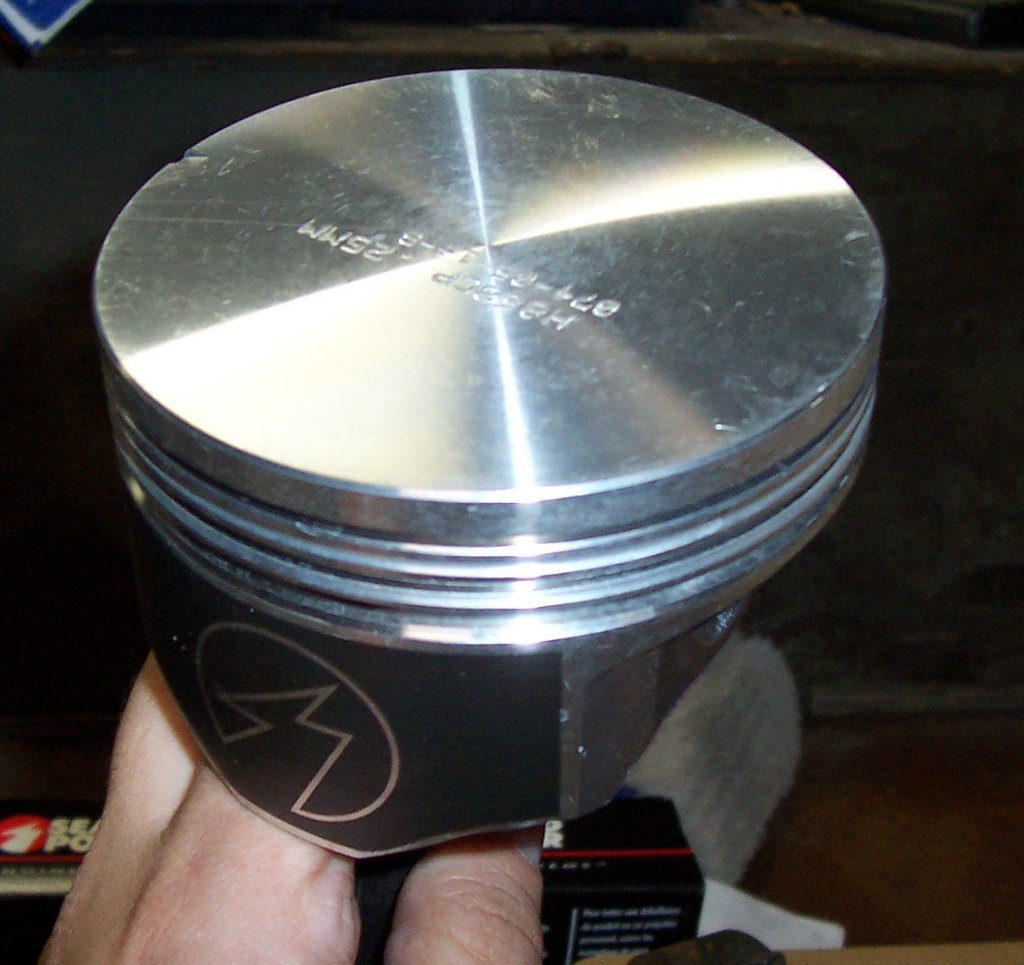
| Shiny stock hypereutectic pistons from Sealed Power. Not all that thrilled with the rings though; a couple of them had a smidgen more clearance than I would have liked; I'd picked up one of them spiffy ring grinders and didn't get to use it at all. |
| Spiffy new pistons installed. |
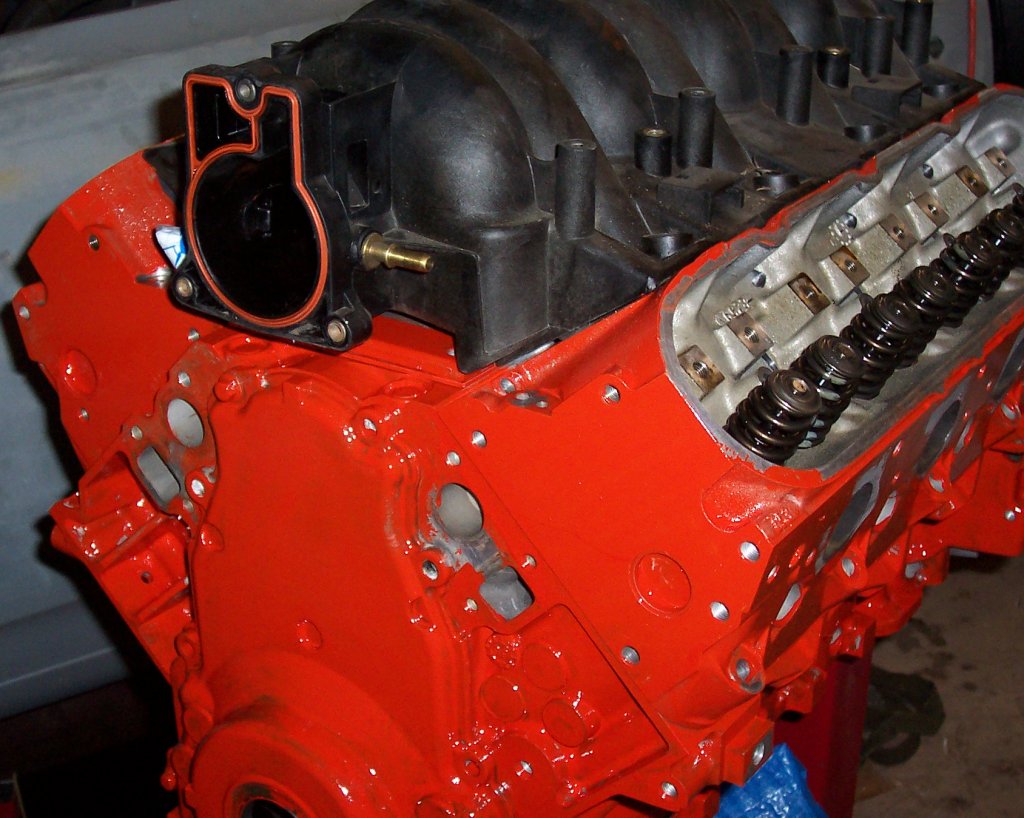
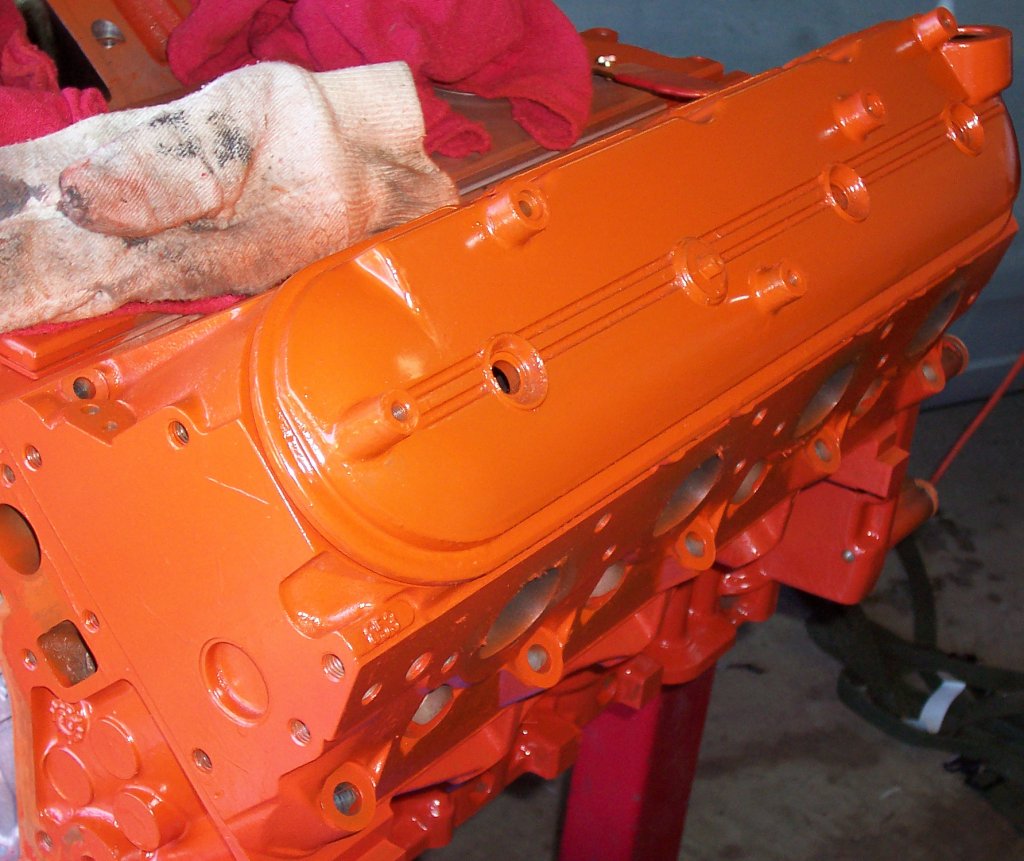
| It's an LS1, all aluminum block. Should not require paint... but it's going in a late 60s GM car, which means it should be ORANGE. Guess which one won out? |
| I torqued, untorqued, and retorqued the main bearings about 6 times before I was truly happy. Here's the final pic. |
| Pistons installed. Not pictured: ARP rod bolts. |
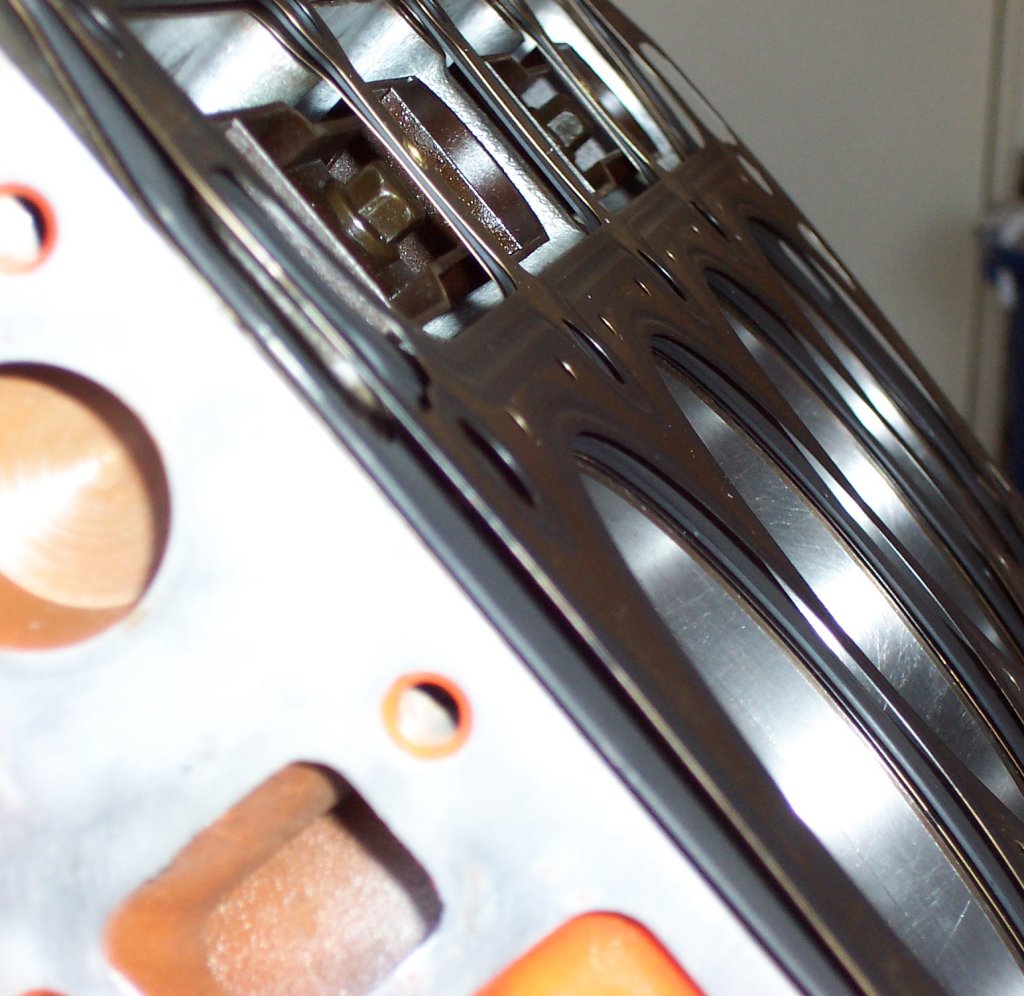
| The Thunder Racing TR224/224 116 cam is installed. The clearances between the cam and the cam bearings were TIGHT. I hope I didn't tear anything up trying to get the cam all the way into the block. Here's where I called it a day on the day I was doing this; I didn't have the torque specs for these bolts. I did loctite them and torque them properly later. |
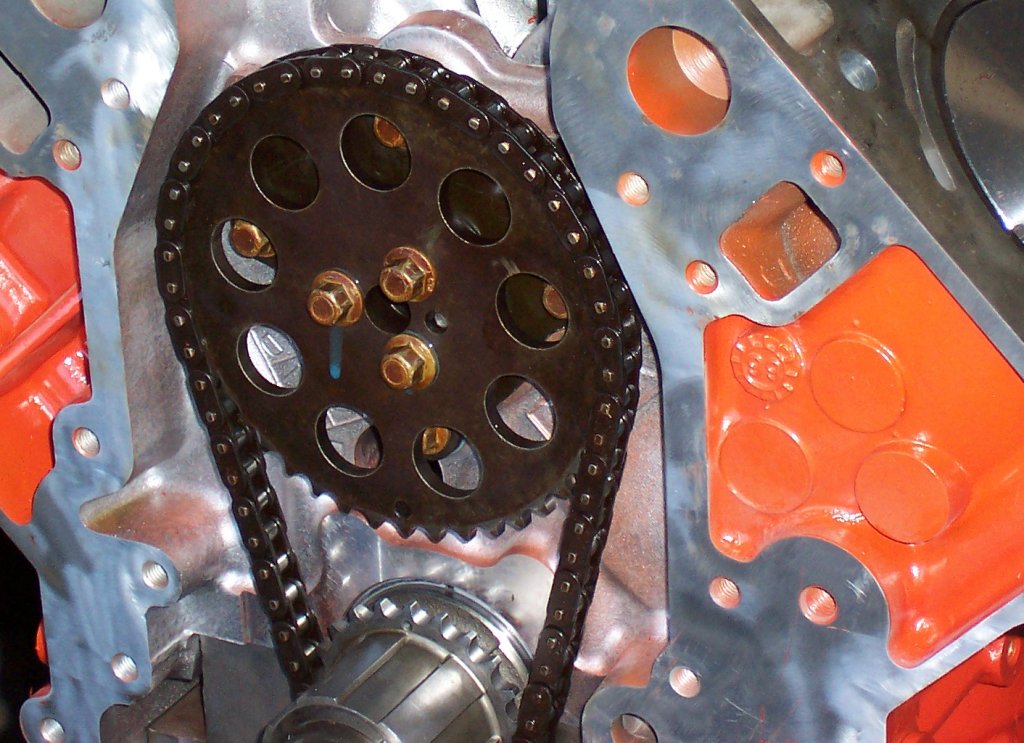
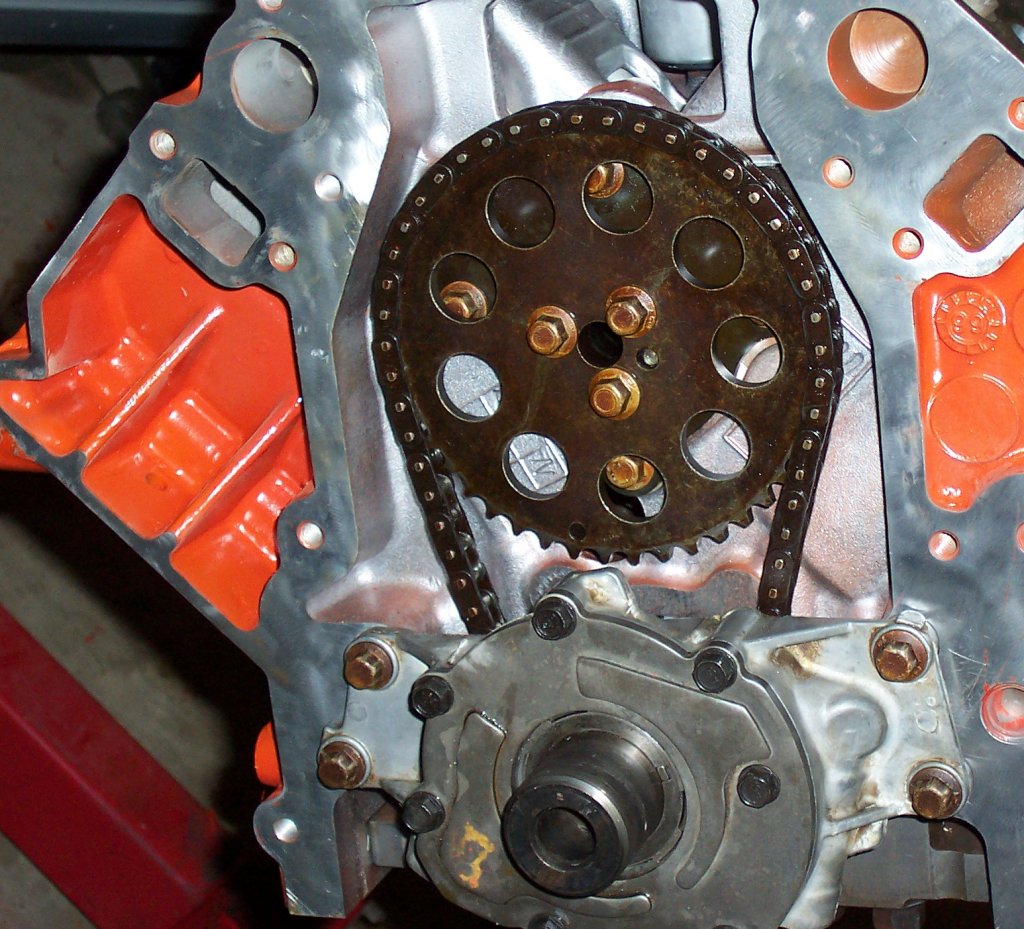
| Timing chain installed, bolts loctited and torqued. |
| Yeah, it's a blurry pic - but I cleaned up the port in the oil pump some. |
| New seals front and back. |
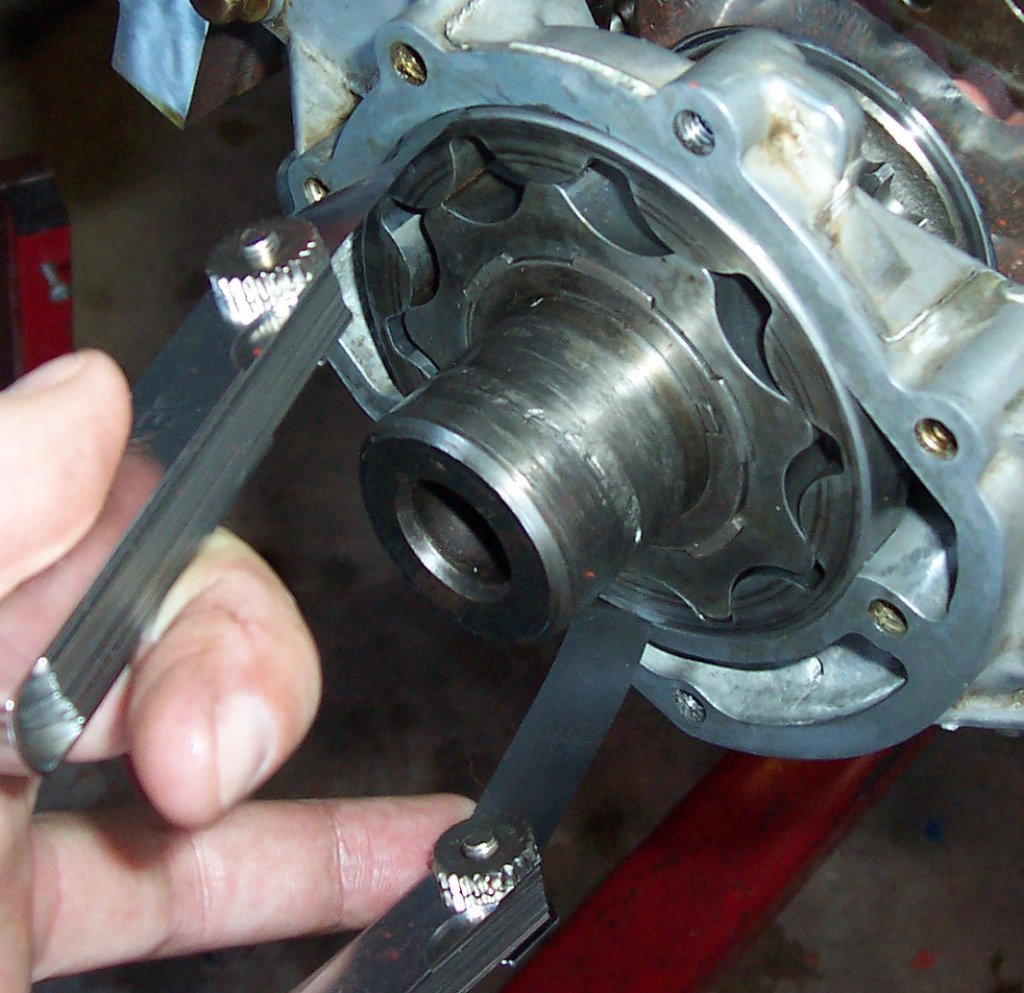
| The ported oil pump could be installed. It's important (apparently) to center the pump correctly on the crank. In this pic, the windage tray and oil pickup are installed. It's important to make sure that the o-ring remains on the pickup - otherwise you'll be sucking air instead of oil. |
| You do this with a couple of .002 feeler gauges - loosely attach the pump body then run them around the perimeter 180 degrees apart to center it on the crank. |
| Lifters, lifter cups, and valley cover installed. |
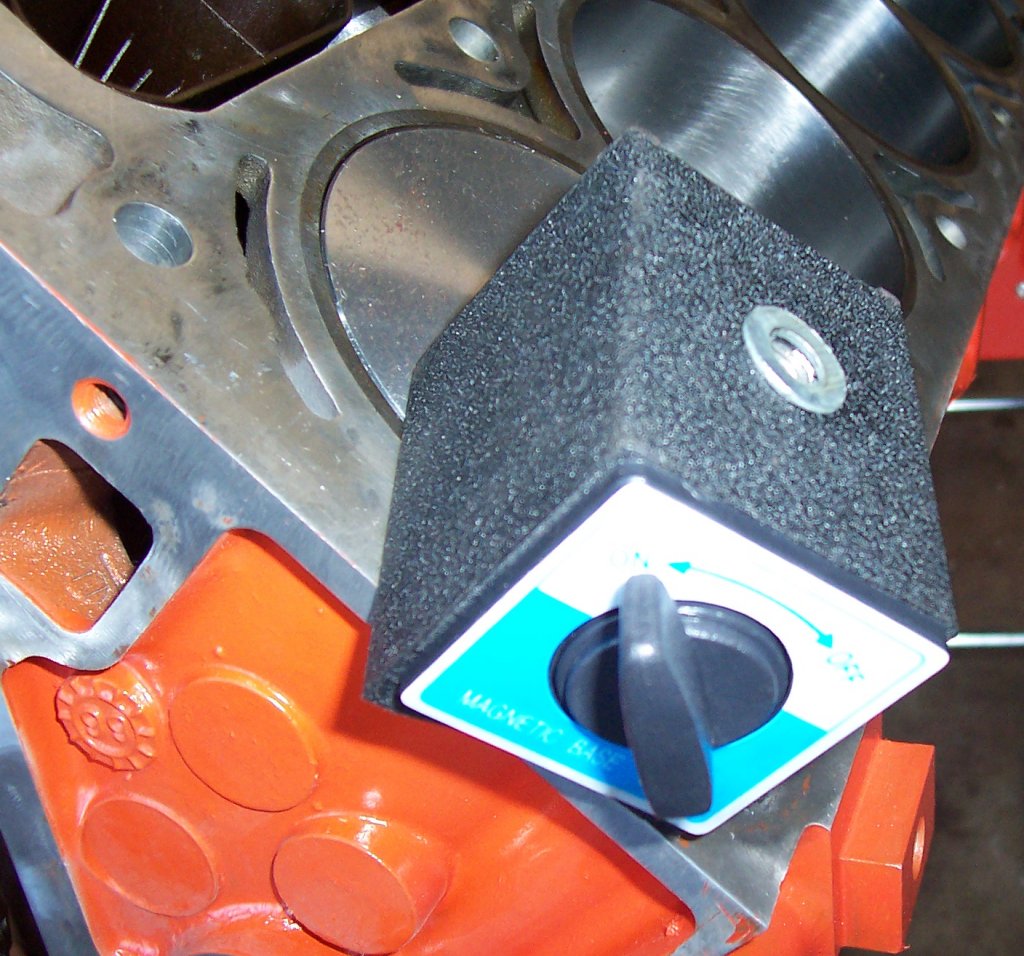
| Went to try and degree the cam. I'd picked up a nice dial-gauge-with-magnetic-base thing to use with this. Think about that for a second: magnetic base. Aluminum block. Needless to say, it didn't stick too well. |
| Luckily, the post that screwed into the base was the correct size to screw into a head bolt hole. |
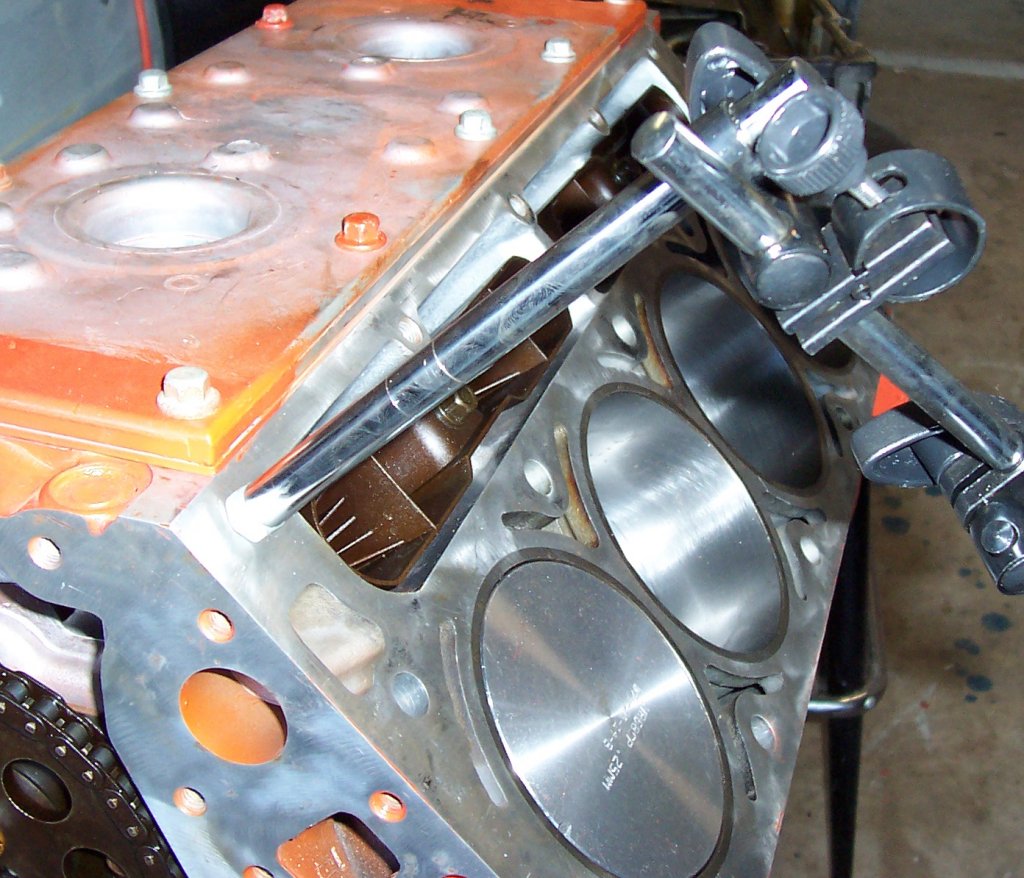
| And here's the wheel attached. Unfortunately for me, there doesn't seem to be a crank socket that works for LS1s yet and I screwed up the readings repeatedly by accidentally loosening the crank bolt. |
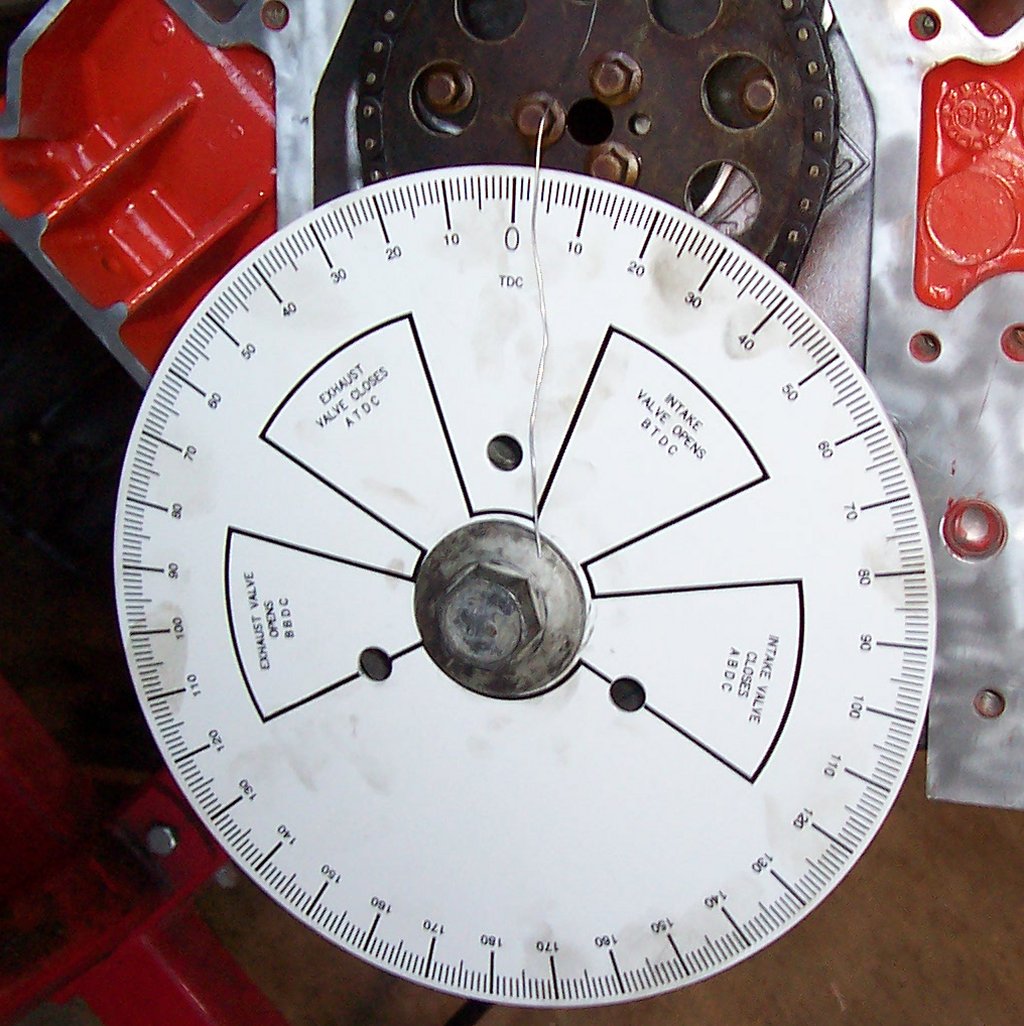
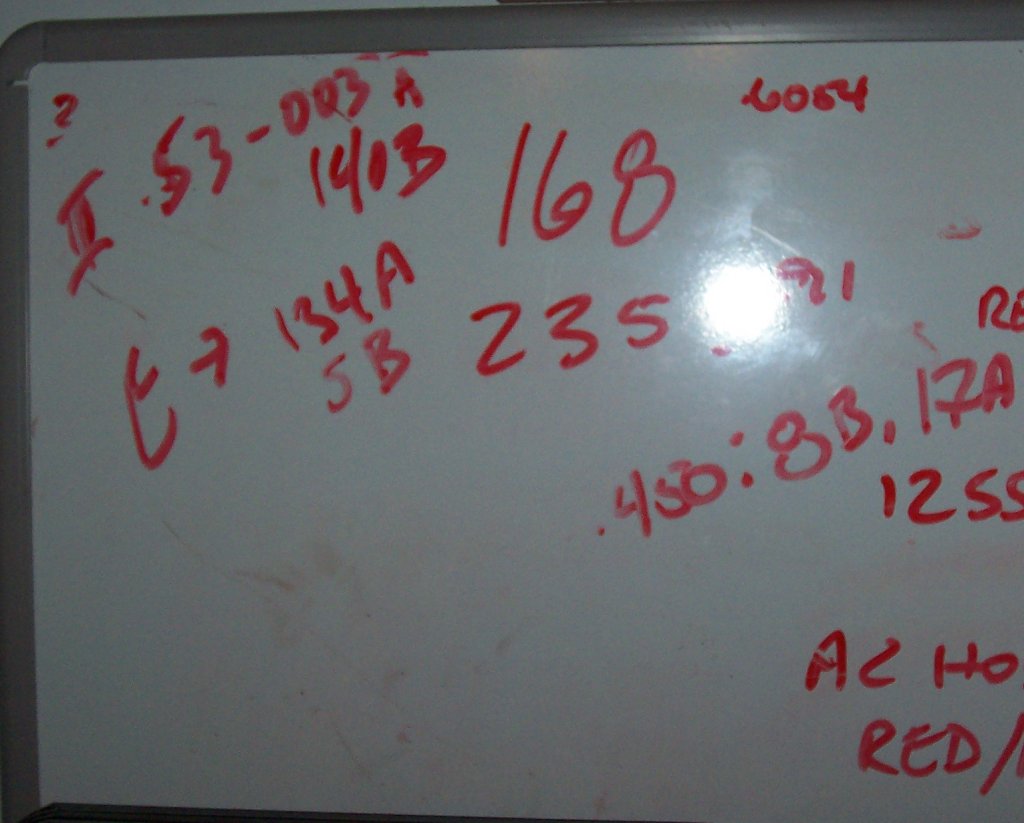
| Here's the final readings. I haven't tried to figure out what they mean as I'm pretty sure they're completely ruined. |
| Anyway, since the pump is centered the pump cover can be installed and torqued properly. |
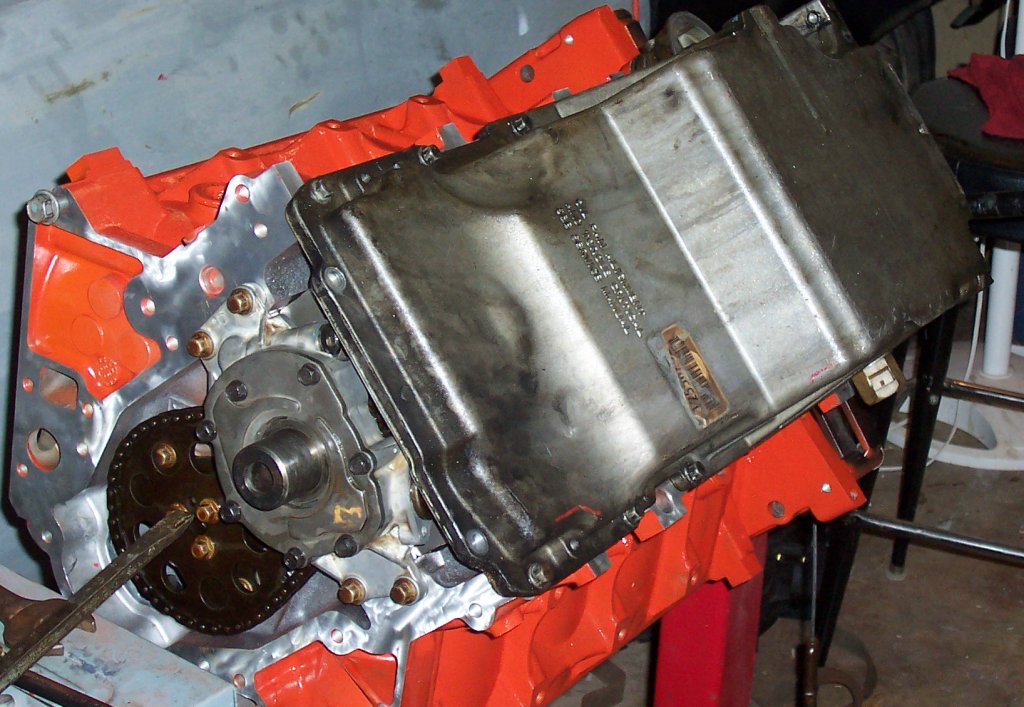
| The pan needs to be installed before the front cover. |
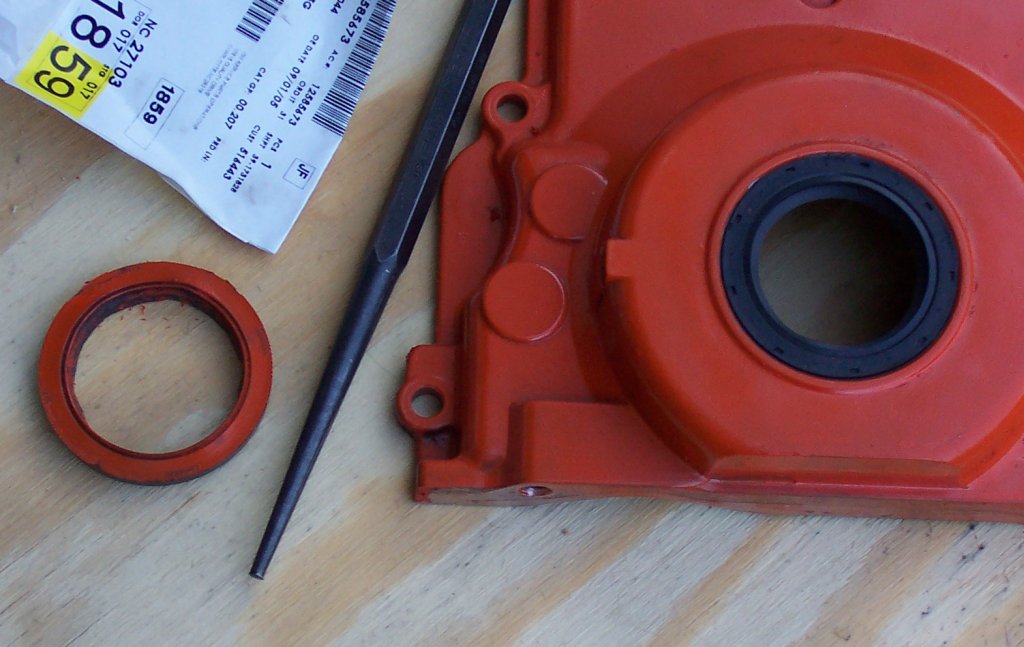
| Front cover and pulley installed. Wasn't nearly as bad as I'd been led to believe, although this is still the old bolt - new bolt will wait for the engine to NOT be on a stand. |
| Rear cover also installed. Not convinced that I've got the seal "right" - but I guess the proof will be when it's started. Rear cover isn't painted because nobody will ever see it. |
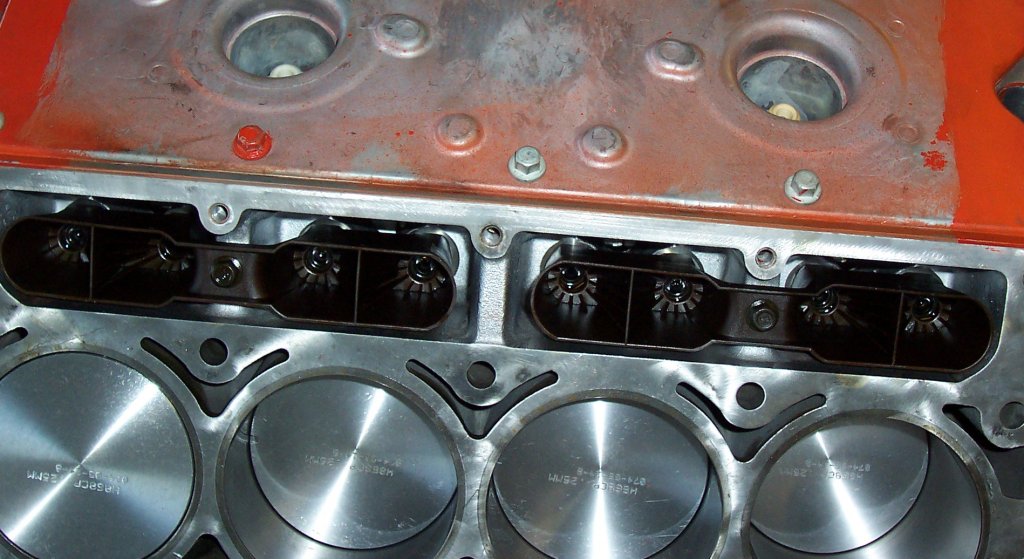
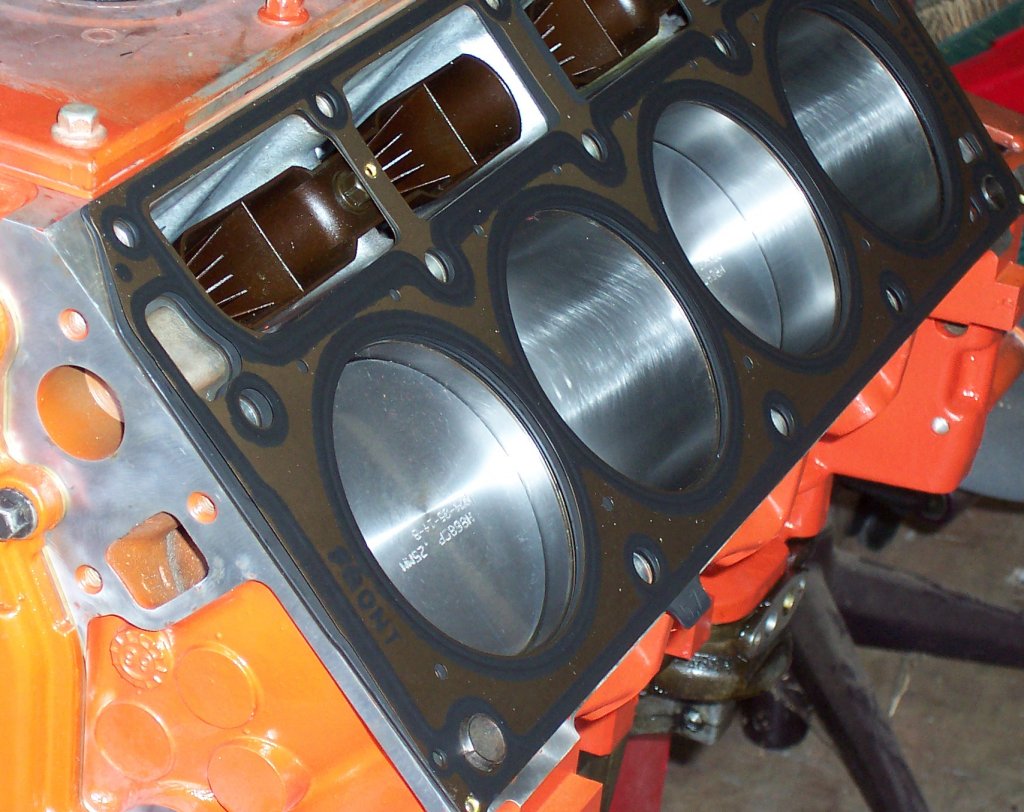
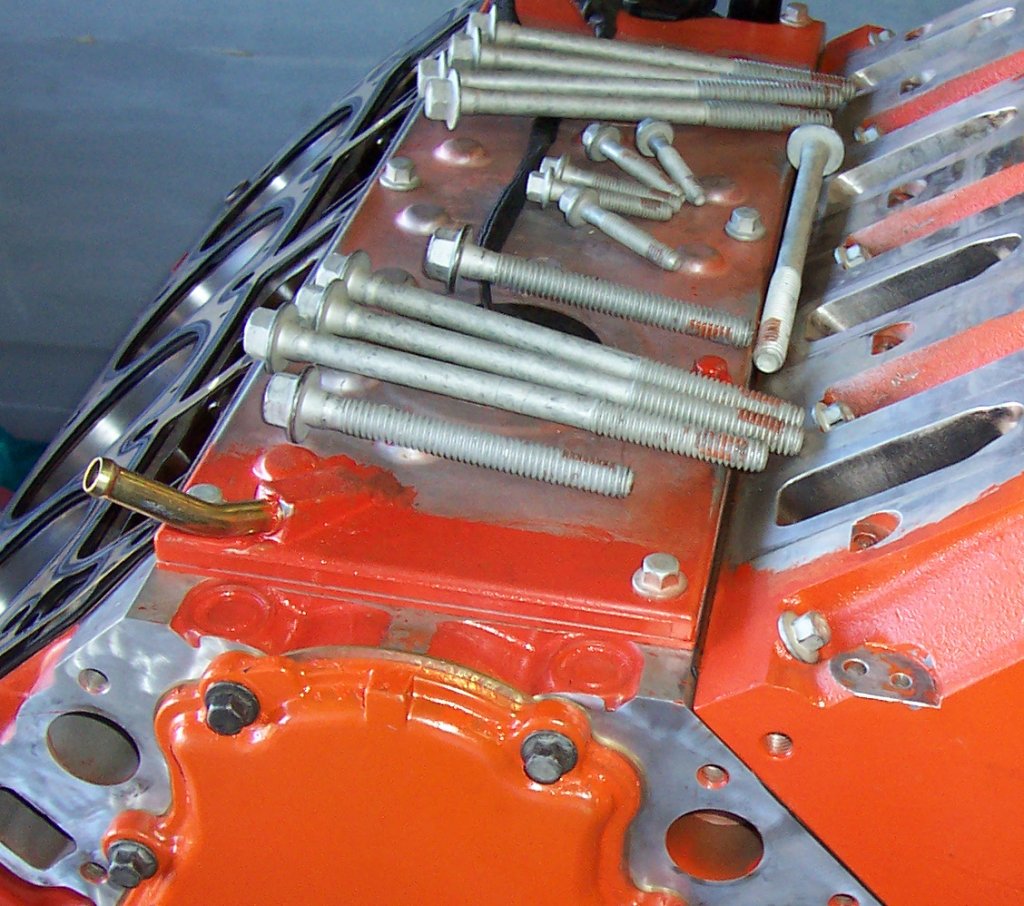
| Time to install the heads. Started with the driver's side. Used GM head gaskets. |
| The gaskets seem strange to me - they're three layers only attached at the top and bottom. |
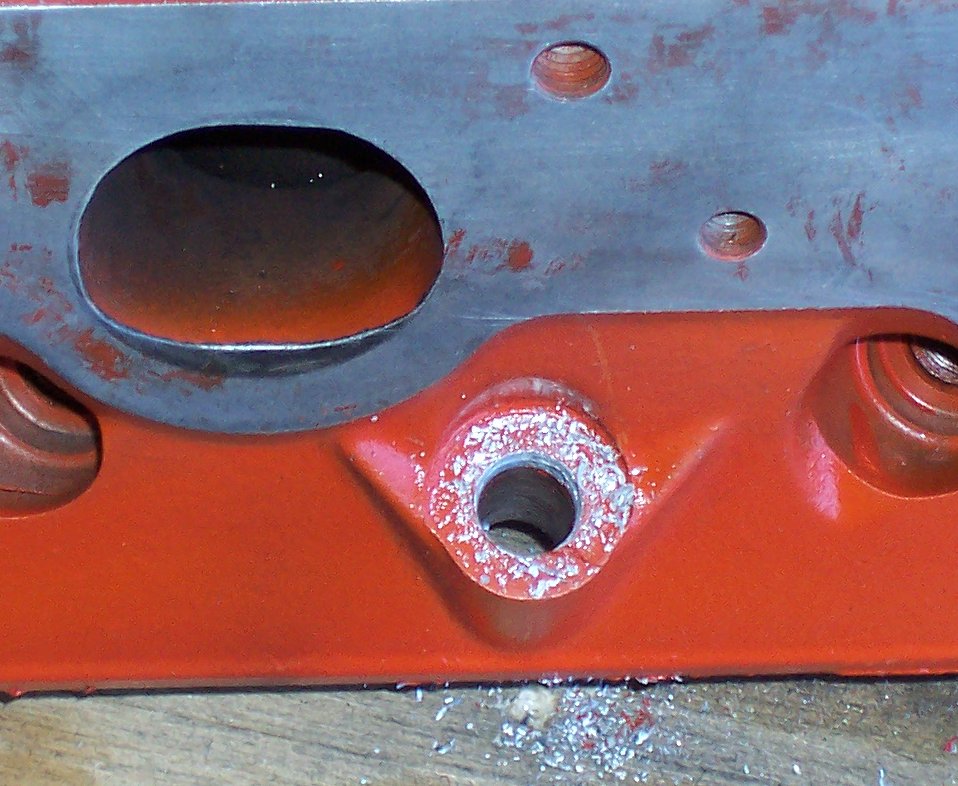
| Driver's side went on without issues. Started to install the passenger side when I found that the large funky headbolt wouldn't fit through the hole in the head. |
| My normal drill was not sufficient to drill this out; even if I tried to sneak up on the final size (1/2"). I had to use the drill press for it. |
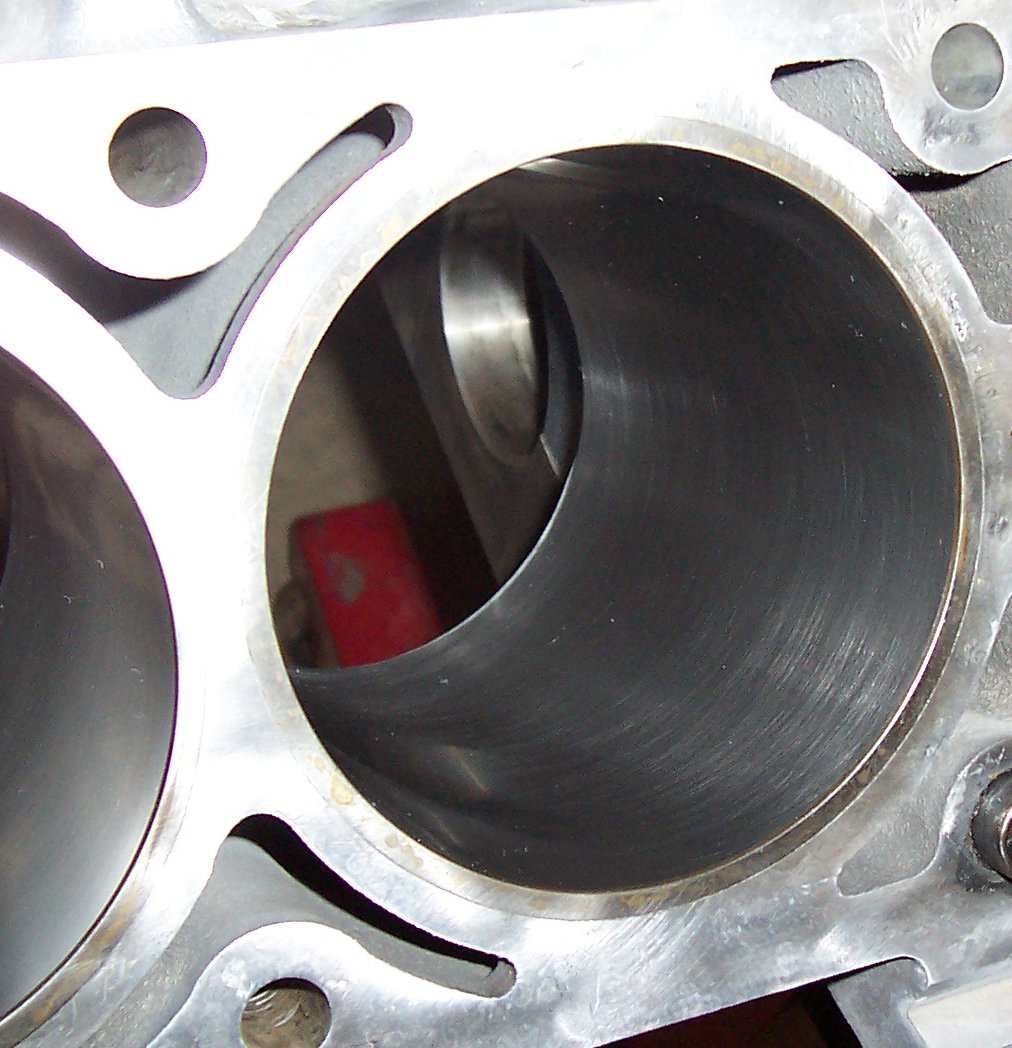
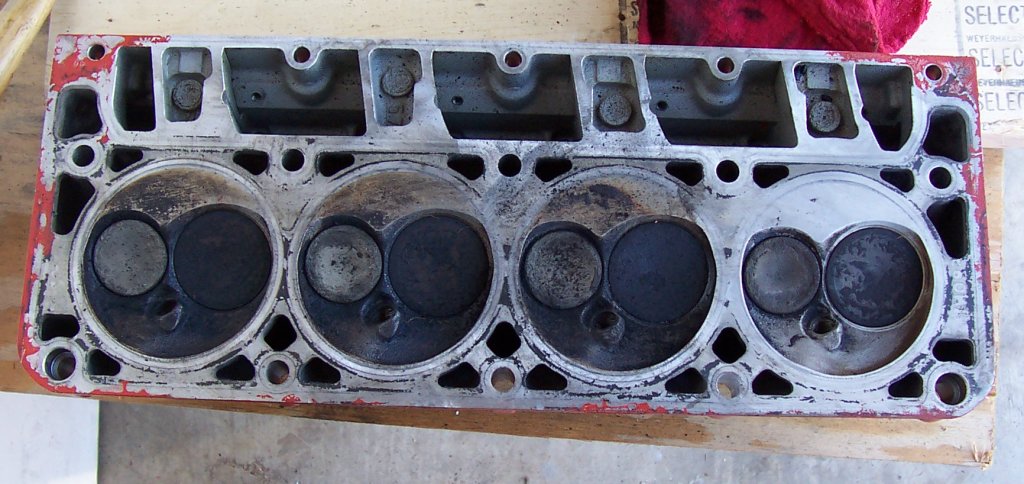
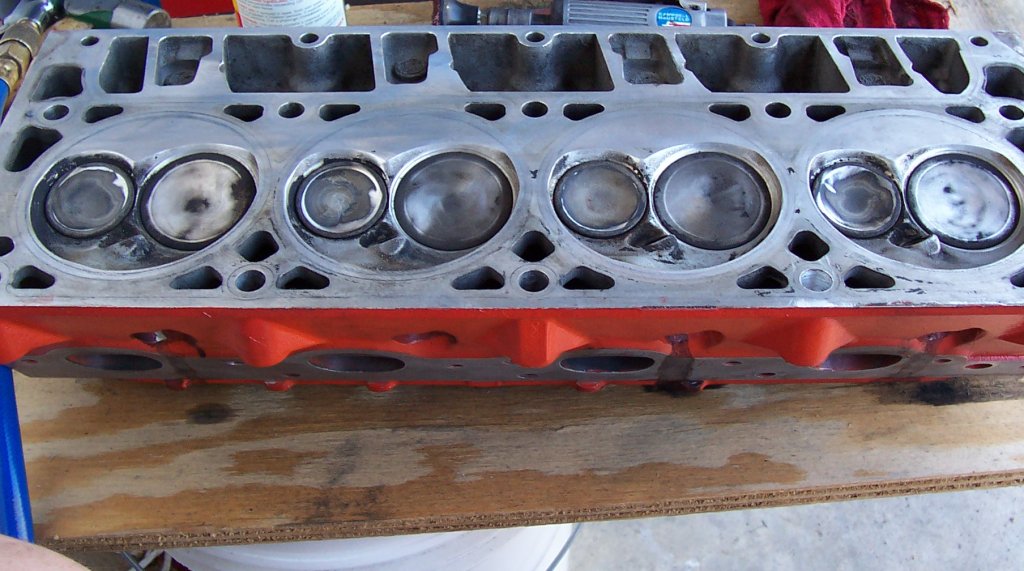
| When I went to clean up the bottom of the bolt hole on the bottom of the head, I found that the cylinders were coated with carbon (not sure why I didn't look before.). |
| And the after. Not sure whether or not I'll be pulling the driver's side or not. |
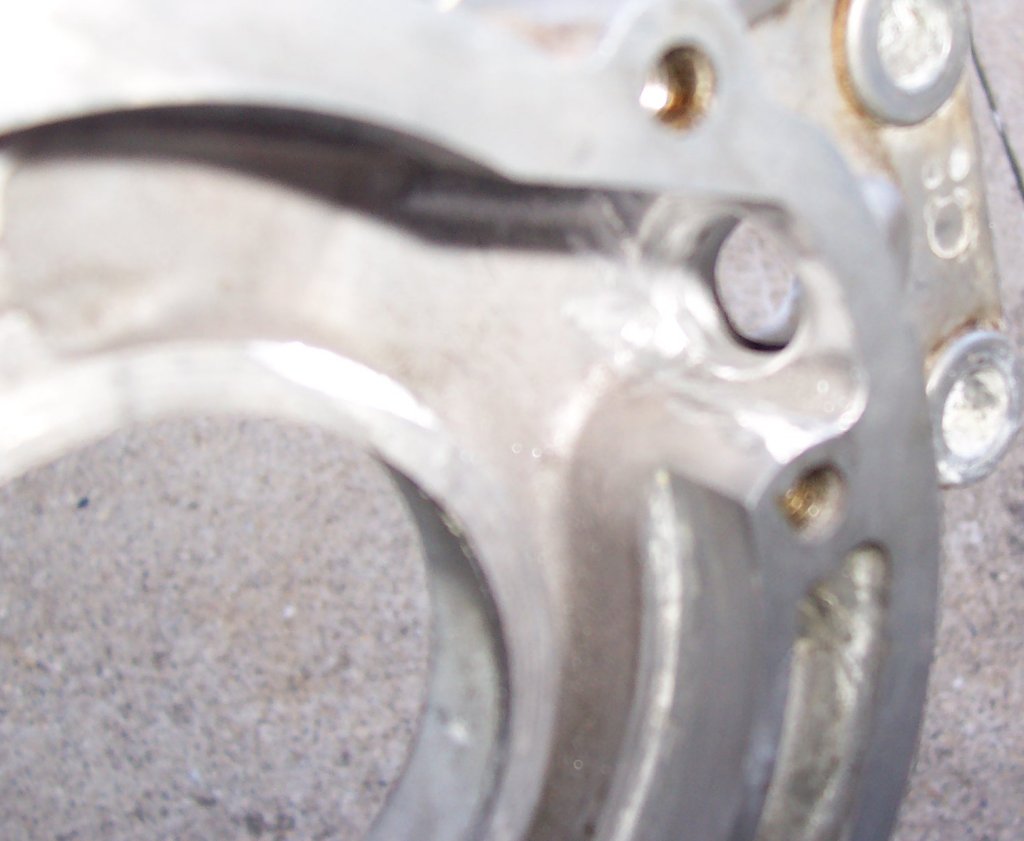
| Went to install the passenger side head.. but the middle M8 bolt hole appears to be stripped out as well. Had to go get a set of M8 helicoils. Reassembly is on hold while I wait for the replacement head bolts - you're not supposed to reuse these bolts. I ordered two sets. It's amazing - I went to the local Chevy house to see if I could get a new set of bolts instead of mailordering; they didn't have the boxed bolt-set but they had the individual bolts. Since none of the M8 bolts got any torque to them, so I got a quote for 8 of the long bolts and 2 short ones... 59 bucks for those 10 bolts! I got the boxes for 17.50 each instead. |
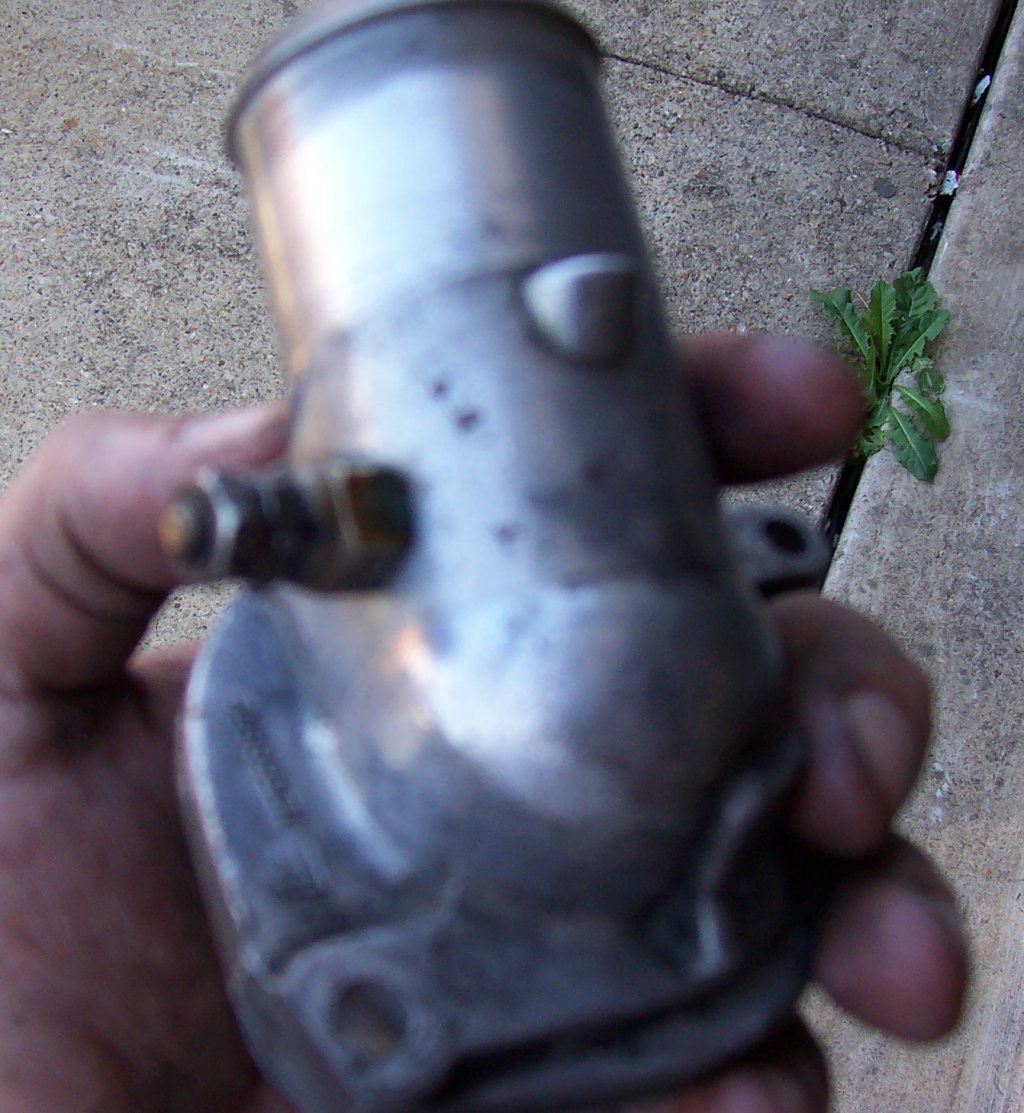
| The thermostat housing had been drilled and tapped for some manner of electric temp sensor. I've ordered a new housing as well, since my sender will be threaded into a head. |
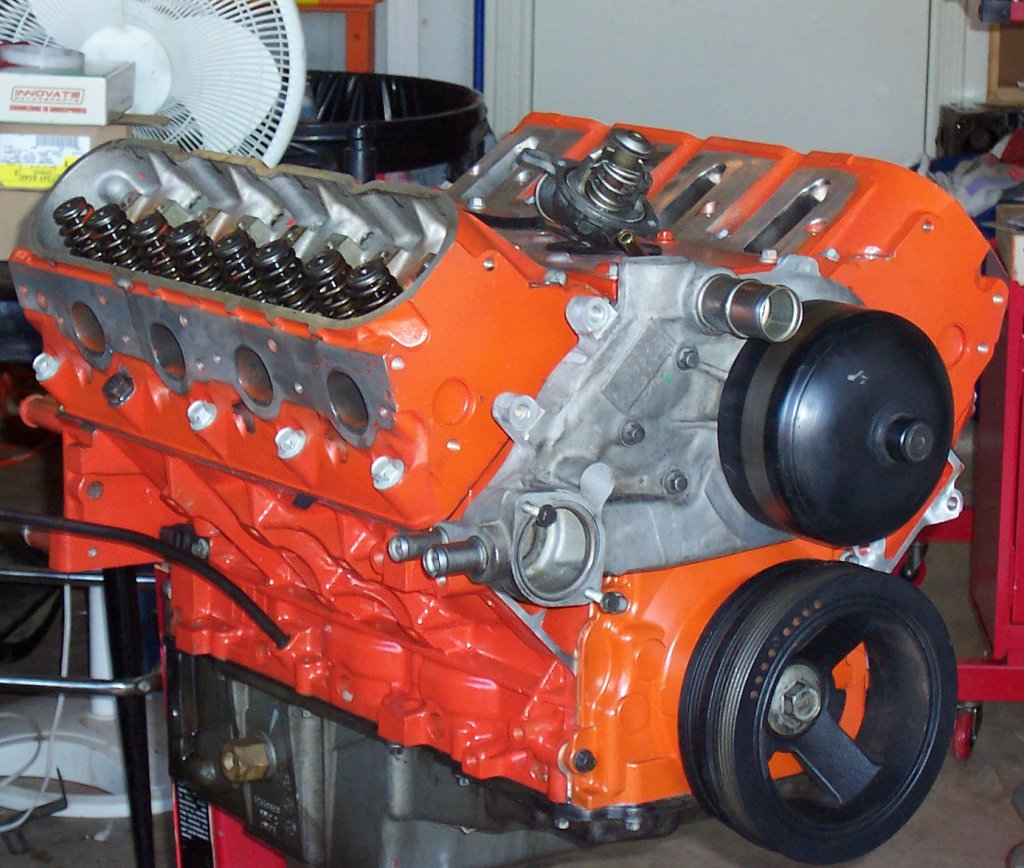
| Installed the water pump. |
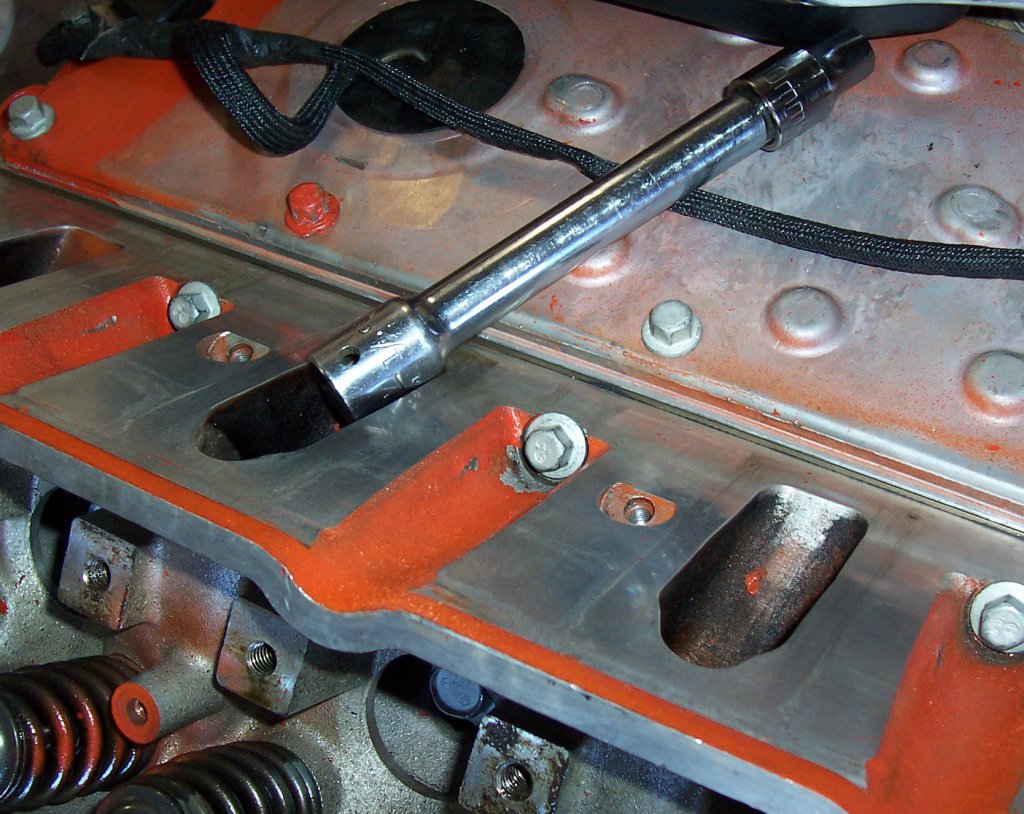
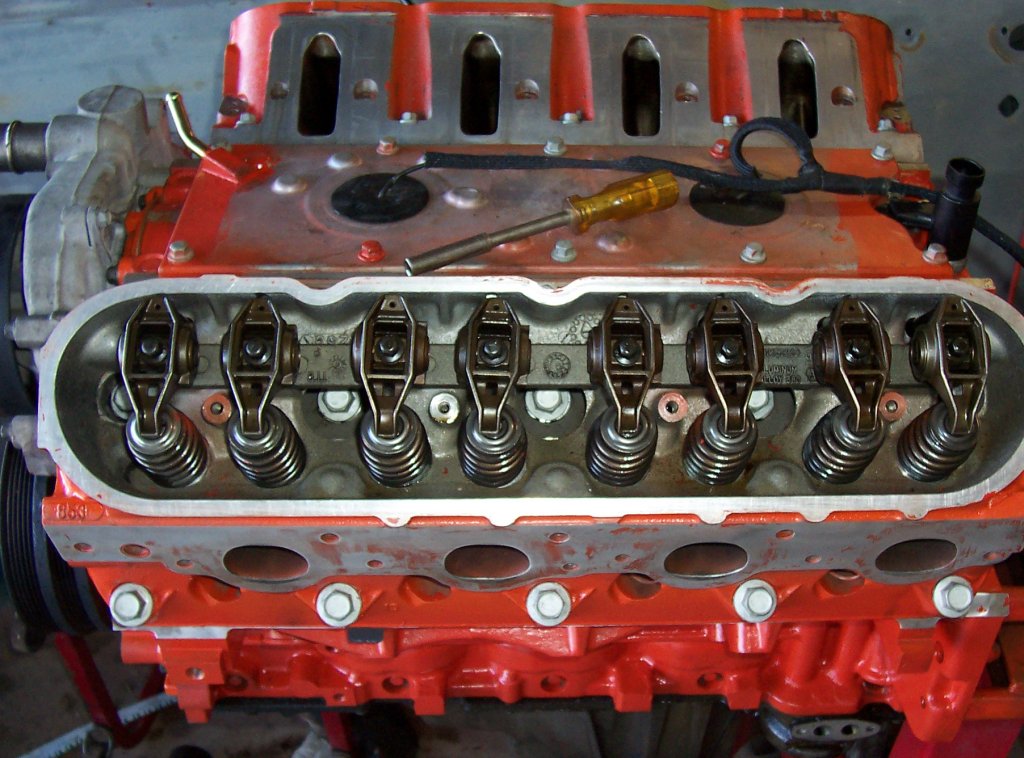
| Rocker arms and pushrods installed on the driver's side. I still need to torque them properly. Had to get an adapter so I could do 10mm with my 1/2 drive torque wrench. |
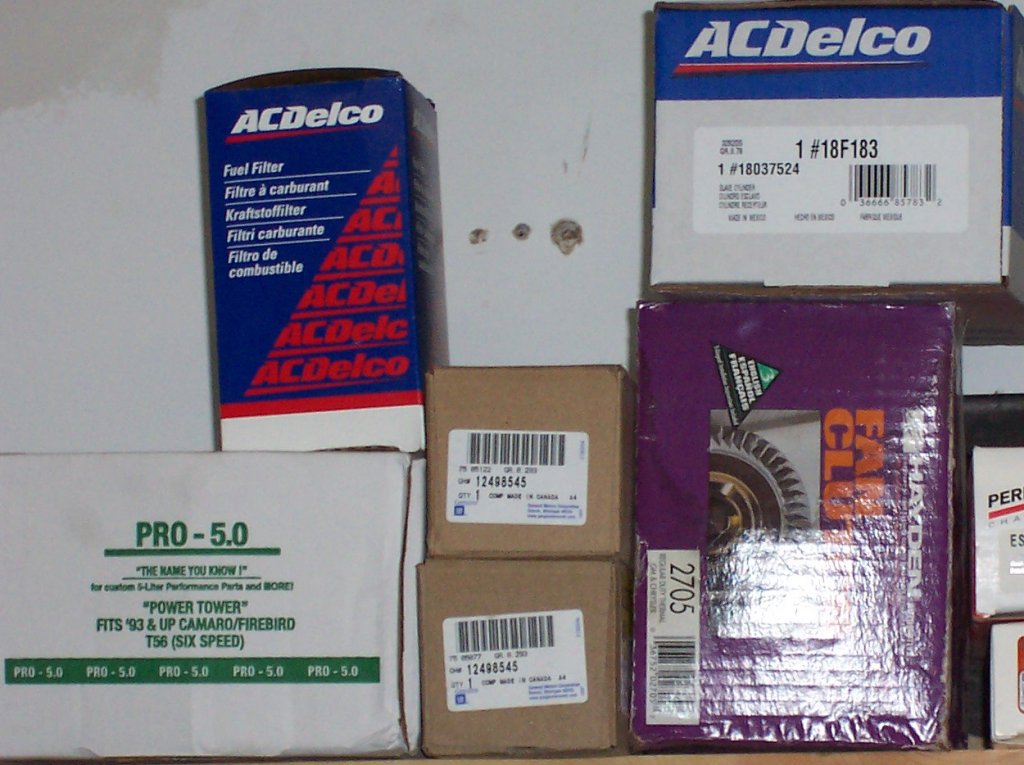
| Bought parts. Shelf includes the Pro 5.0 shifter, the fuel filter/regulator; the head bolts (since used); and the clutch slave. Not pictured: clutch master; the one I ordered from RockAuto had no hose or reservior. |
| Got an LC-1 wideband O2 sensor. |
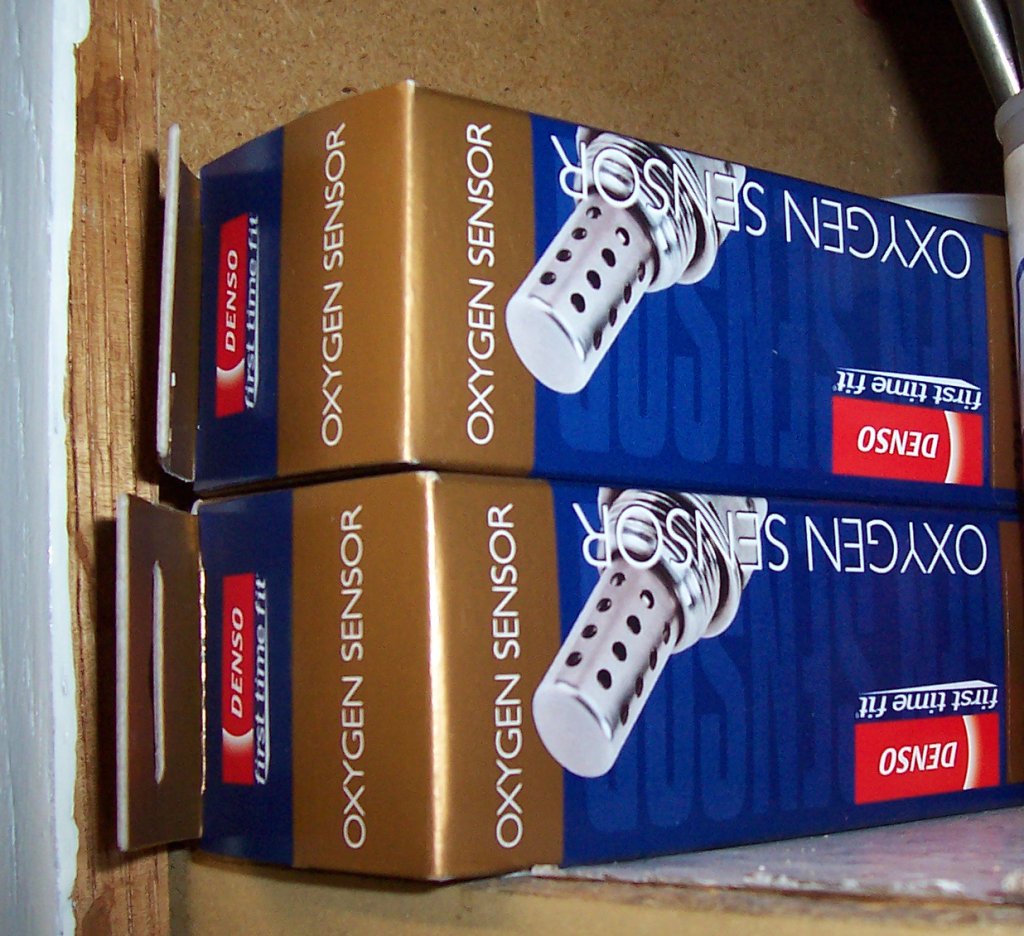
| Narrowband O2 sensors too. |
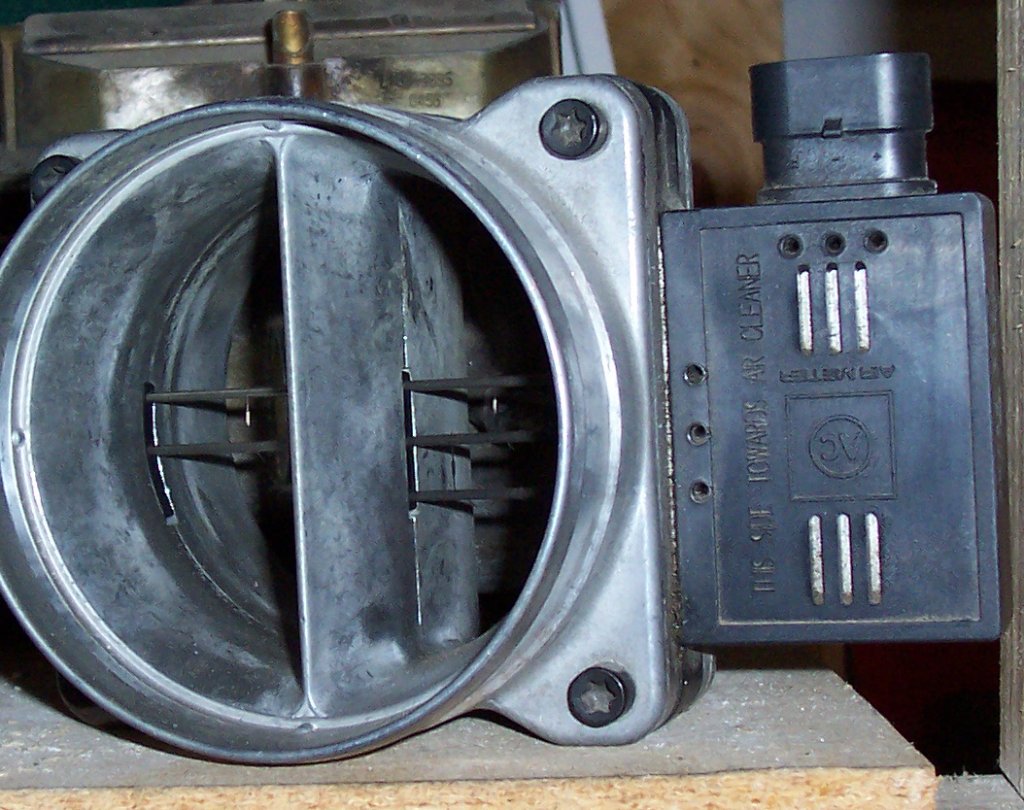
| Got a MAF, but I'm starting to lean towards going Speed Density instead of using a MAF. |
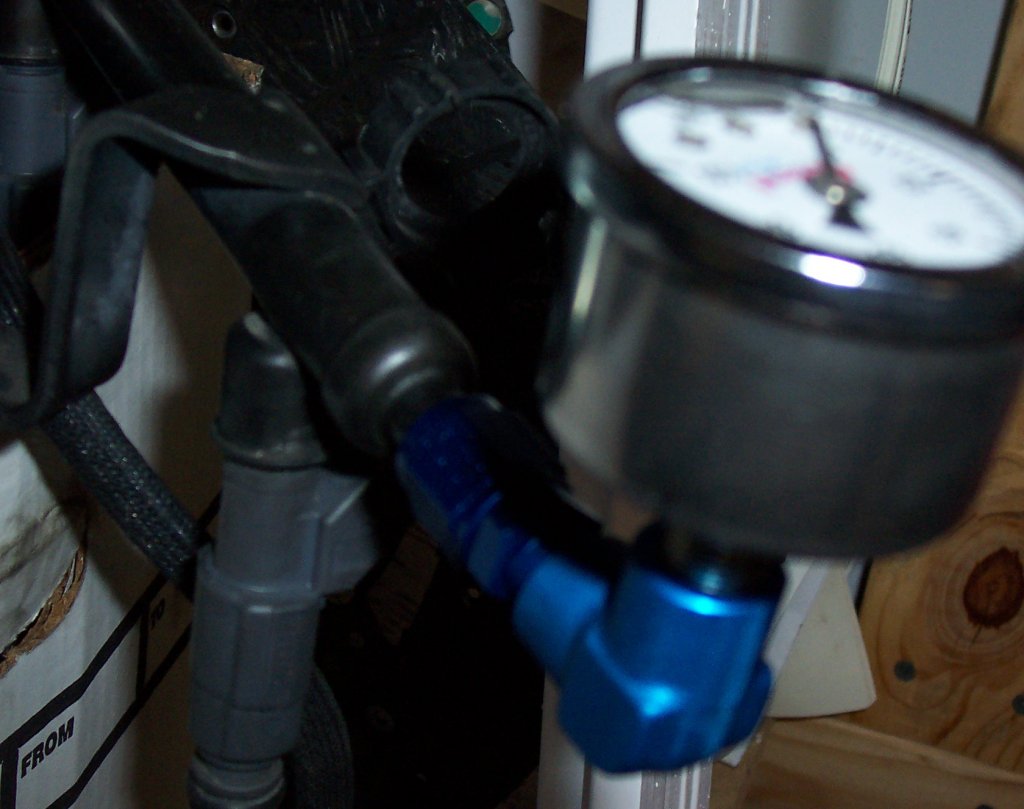
| Fuel pressure gauge and elbow. Thinking to strip the anodizing off the elbow though. |
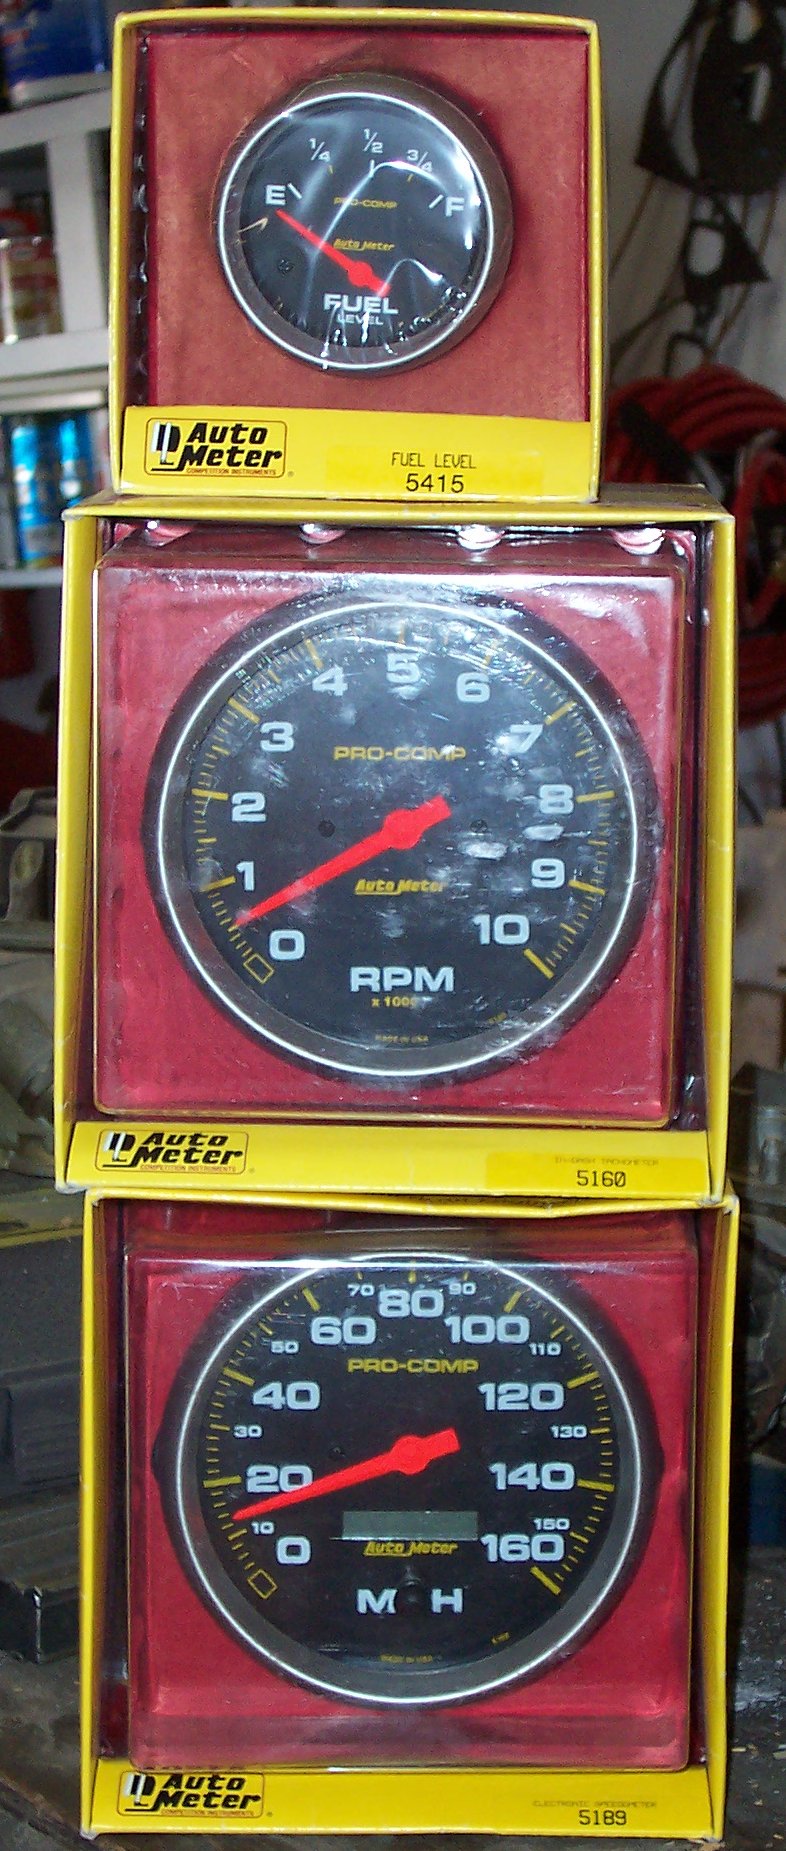
| Gauges. The oil pressure and water temp gauges were backordered; they've arrived now. I know there's a lot of parts I've forgotten to mention: I know my EFILive isn't pictured; but there should be others too that I just can't think of. |
Go back to the previous day (11 Sep 05)