With the roof mounted, the first step would be to put some all-metal on the A and B pillar joins:
| Blorp. Needed to go down the A-pillar some to line up with where the lead used to be. | |
| B-pillar more straightforward. |
| (and, of course, once it's there, you need to sand it smooth) | |
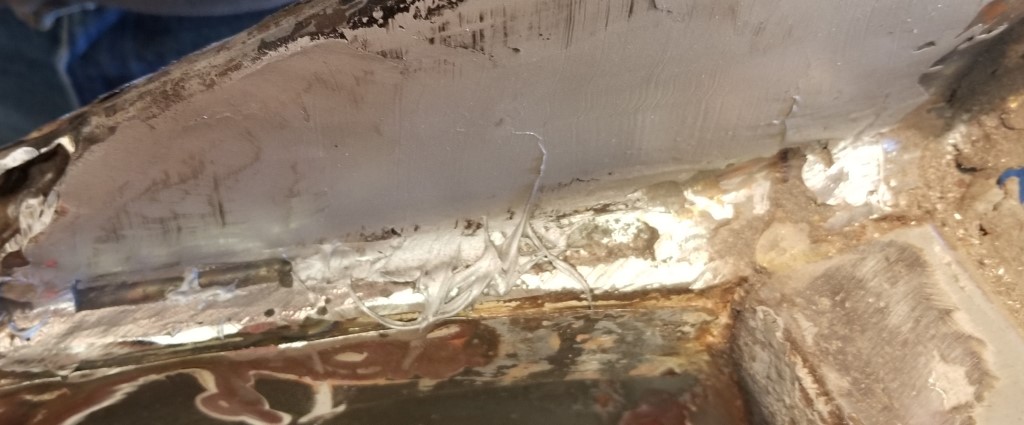
The goal with doing the filler was to get into a position where the seam-sealer could be applied in the drip rails.
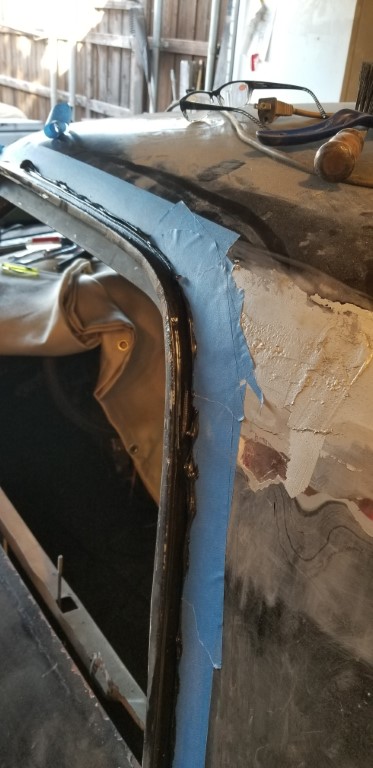 | Masking is important. I didn't mask all that well. |
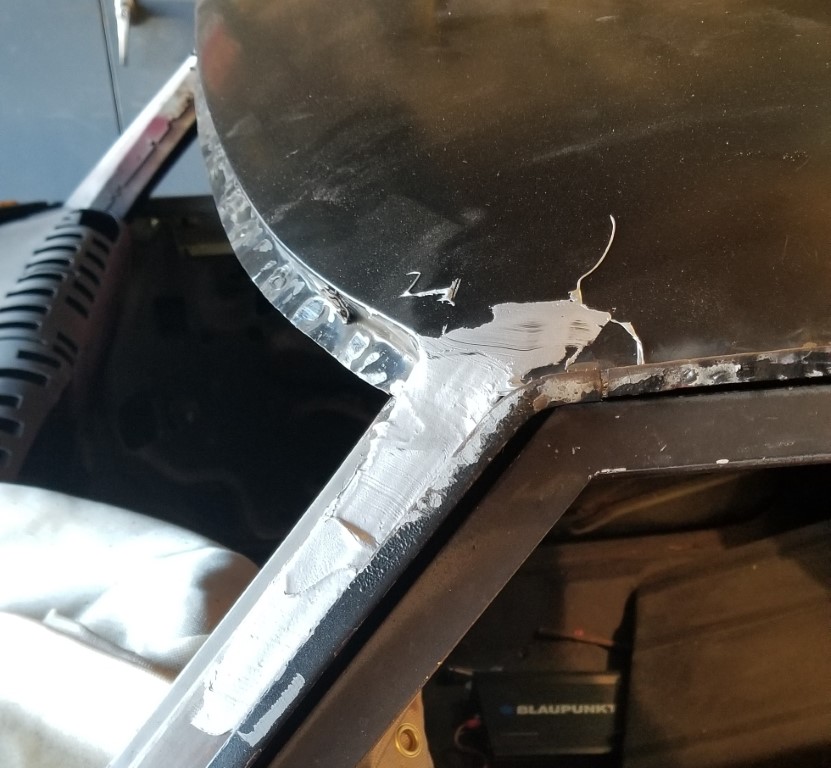
| While I have the seam sealer out, let's get this panel mounted *and sealed*. | 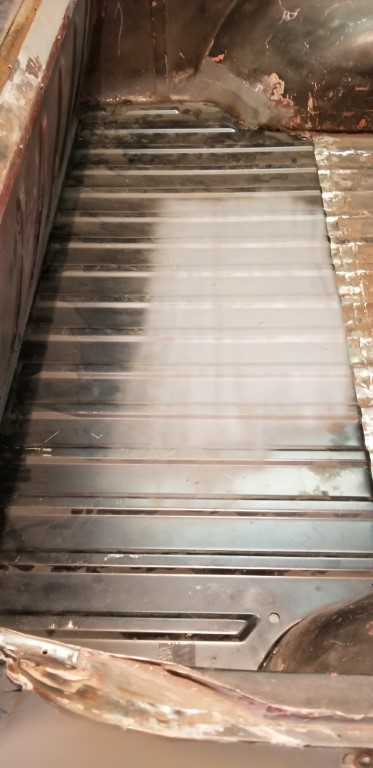 |
 | I used the wrong screws, because I ran out of the pan-head philips screws. These will suffice for now. |
| Also while the seam-sealer was available, I put a little dab on the threads of the trim studs for the windshield and rear window. | 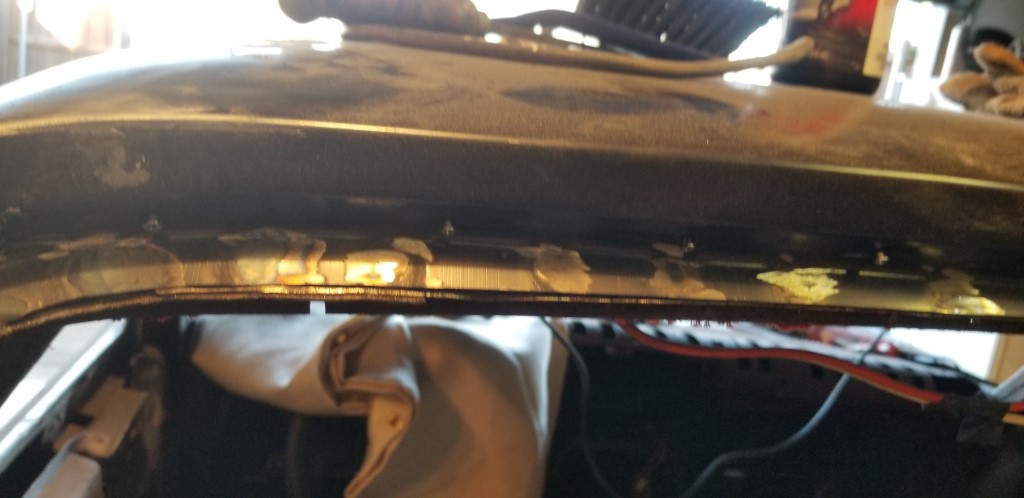 |
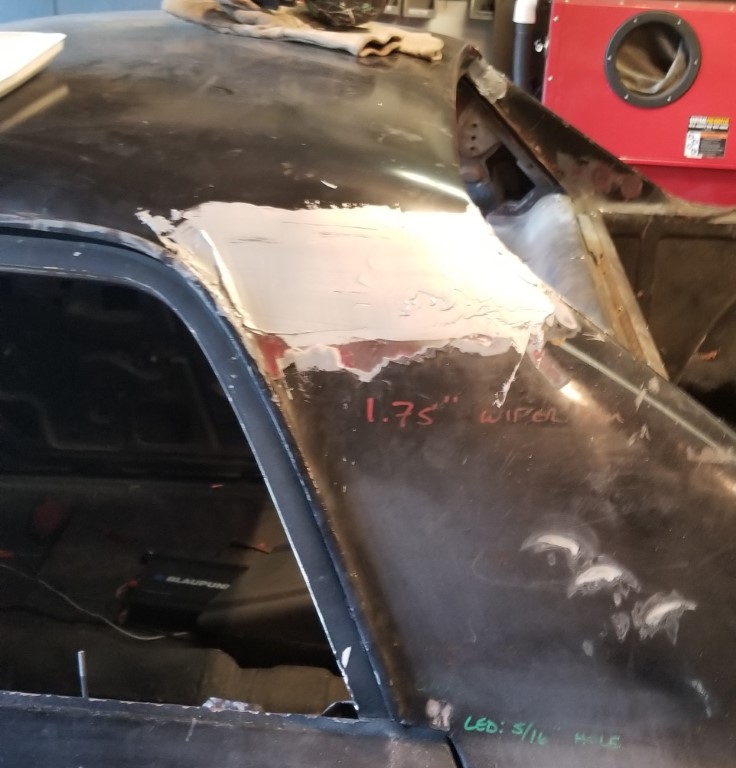
All of this was with a goal of getting ready to put the rear window in - which really would require that I have the headliner in place first - to force the ordering the headliner. Not quite ready at this point to put said headliner in though:
 | I'm not going to want to be grinding so close to the glass, and this needs fixed. |
| So, it got fixed. | 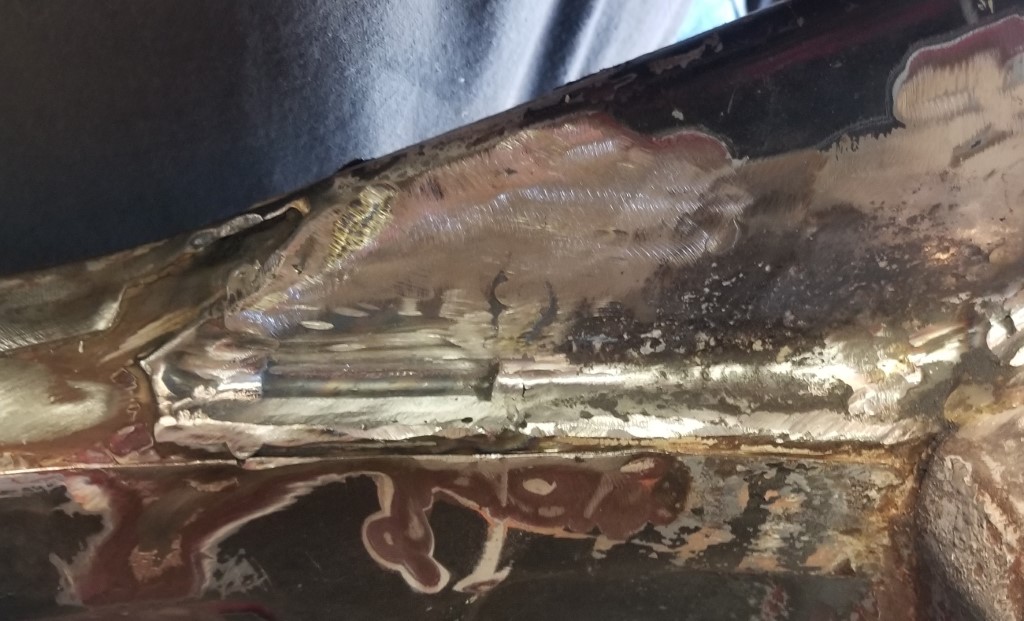 |
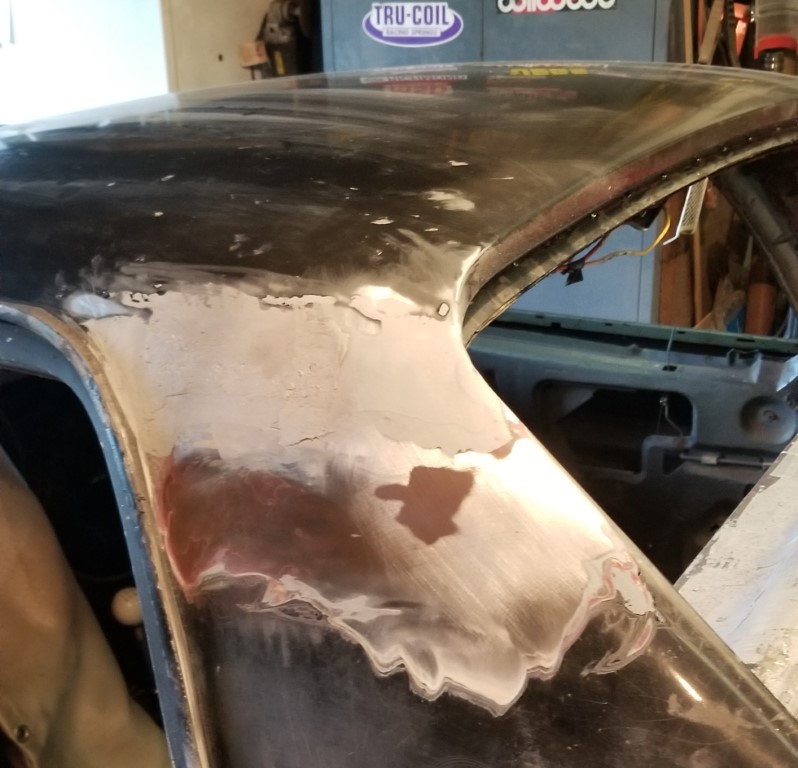
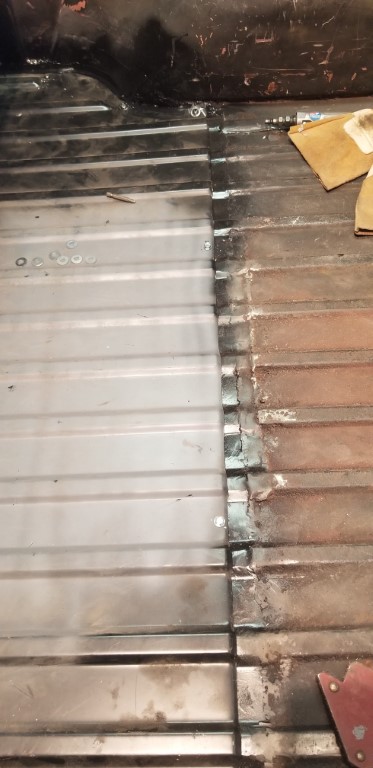
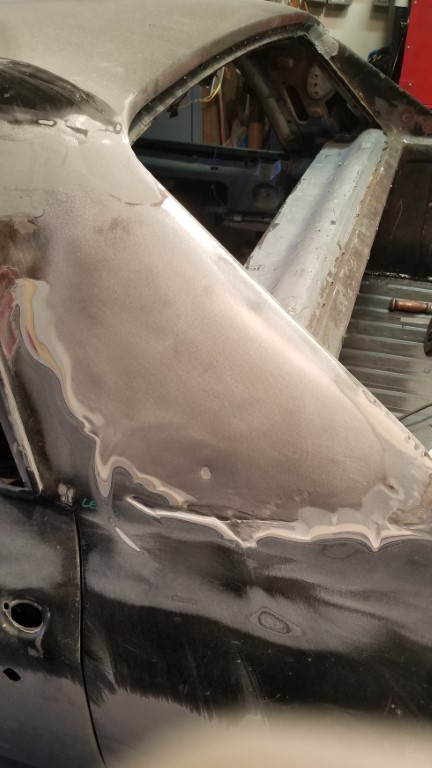
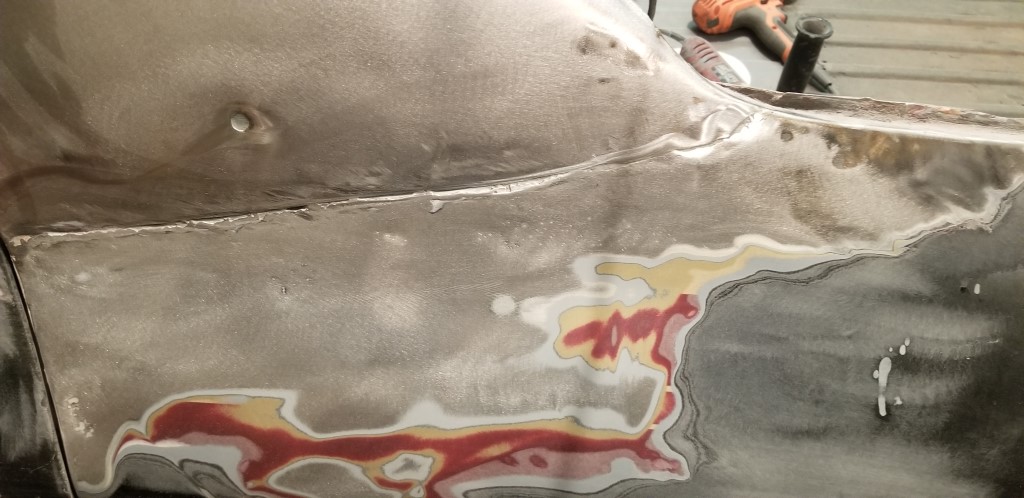
 | All-metal was handy, too. |
| These got filled with some epoxy putty, and then the whole shelf was covered with more all-metal. Going to try and marry the back edge of the shelf with the window frame. You'll see the covered shelf in other pictures. | 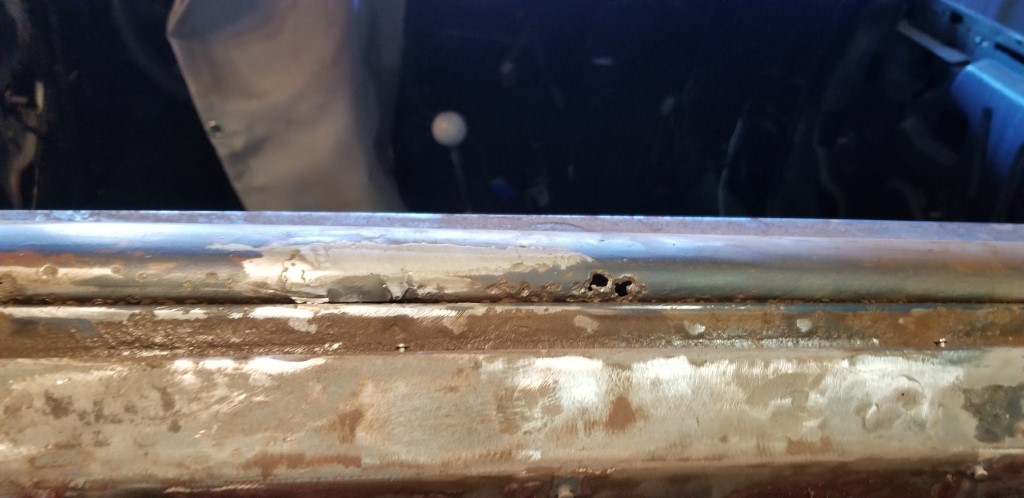 |
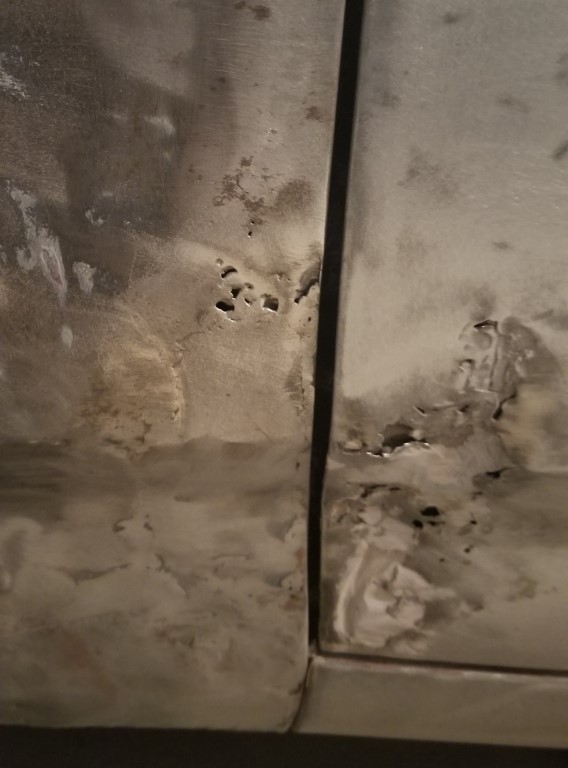
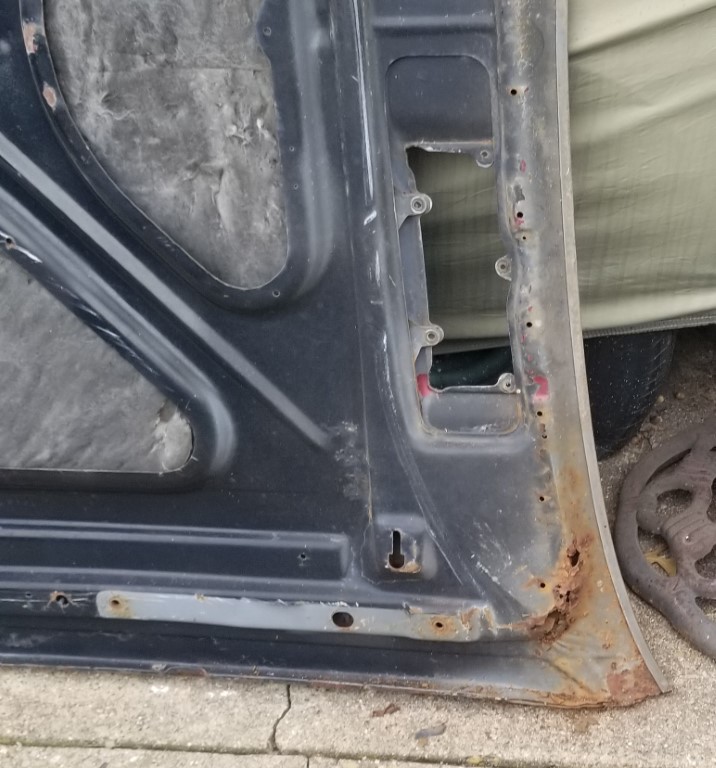
 | Sanding further down from where the B-pillar joins. I don't know what the round thing is - maybe a bullethole? |
| Detail. | 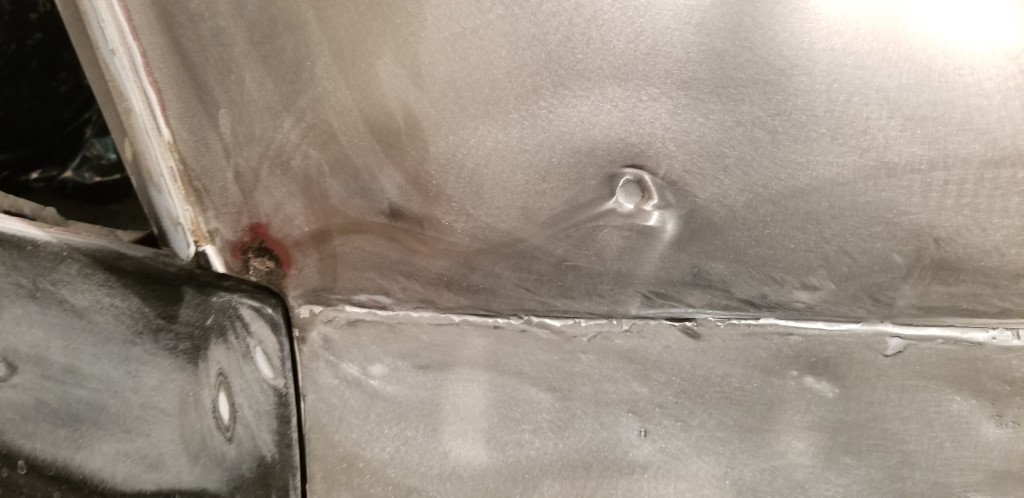 |
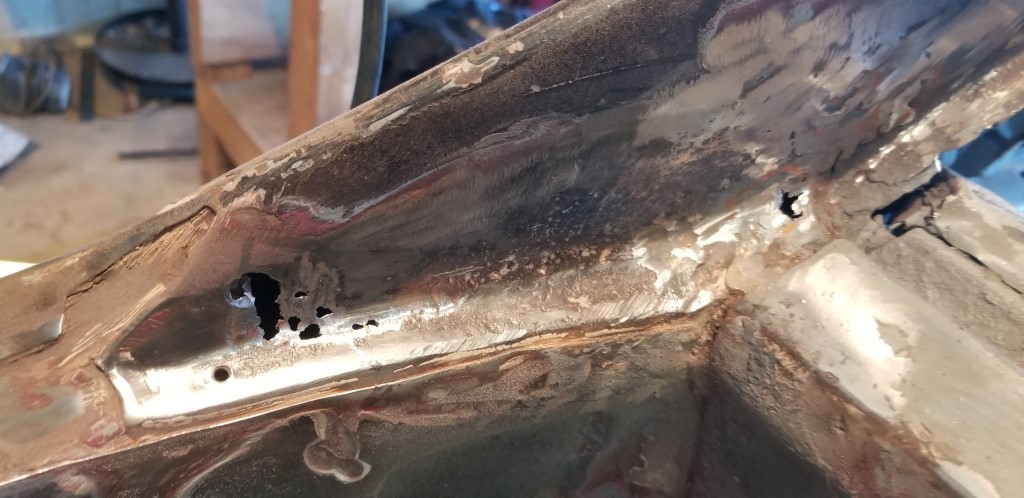
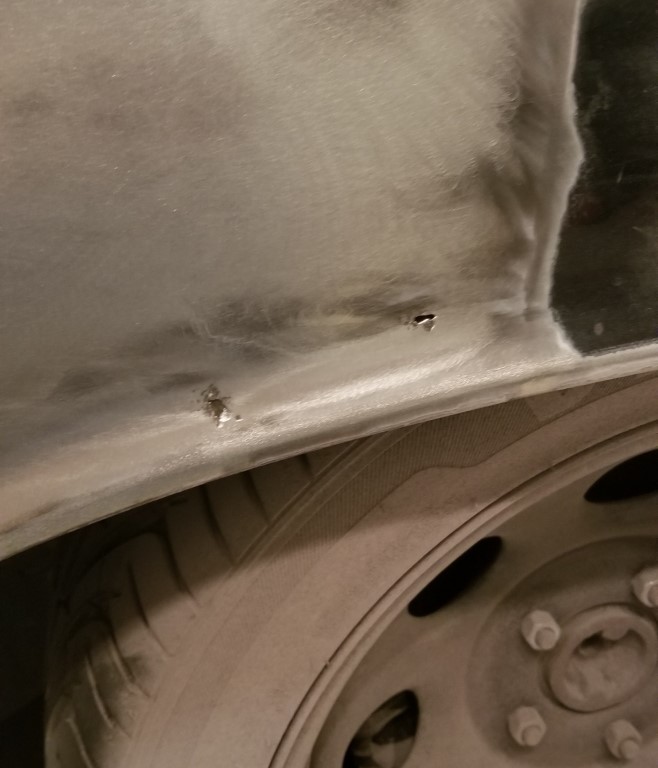
 | Appears that the quarters were re-skinned at some point. I don't much like this seam - looks like they only welded part of it and it's definitely not flush. |
| Also there is random rust-hole. |  |
 | Carrying the paint-stripping on back, the rear of the lower flange just in front of the wheelwell appears to be made out of bondo. Not all that surprising. |
| Detail of the lower flange. | 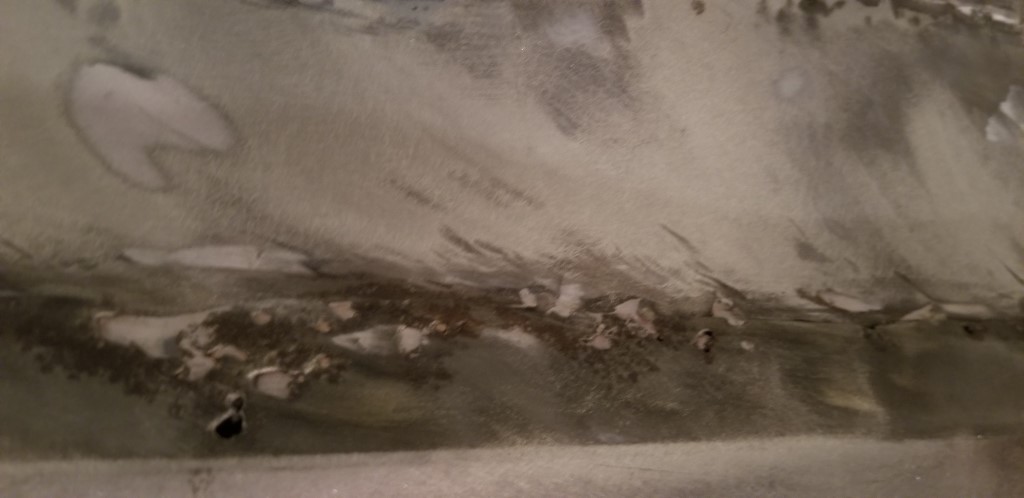 |
. | Small rust-holes, also not surprising |
| Rear quarter, naked. I am pleased to note that there were no real surprises here. It's a pretty straight, relatively low-rust panel. | 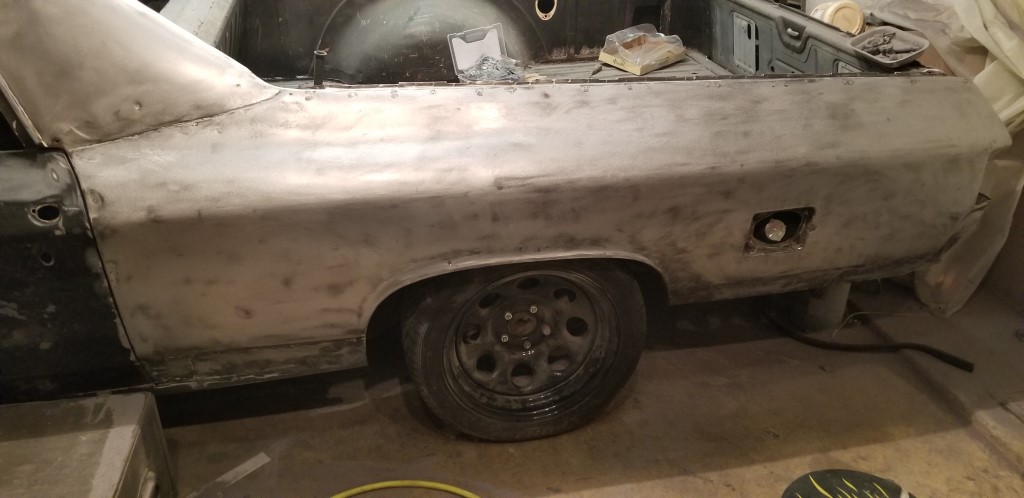 |
 | Back edge of the door, however, is another story. |
| Front edge is even worse. A smarter man would probably just re-skin the door. | 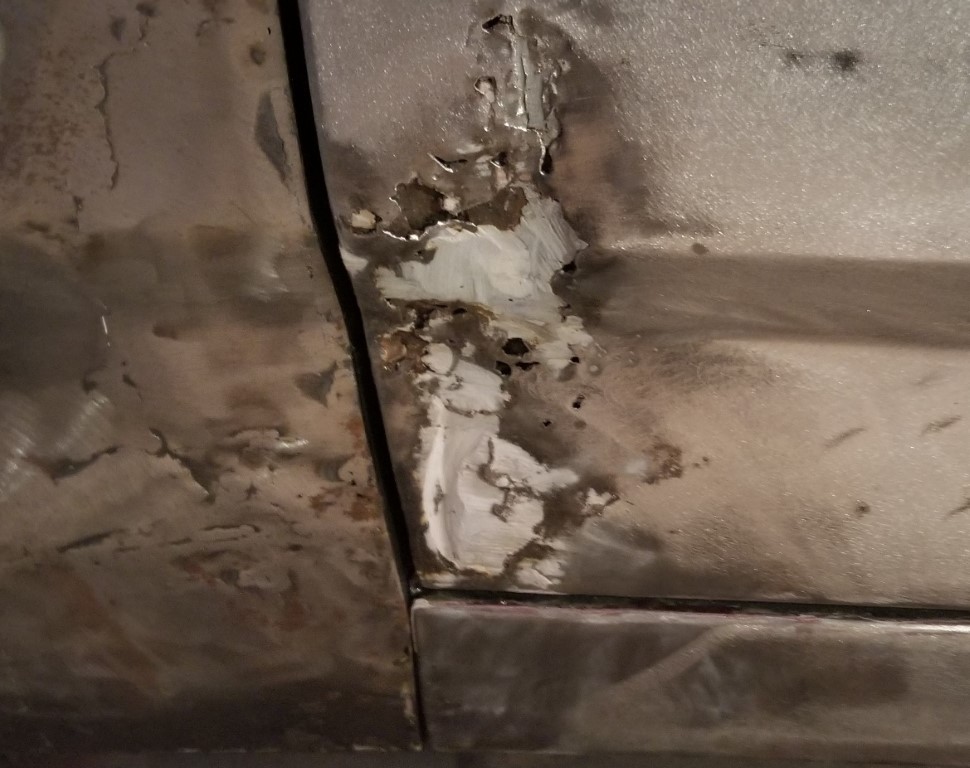 |
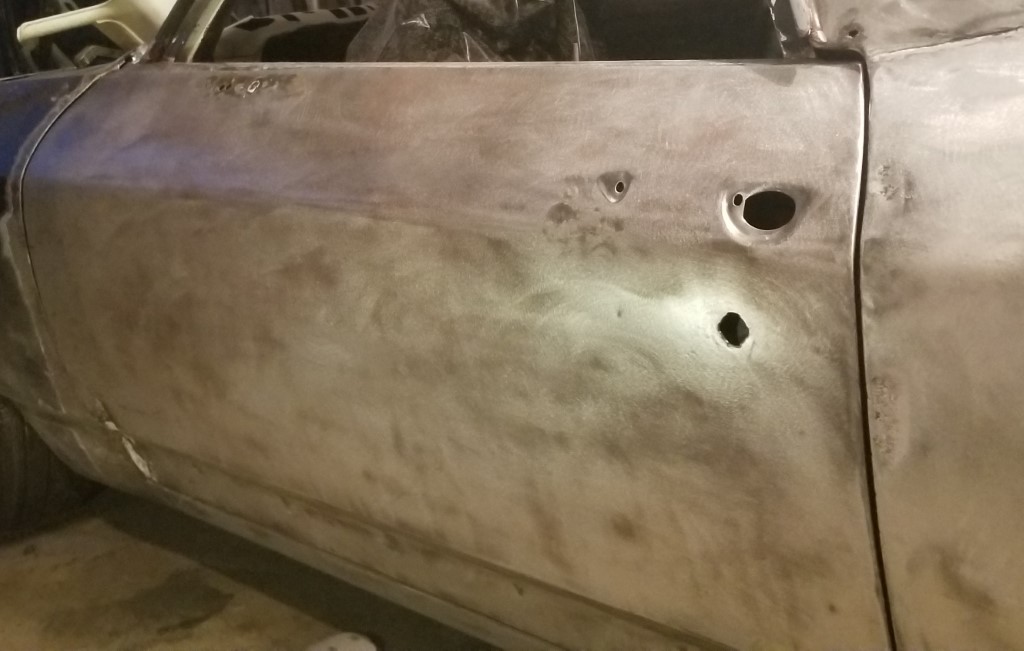 | There is a door-ding just ahead of the front of the handle - you've got to really put some effort in to make that big of a ding. Also there's the side-mirror mount that's not really smooth (see this post from Mar 2013 for detail.). All must be worked. |
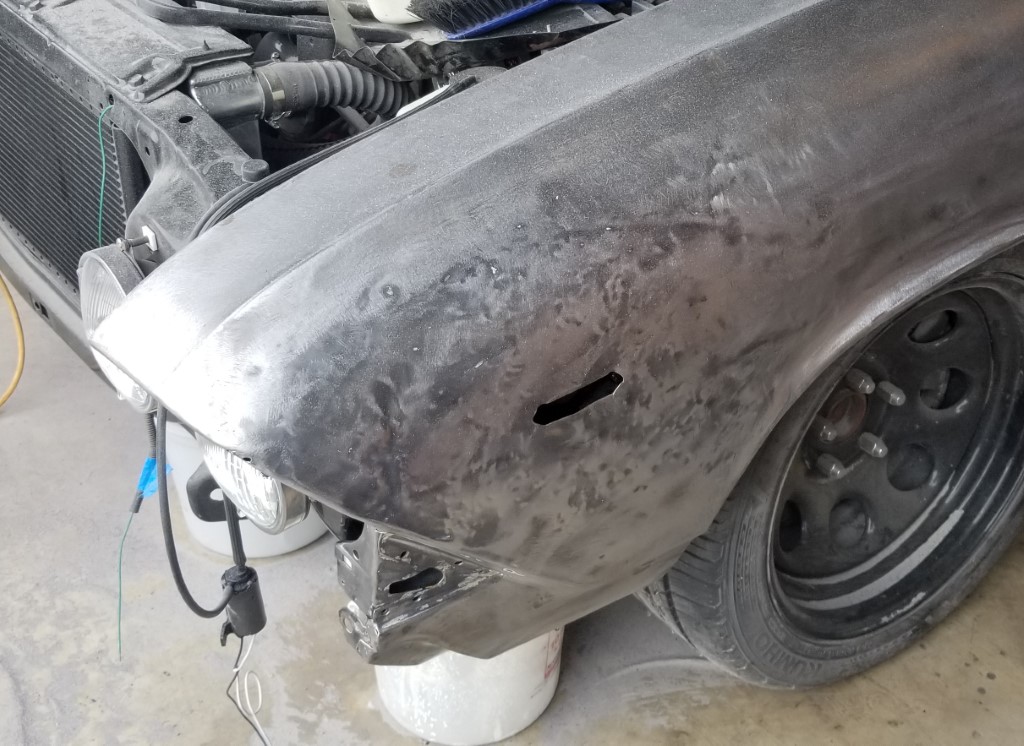
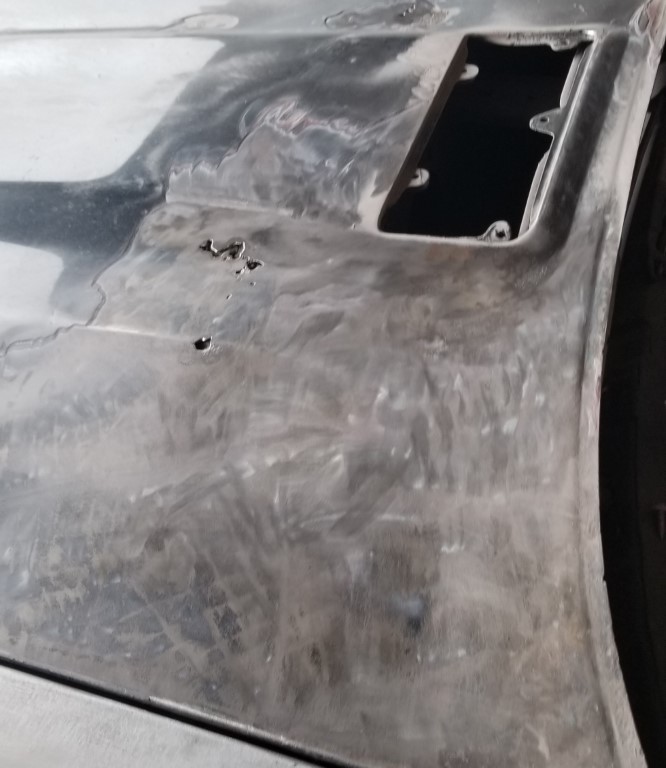
| There is a single hole in the top of the fender over the cowl. I don't know why. I blame tinworms. | 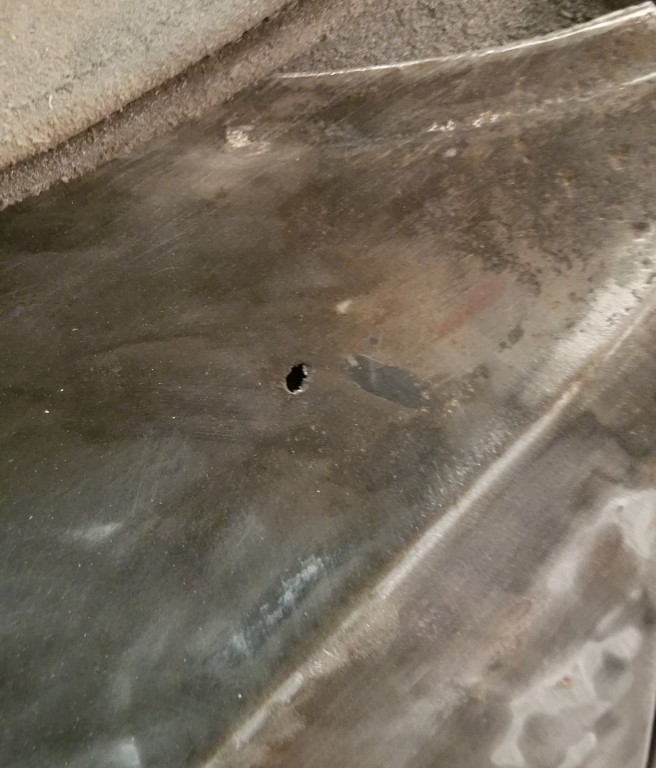 |
 | Some more rust damage on the back edge of the fender. |
| And it extends further up too. | 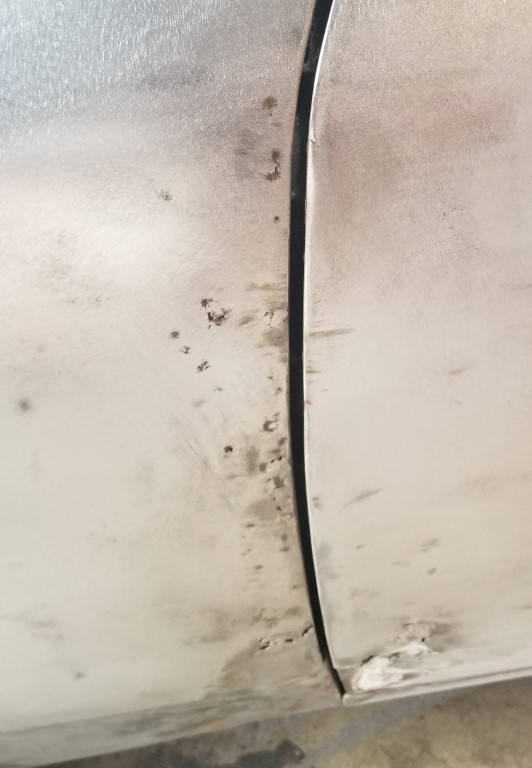 |
 |
It appears that at some point the El Camino was involved in an accident that
was enough to bend the front of this fender up - can see evidence of a lot
of hammer-and-dolly work. Again here - a smarter man would probably replace the fender. |
| Sure does look nice in bare metal though. | 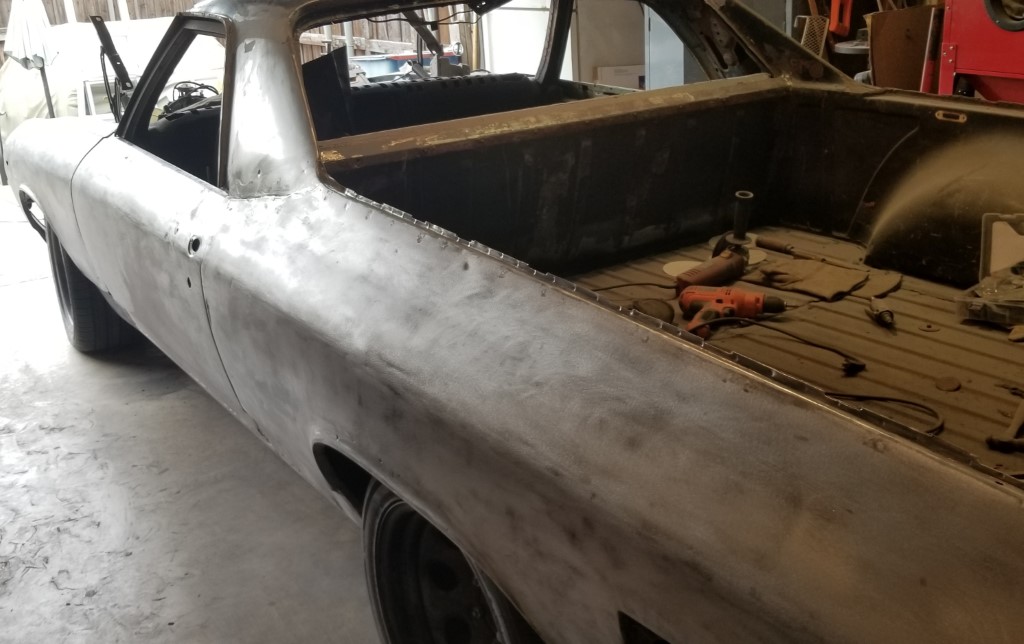 |
 |
The hood. Sigh. Again with this - smarter man, etc. In fact, you should probably be reading the smarter man's page instead of mine. So should I. |
| Holes. | 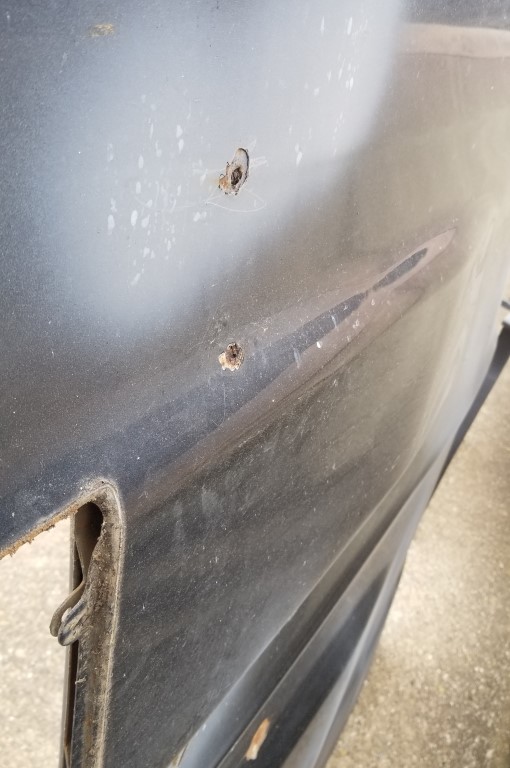 |
 | Rust holes add lightness. Or something. |
| Went ahead and put the hood "on" for stripping - need to have access and
needs to not be outside. You might notice that the header panel is not installed. That's intentional - I have a choice: I can have access to the attic, or I can roll the car back enough to put this panel on, but I can't do both. I don't have a good workaround in mind for that. | 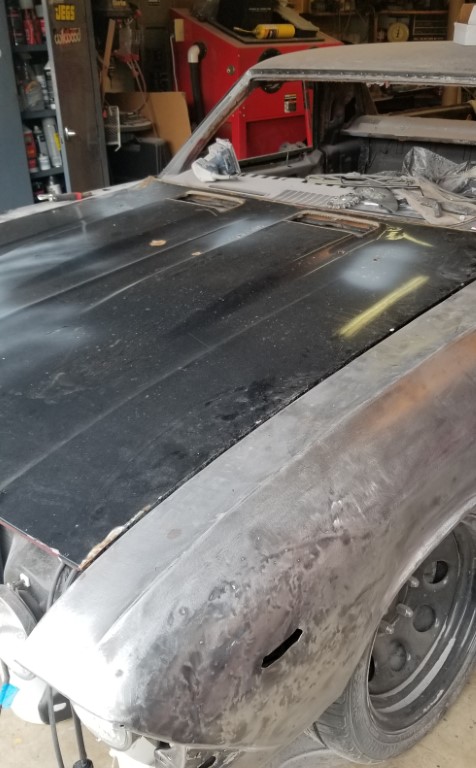 |
 |
And as we strip, we find more rust holes. I can fix this. Or I'll decide to replace it. |
| Hood stripped. So-much-dust, it looks like I had the dashboard flocked. | 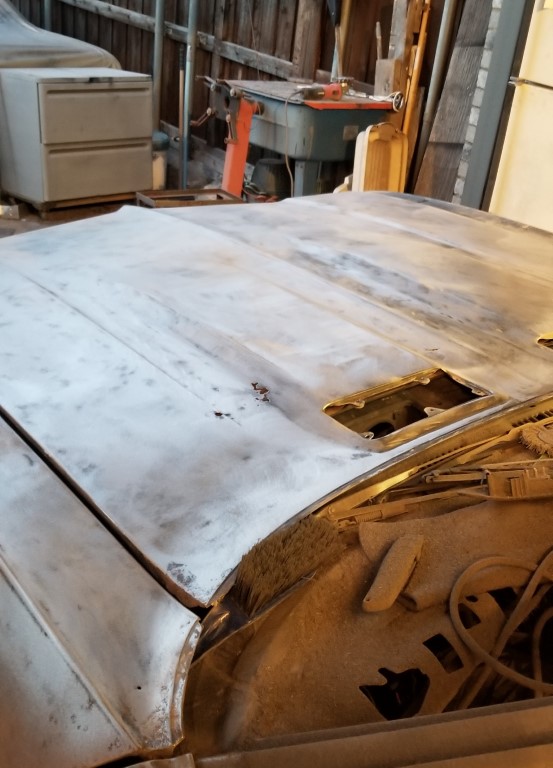 |
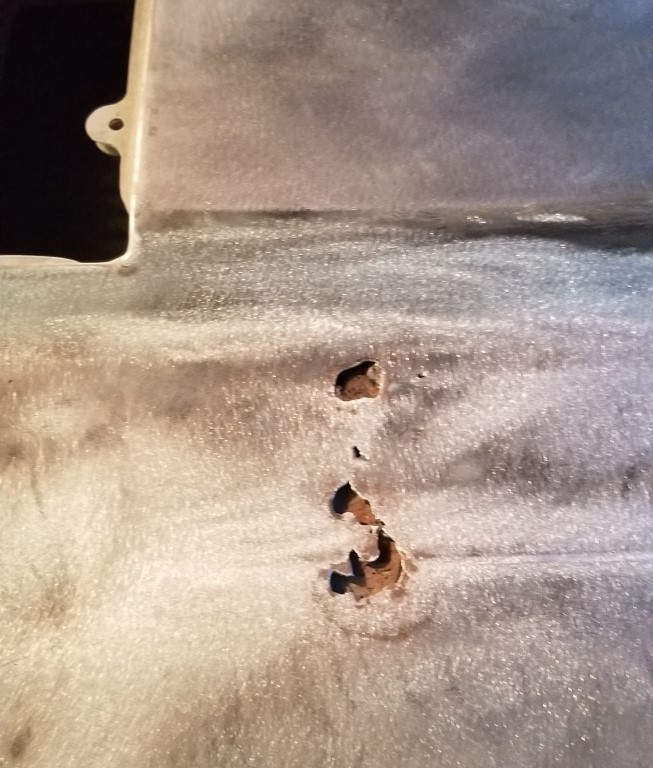 | Bonus rust hole - I knew about the lower ones, the upper one was hidden by the paint. |
| Also a tiny hole that will require attention. I figure the top of the hood will get handled, then I'll flip it over and do the bottom - and prime/paint the bottom before reinstalling. | 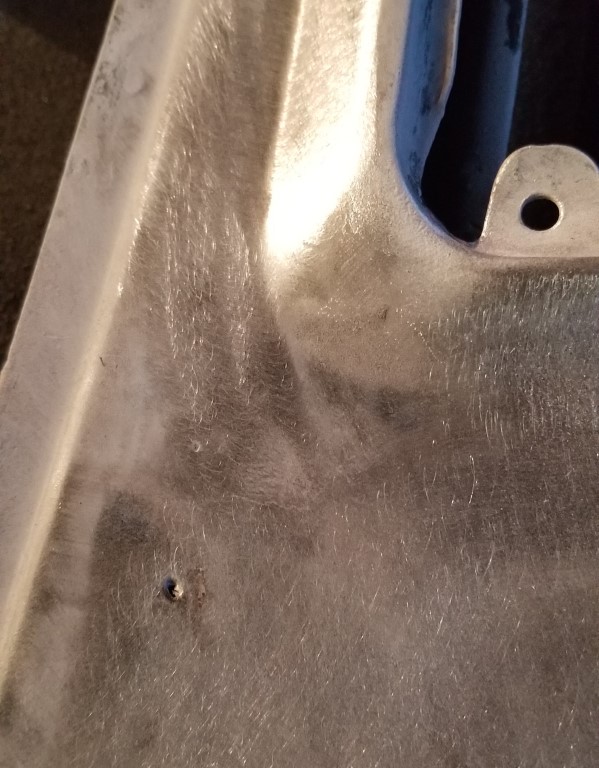 |
Also I did this:
I have not drilled the access holes for the lines as yet though.
Go back to the previous day (11 Nov 2021)