

Santa Claus brought car parts this year. I got the passenger side trunk pan, trunk pan brace, and the panel that fits under the rear seat. I also got the MIG conversion for my Lincoln Weld-Pak 100. Since Santa isn't a car guy, I got to help by ordering the parts. I ordered from Chevrolet Restoration World and Ram Welding Supply - both places had the best prices I could find and delivery was quick. Ram Welding even sent me the UPS tracking number. Two thumbs up for both of them. Two more thumbs for Santa.
I don't have a tank for the welder yet, so I'm still using flux-core "Innershield" wire.. but this should change as soon as I have the cash to get one.
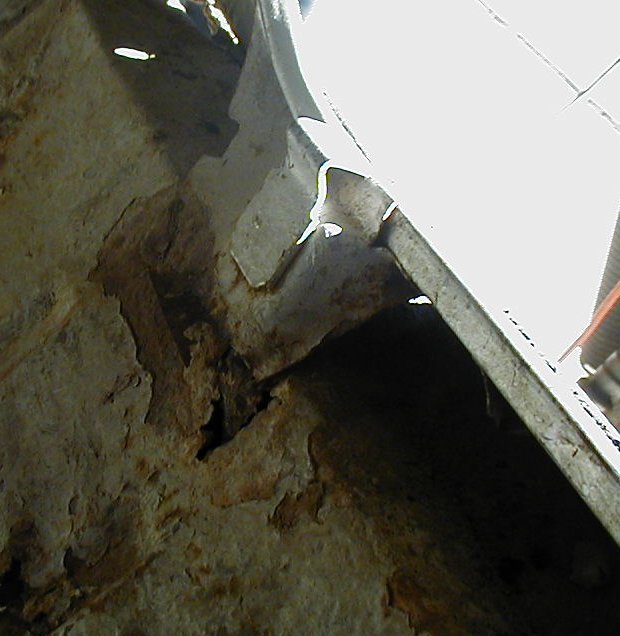
| This bracket is in the way of sliding the new trunk pan in. Three spot welds attach it to the trunk weatherstrip channel, and since the bottom is rusted away I don't know how many welds it used to have there. I had to drill out two of the spot welds before I could bend it enough to slide in the new pan. Once the new pan is in, I'll create a new bottom edge for this bracket. |
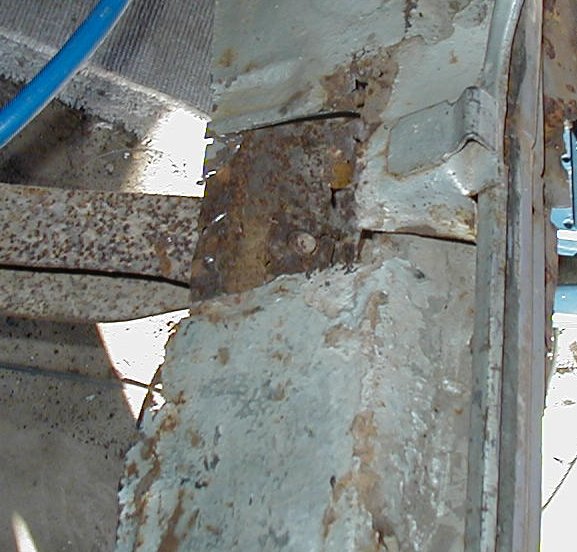
| Alternate view of the bracket. You can see two of the spot welds. |
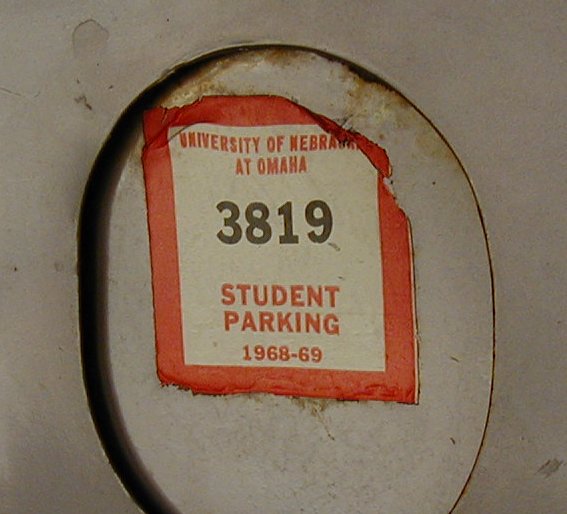
| I've been meaning to take a picture of this - it's affixed to the underside of the trunk lid. It does show the original Evening Orchid Metallic paint though.. and it's kinda cool, although I am not sure why one would peel the sticker off wherever it was needed and stick it in the trunk? |
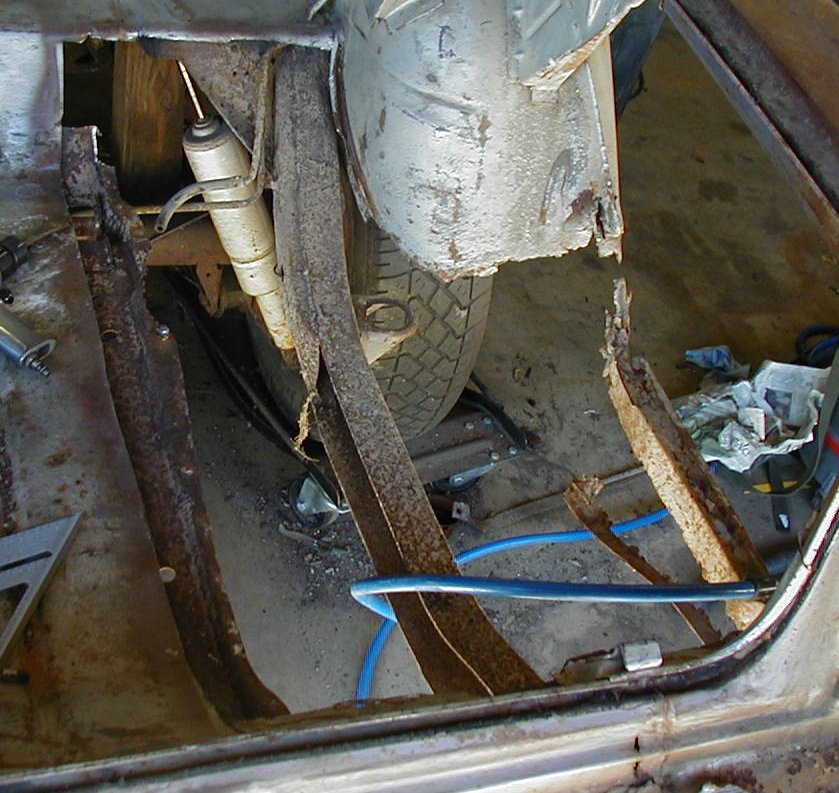
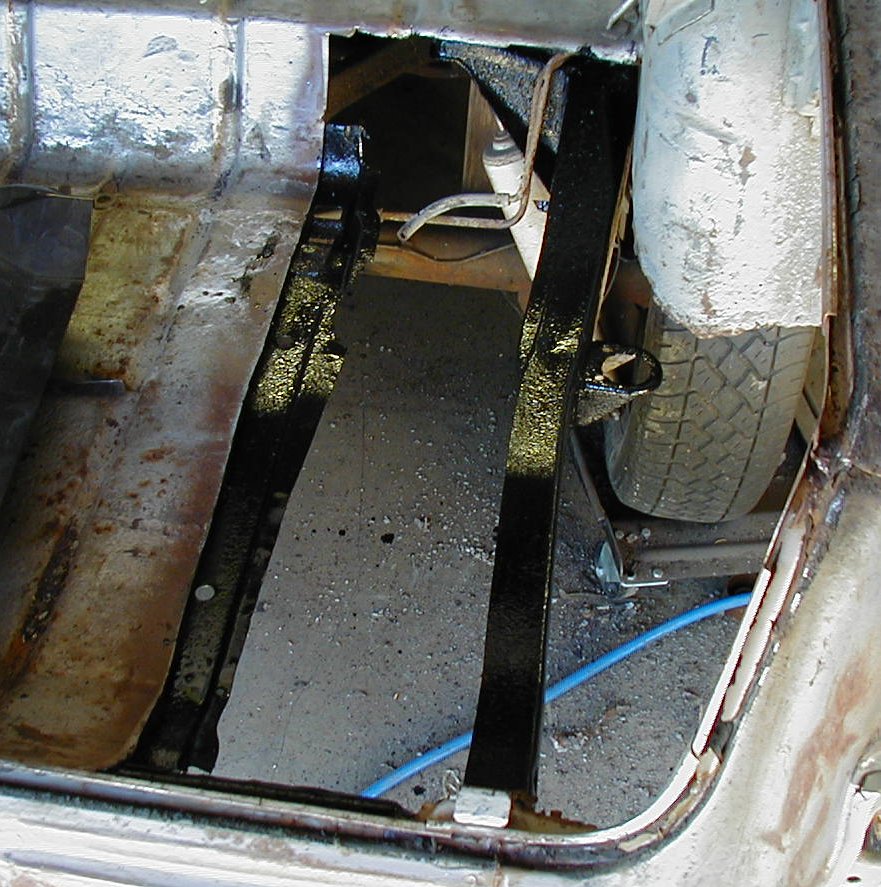
| This side of trunk pan has been cut out. The cuts are a bit ragged, but will get cleaned up as this goes along. |
| True to form, the body bolt back here does not want to come out. This time, instead of the cage falling apart or the bolt shearing off, the nut just spins inside the cage. I'll get to create a new nut out of metal plate, I guess. |
| The other big issue is the lower extension-thing, I'll end up using what's left here as a pattern but this is a little beyond what I think my fabricating skills are capable of... what fun! |
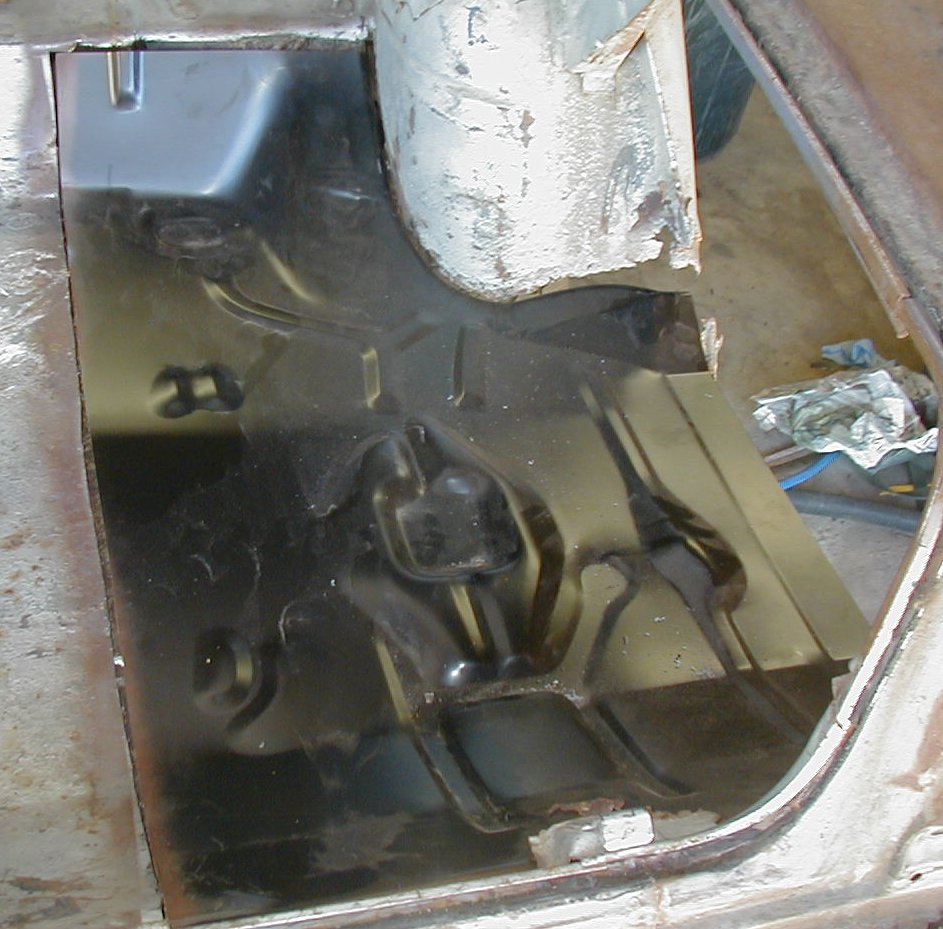
| Test fit of the pan. I seem to have cut a little larger than I should have (see the brown paint around the edges used as a template for cutting) - probably because I couldn't get the pan to sit flat next to the wheelwell, because of the seam there. Gap will end up getting filled with weld-bead, unless I end up cutting a strip to fill the gap. The fit of the pan kinda sucks, but will work out in the end. |
| Painted the top of the frame and the tank brace with POR-15. I do not yet know if I need to install new tank straps before I weld in the new pan, I think I can do it without. I was pleased to find that the tank strap bolt on the rear (see the 11 Oct 2002 update for pics of the bent/broken strap bolts) just slides out, I had expected to have to cut the pan on both sides to replace those. |
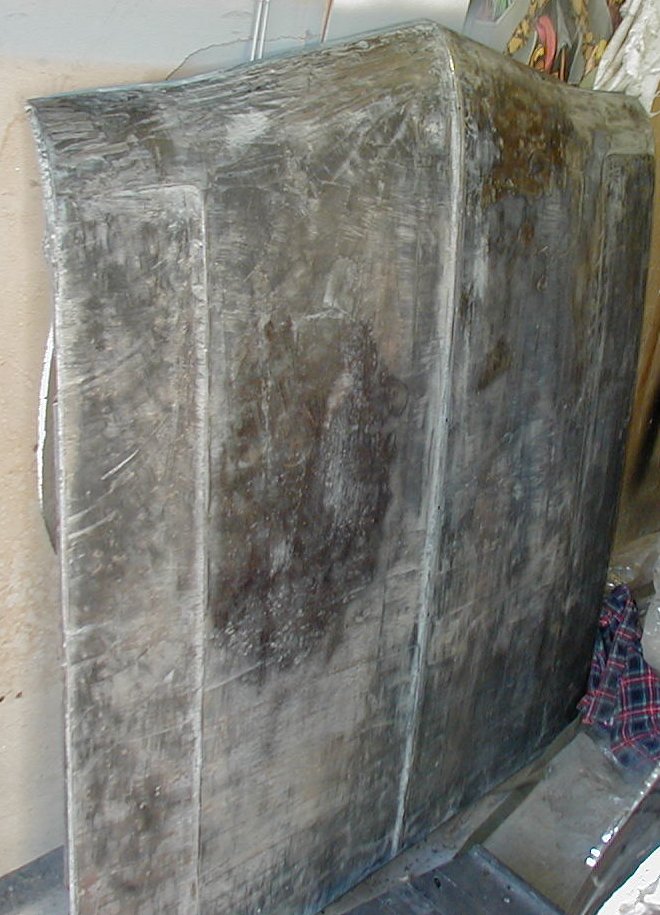
| Used aircraft stripper on the top of the hood. I'll end up sanding what's left on it off next week, and if it's not too cold, I'll probably shoot it (and those other sandblasted parts) with epoxy primer. |
You may have noticed that it's now been one year since this project started. I started slowly, but I seem to be making pretty good progress at this point. I'll call the sheetmetal work halfway done. Once the sheetmetal is good, it'll be time to smooth the body and get it ready for paint. Then the project starts actually costing money - I'll need to actually start buying parts.
On a vaguely related note, my spot weld cutter (Eastwood model 19068) kinda sucks. I haven't cut many with it, but it's already dull. I think I'm going to replace it with Eastwood model 19017 instead. I can't see using my cutter in a production shop.
Go back to the previous day (24 Nov 02)