

Helpful hint: The round spacers are not so you can get an extra quarter inch of drop; they're so the bolt-heads don't bounce off the shock body. On the other side, I opened up the holes a little and offset the nuts outboard a little, that worked better.
No pic of the welds, because I'm still an abysmal welder.
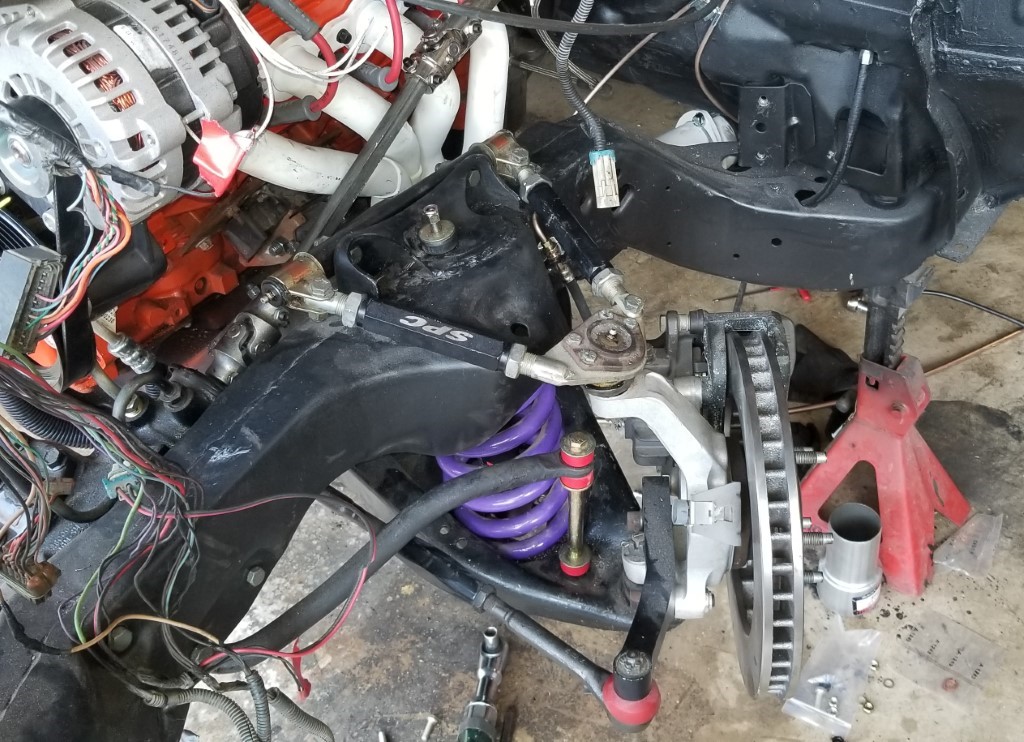
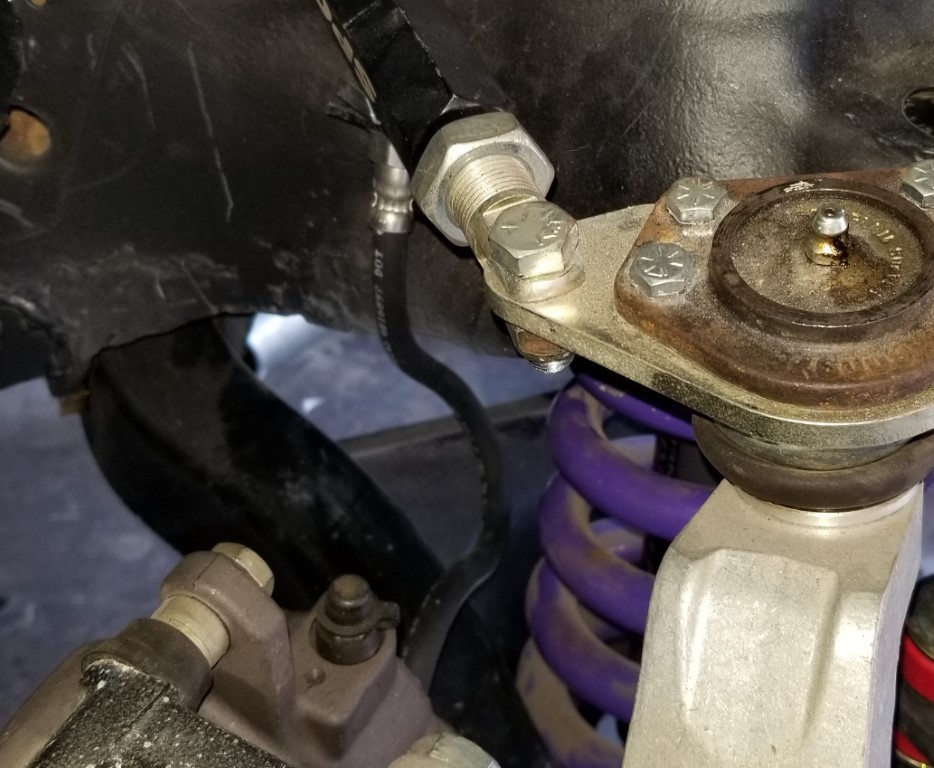
With this, the front and rear suspensions are both complete.

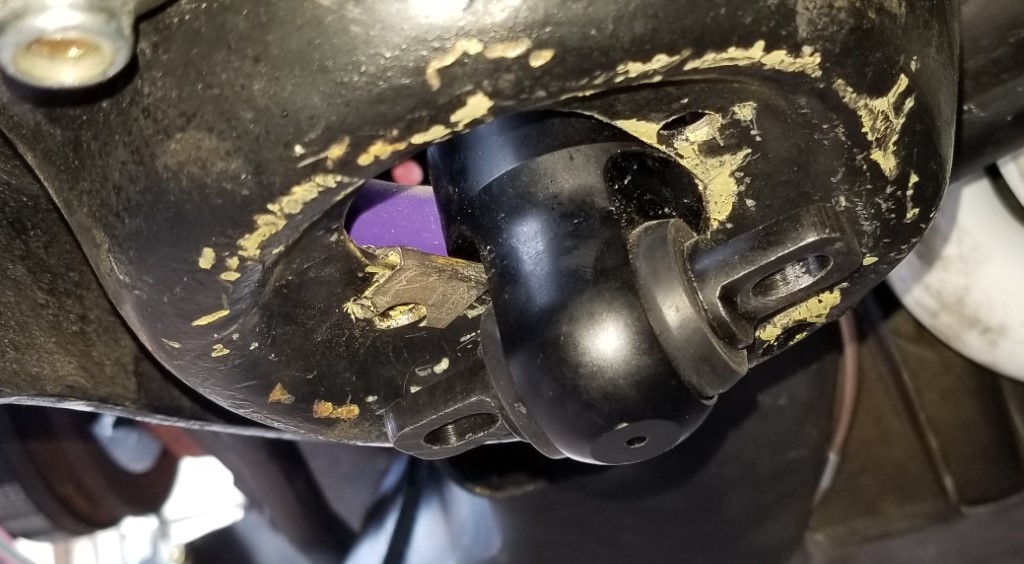
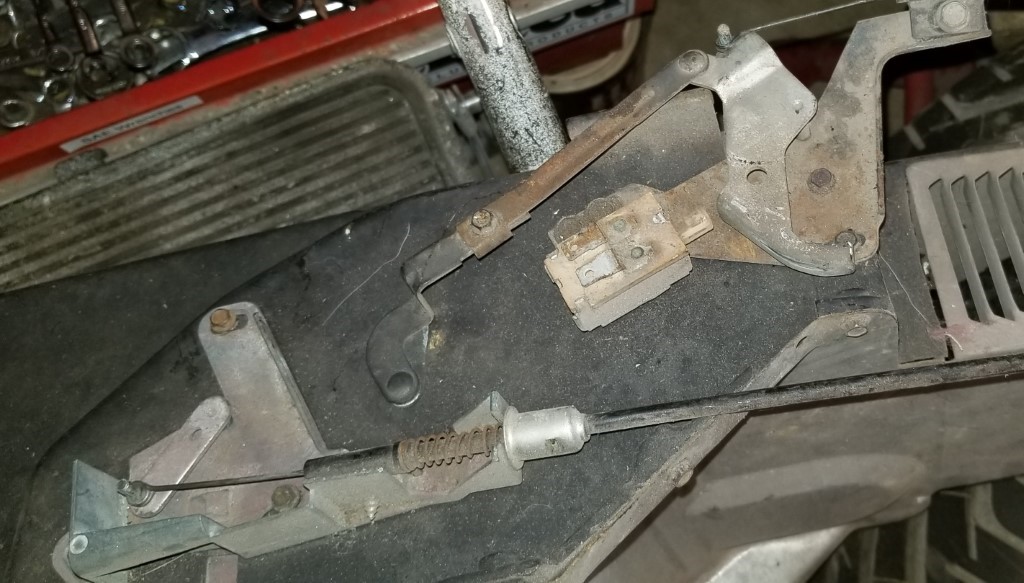
I loosened the bolts for the driver's motor mount and jacked up the car by the back of the pan.
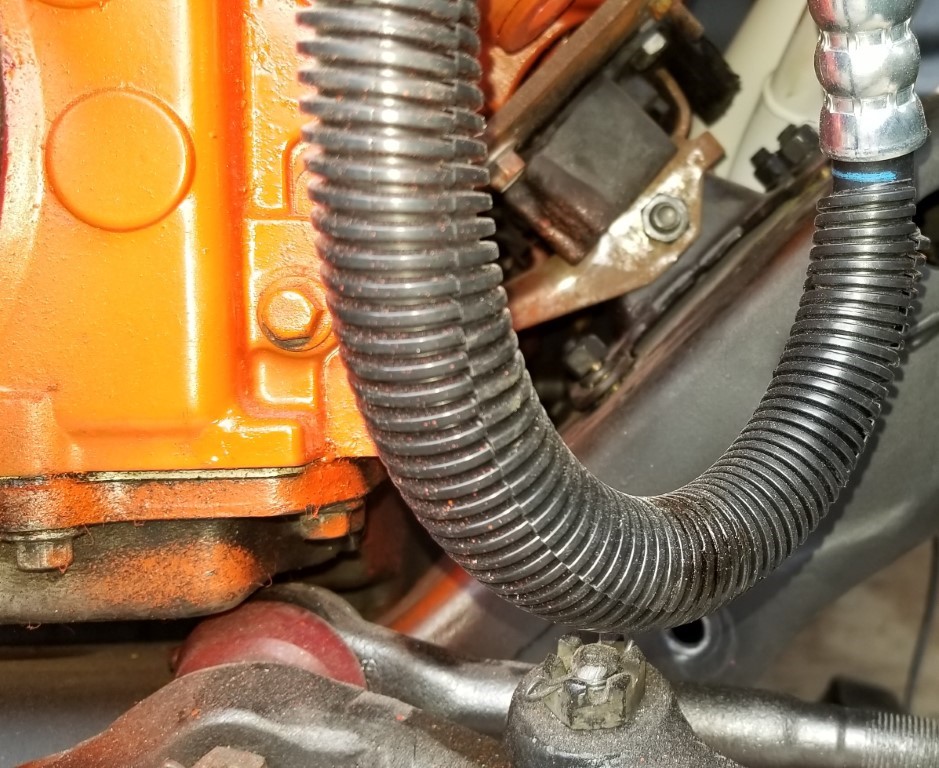
With .105 of a gap there at the engine mount, the tie rod clears by .070.. so I put some .070 washers under the motor mount.
Fun thing I hadn't noticed: this is a Canadian dashboard - it's in kilometers and liters and furlongs and such.


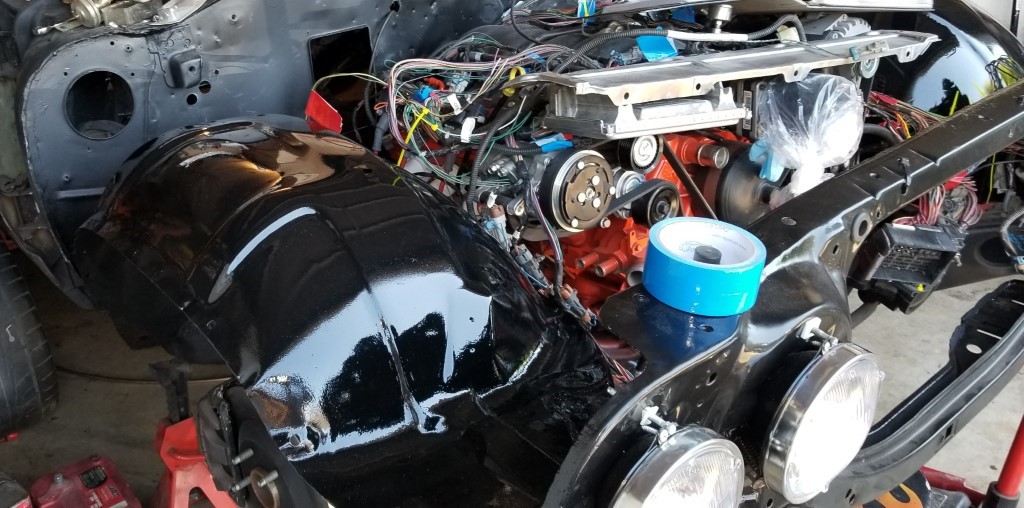
I also ordered an aluminum radiator because the internet told me to.
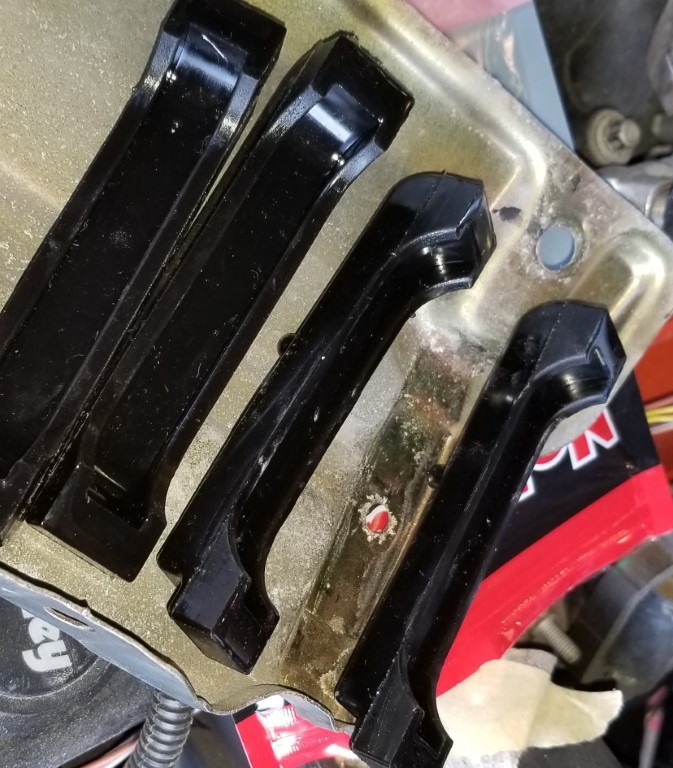
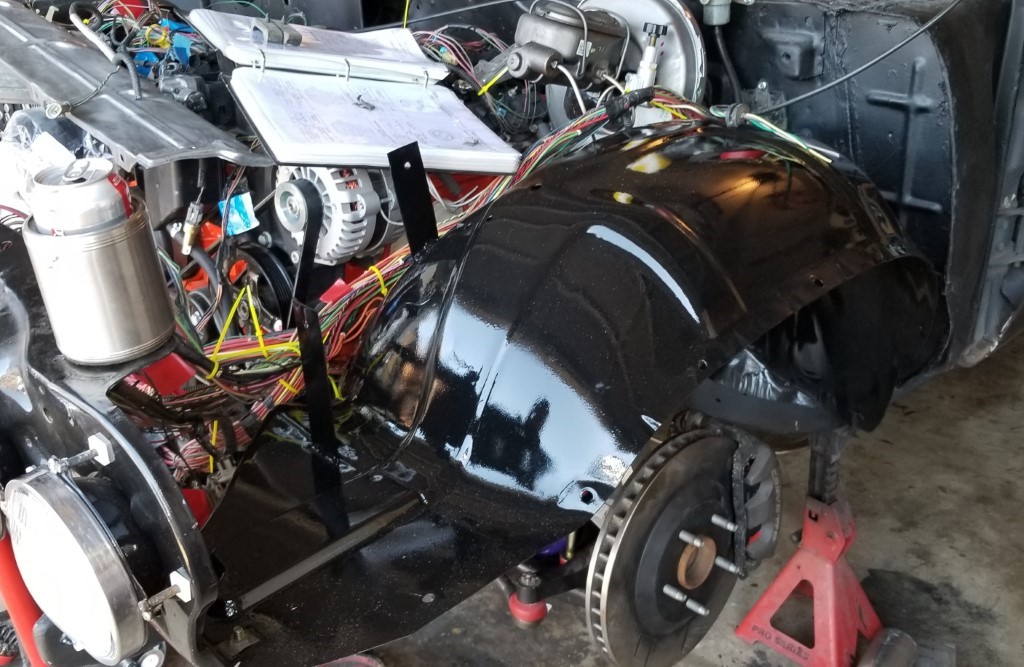
I'm using mostly the 4th gen F-body harness, but I want to use the 60s headlight switch and AC controls.
Shared my notes on the headlight switch in a previous update (here's a link again), time to start trying to figure out the AC controls.
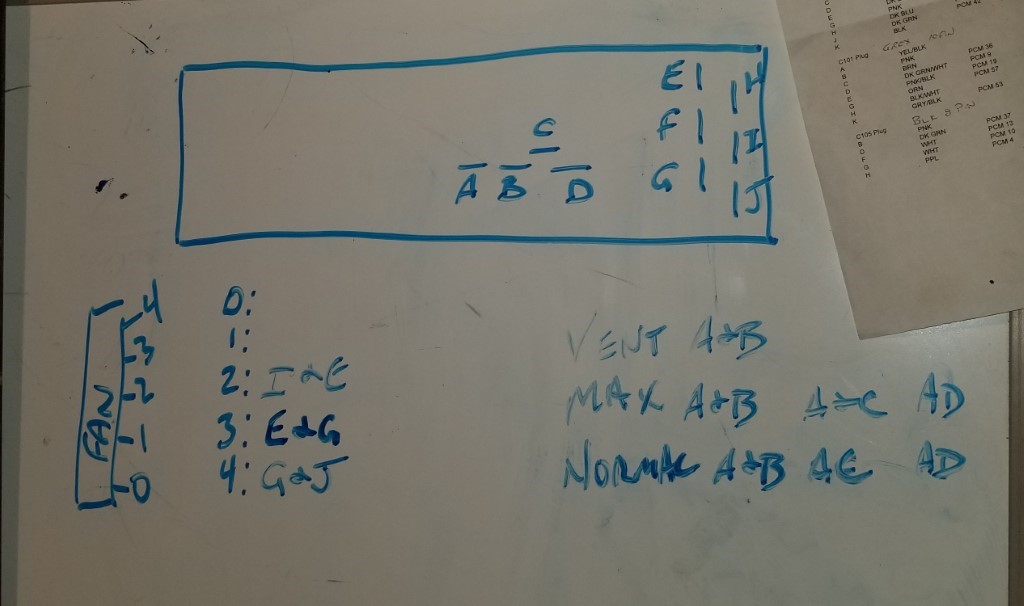
Initial testing only found the wiring used for med 1, med 2, and high.
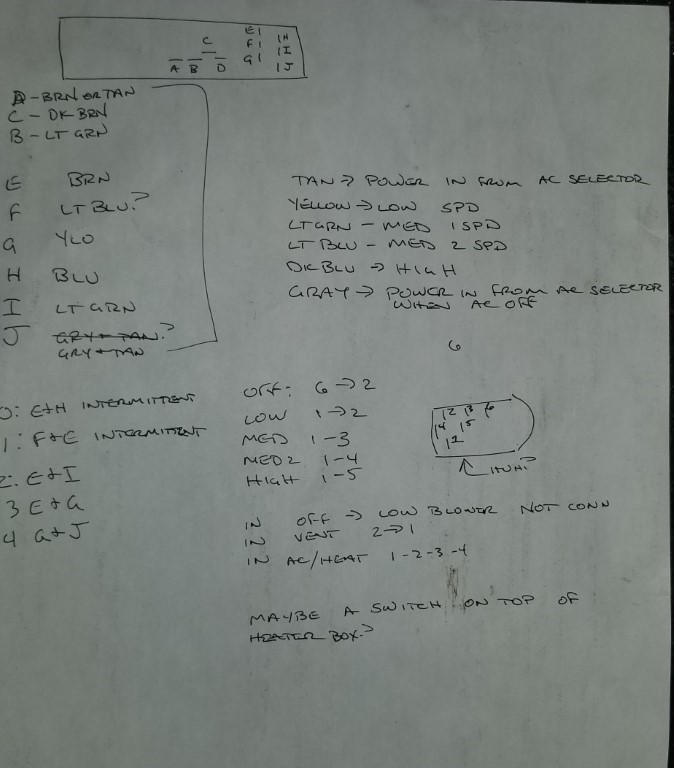
My switch - as mentioned - is crusty; the low and off positions were intermittent at best. Hopefully spraying it with electronics cleaner and cycling repeatedly will improve it.
Here too, hopefully cleaning will help. I suspect the switch is hard to get and expensive. I suppose it doesn't have to be this kind of switch. I would like to have a better idea of how it's supposed to act though.
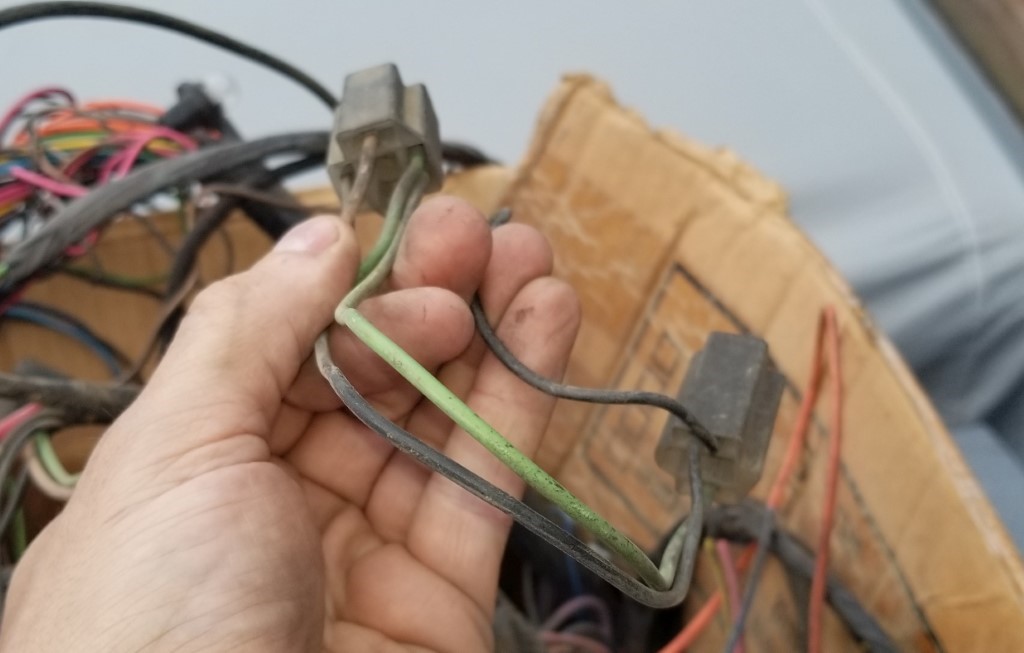
High-beam is easy; there's only two prongs on the bulb, but there's three on the low beam.
Dug out the original harness from the car:
High beam is light green. From the back, that goes to the RIGHT side of the low beam bulb.
Low beam is tan. That's the top of the bulb.
Ground is black, go figure, and it's on the remaining pin on the LEFT side of the bulb.
(I'd actually expected the top to be the ground - and if you treat it as ground, you do get light out of the bulb)
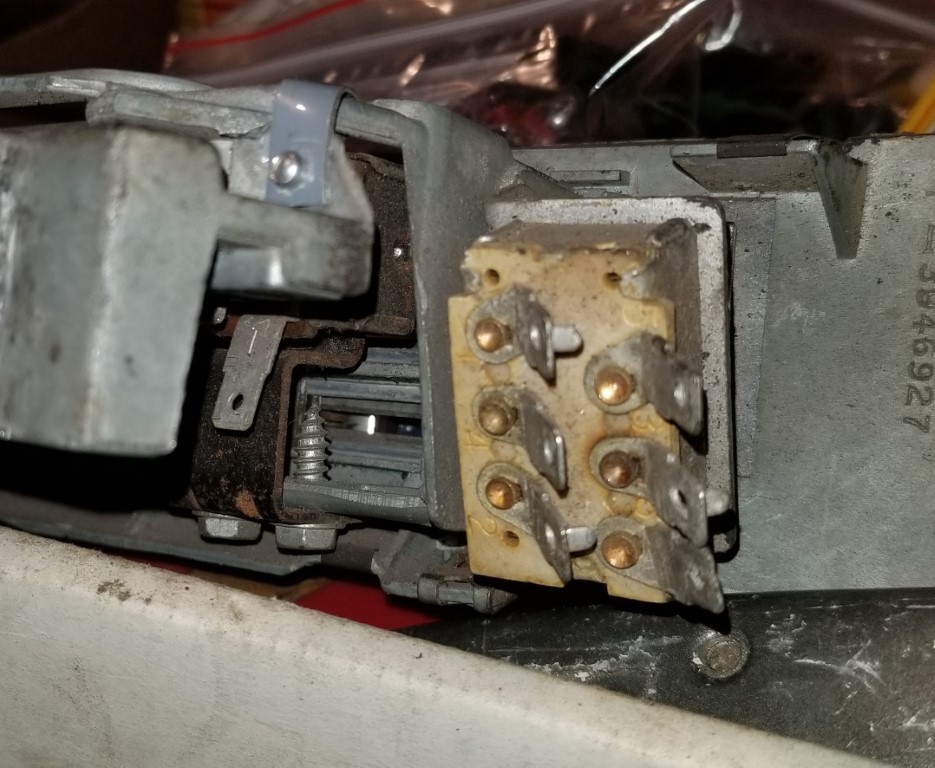
Also grabbed the original AC harness so I have the connectors for the stuff above.
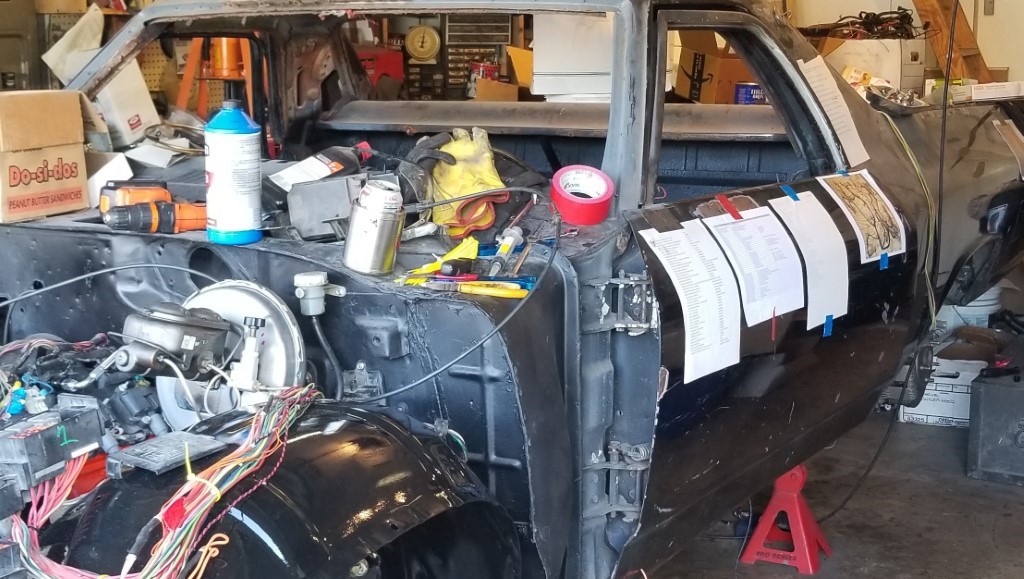
With the battery mounted, I can apply power to the harness and start trying to figure things out.
Yeah, that didn't go so well.
There were a lot of wires that I identified what they were (remember - I've got a bunch of cut wires, torn wires, crushed connectors, etc.).
With power applied and all the fuses in place, the seatbelt warning lit up on the dashboard (but nothing else). When I turned off the key, I got the "key in ignition with door open" chime.
Then I didn't and I don't know what changed. I could trigger it if I removed the "I/P 2" maxifuse or the IGN relay.
Think I've decided to go ahead and start removing unneeded wires. Also I've decided that the radio wiring - beyond the switched and constant power leads - can also go. When I remove things, I'm going to de-pin them from whereever they were rather than just going nuts with wire cutters. Hopefully I won't remove something I need, but I should be able to re-add if I do. It'll be a lot less daunting without all the fluff.
Most wires will need lengthened, or shortened, or both.
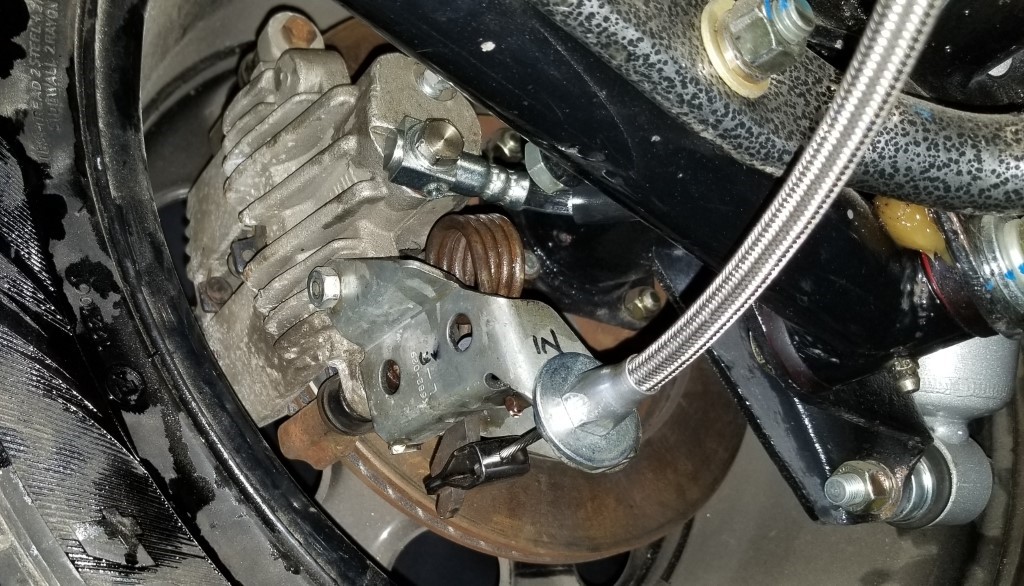
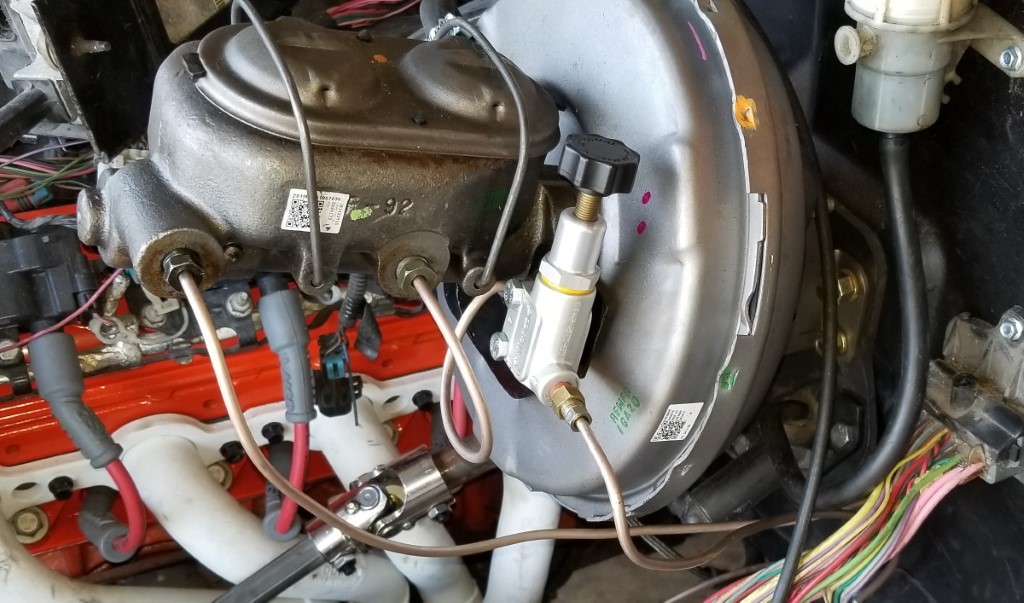
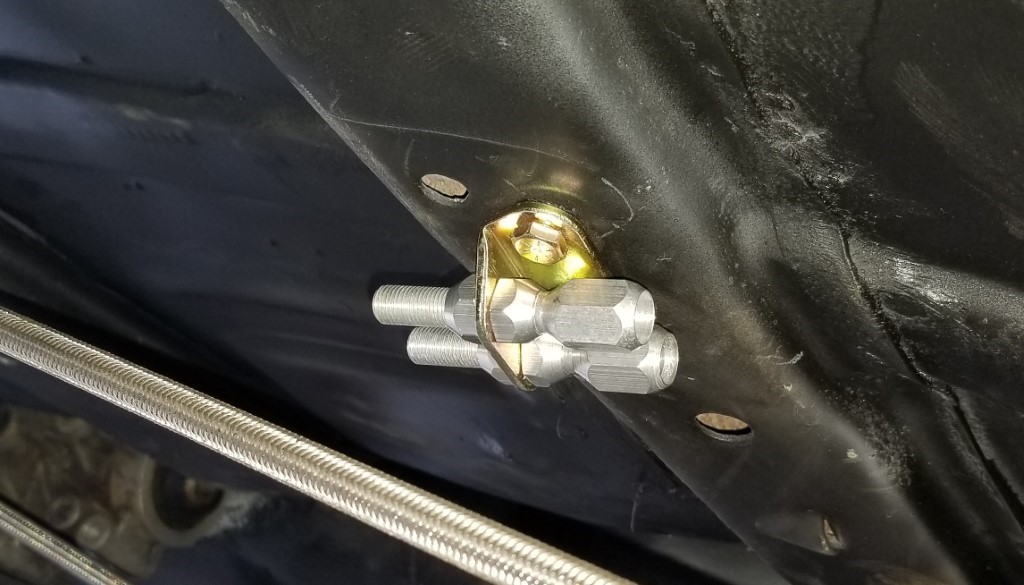
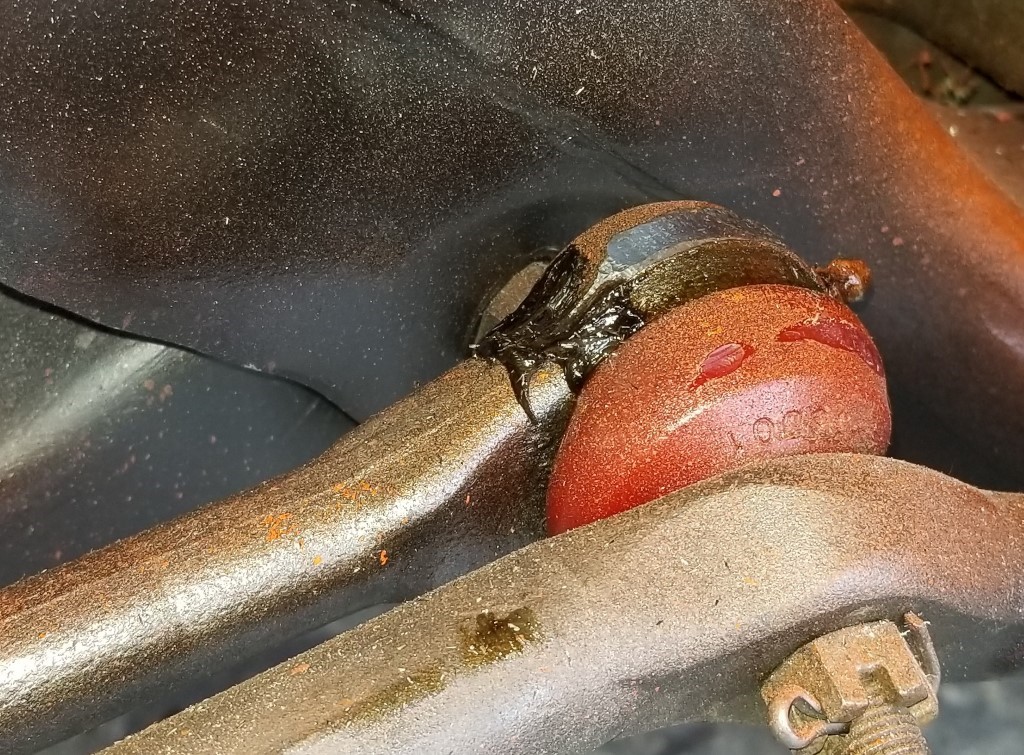
Apparently when I was putting the brake lines together I was afraid to tighten ANYTHING. Everything leaked. Still does, a little, at the T-fitting up front. Not like this though.
Even after tightening, this one leaks right there at the banjo bolt. New washers, tighter, looser, doesn't matter.
Maybe the bolt is bad. Maybe the hose is bad, or maybe the caliper. At least I already have a spare bolt here, although that seems the least likely reason.