|
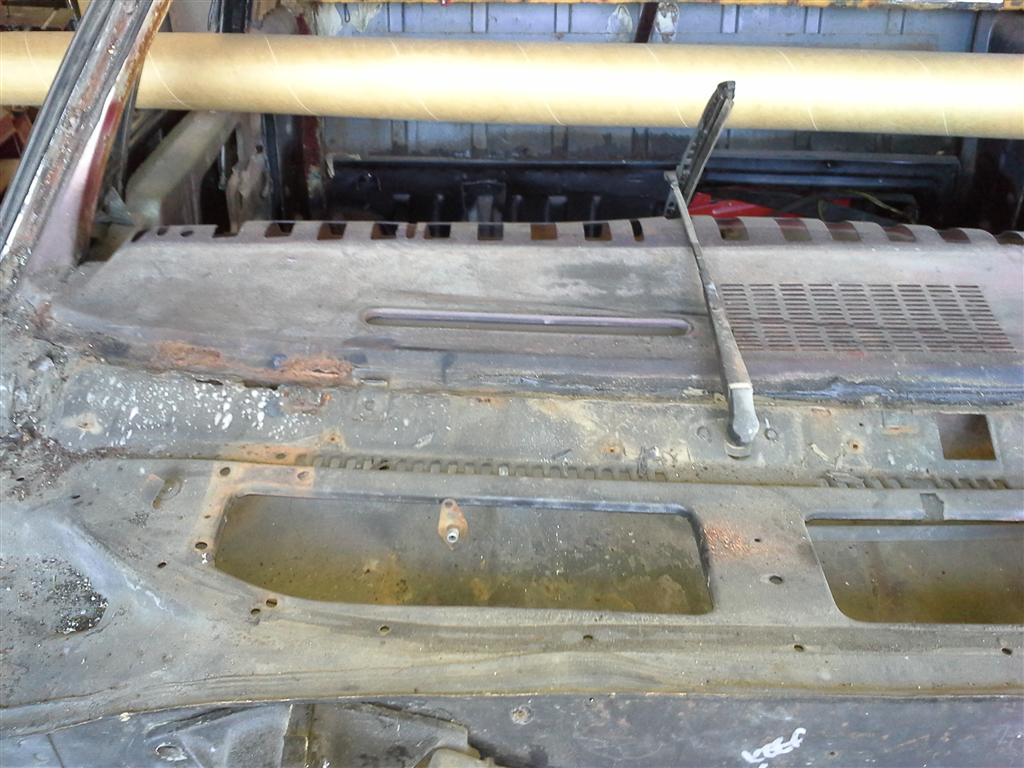
Started by removing the windshield (not that difficult,I cut the glue away
last year and it's just
been sitting there). Need to clean the dash-top for repainting
(several coats and the black is giving way to the previous reds and blues)
and of course there's the rust I've shown a few times. |
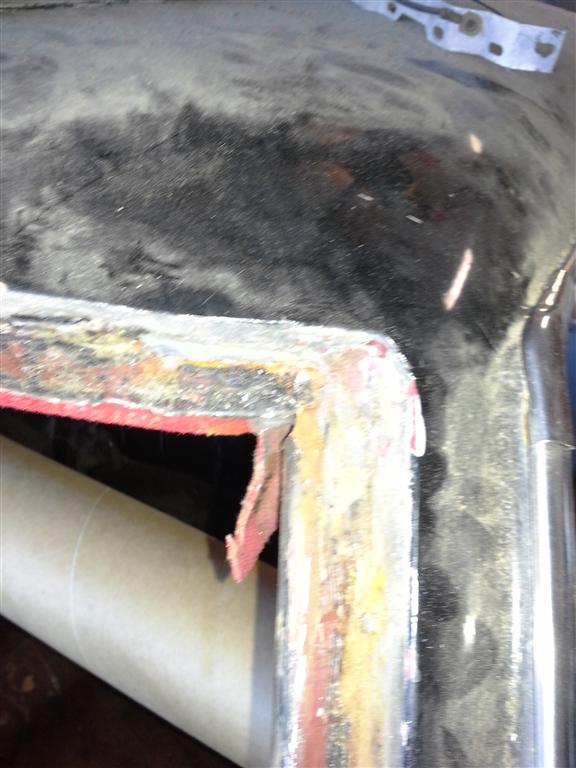
| I'm guessing that not only was it sufficient to glue the window in, but
also somebody tried to ensure a good seal with silicone caulking (since
there's both black and clear glue here). Alternately, the window was
reglued by someone who didn't clean out the old glue first. |  |
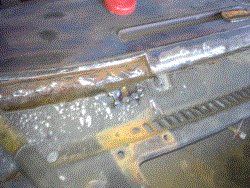
 |
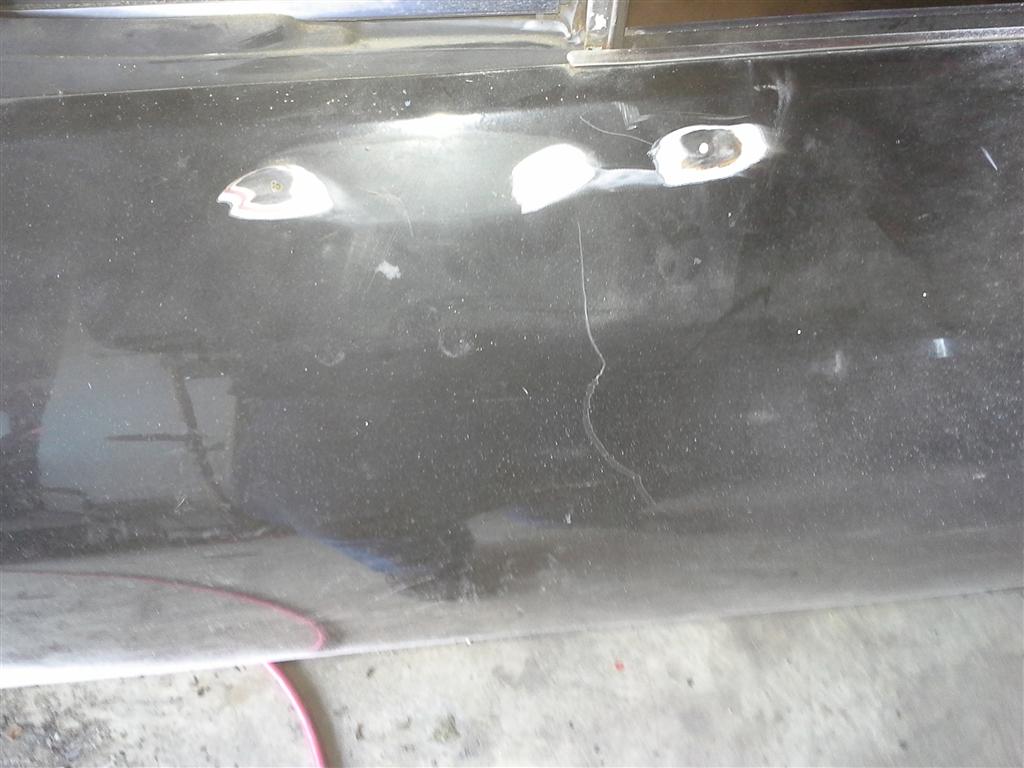
Lots of goop in the upper channel. The middle trim clip was much
rustier than the others; I hope this doesn't foreshadow something bad. |
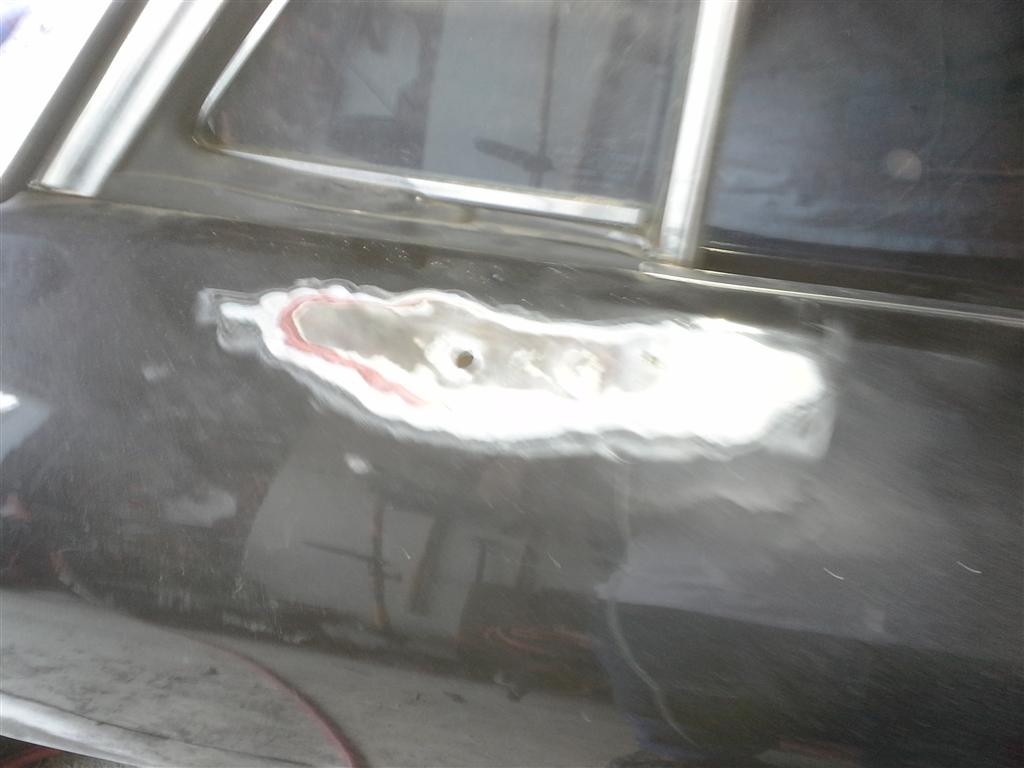
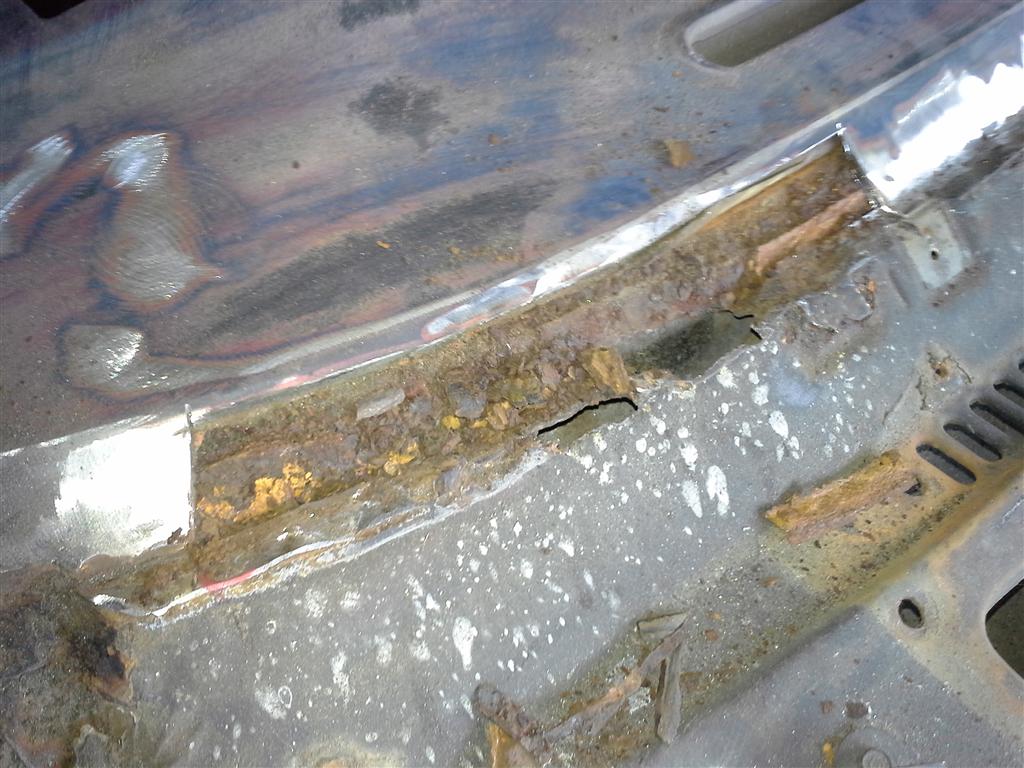
| So yeah, this pic came out extraordinarily blurry. What you would
be seeing if it could be made out is some rust damage to the lower lip of
the windshield frame on the driver's side. It's not rusted through so
I am not yet sure how I want to handle this. | 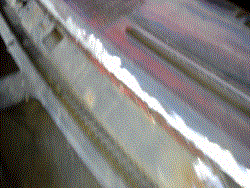 |
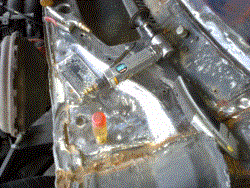 |
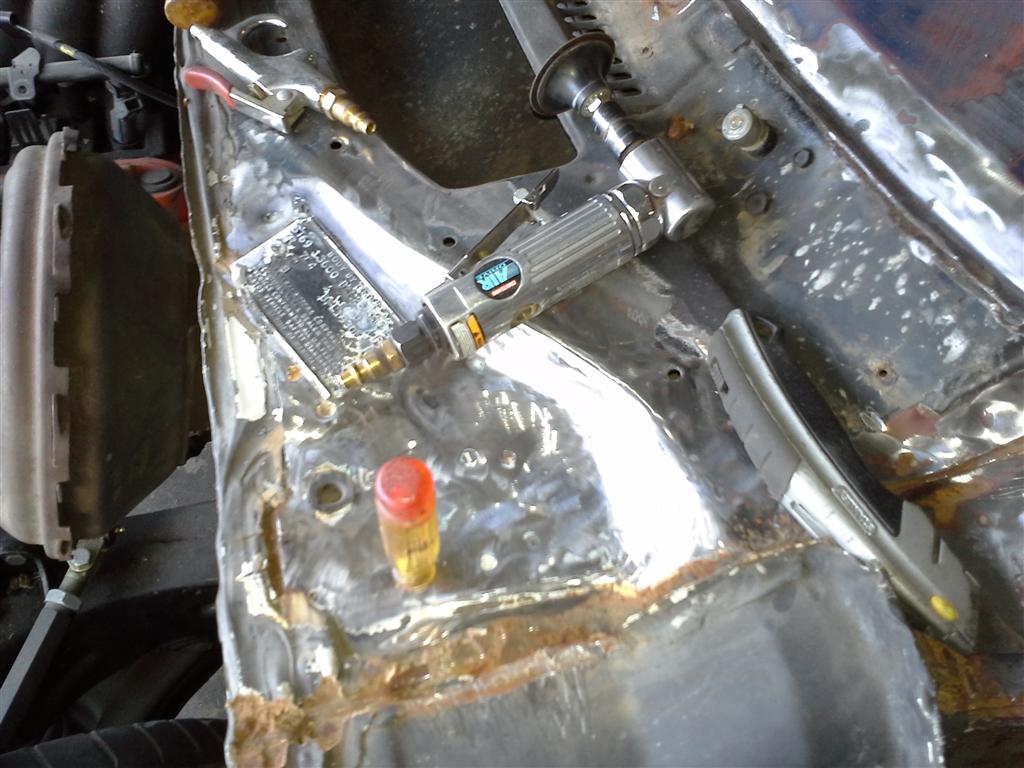
I've had a pile of the Roloc disks for a while and hadn't ever used them.
I think they work pretty well. Started on the driver's side frame and
got a bit carried away. I'll need to prime all this anyway. The
paint here on the cowl appears to have been the original and wasn't holding
up well anyway - using the air nozzle on it was flaking chunks off.
White primer, or at least I think that was the primer. |
| Pulled out some of the seam sealer for the cowl side that I'll need to
replace. New shopping list item: more seam sealer (I bought the new
cowl panels back in 2008! I may be a slacker, but I plan ahead) | 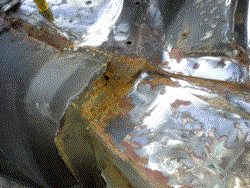 |
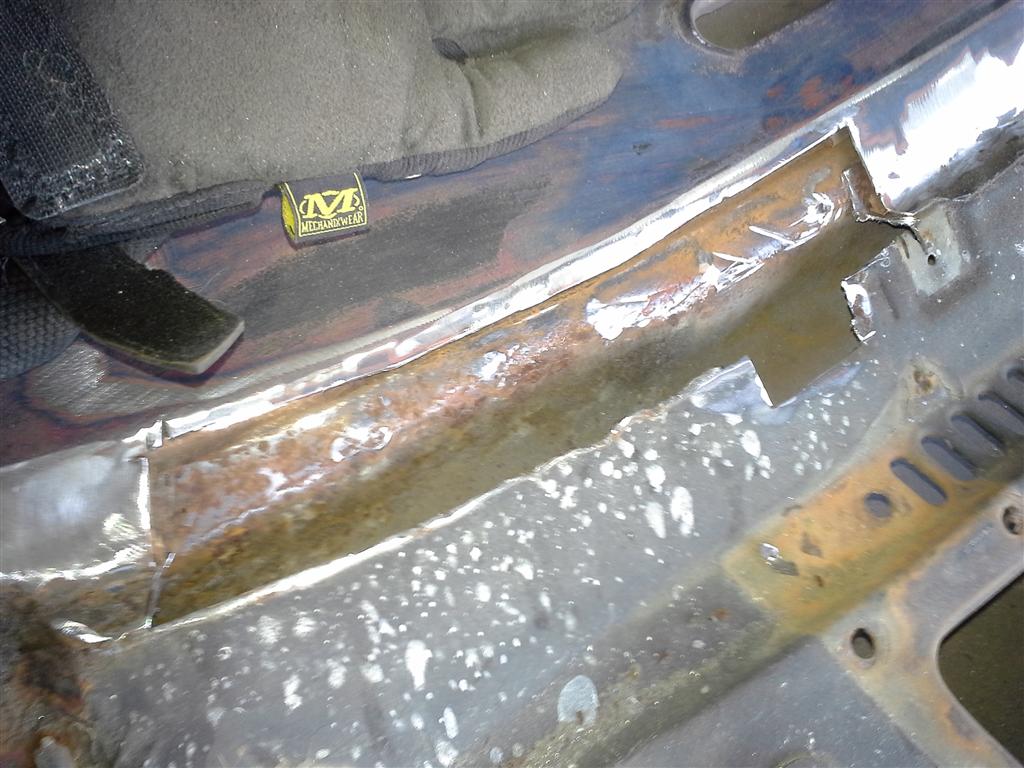
 |
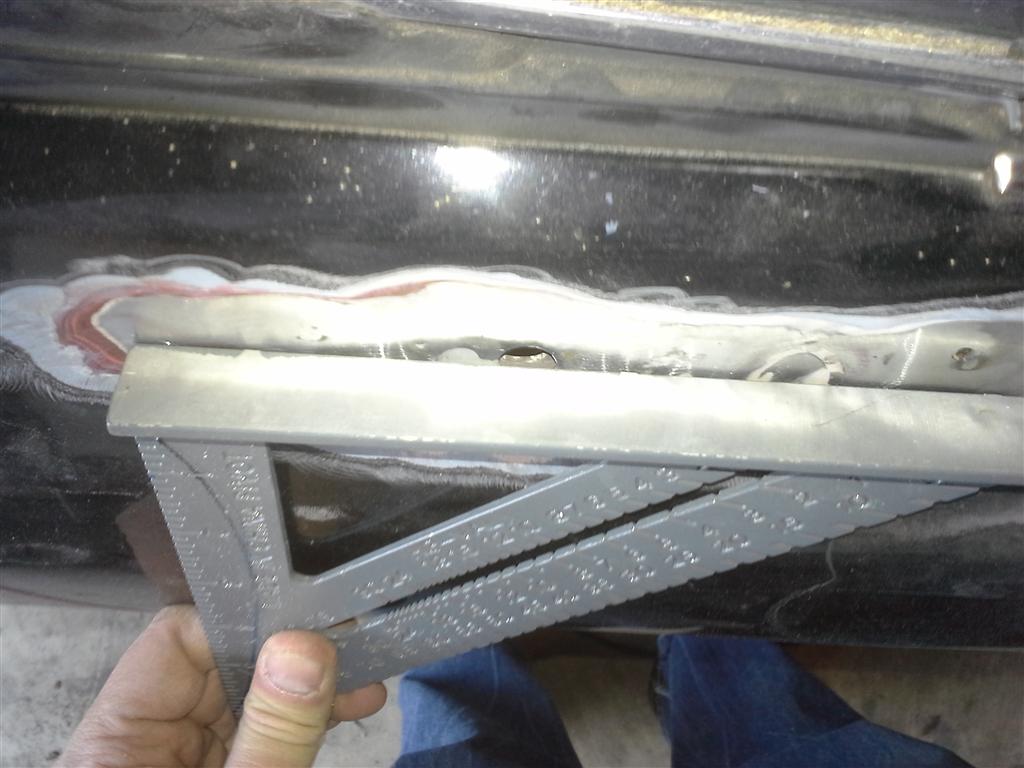
So I figure I need to figure out what I'm doing. The red marks
indicate where I figure the cuts should be - where there'd be enough good
metal to weld to. This is scary though, there's a couple of different
curves and some bends and I don't have a good brake or (any) roller. |
So first I go try to do something smaller. I'd drilled holes in
the door to mount the crappy side mirror, and now they're just holes.. and I
can see a bubble where the hole from the previous mirror was just bondo'd
up.. so let's weld them closed.
Thats's a lot of bondo on the door. |  |
 |
And then I expand the area where I've checked for holes, found and welded up
several others, and then I find this monstrous hole, again just filled with
bondo.
I expect to find things done incorrectly, but I don't like it
when I'm not the one responsible. |
Not sure how well it comes through... but not only is there a hole
there, but the door skin is pushed in 3/16" or so.
Not sure yet how I
want to correct this. Hoping the extra filler is only in this area. |  |
 |
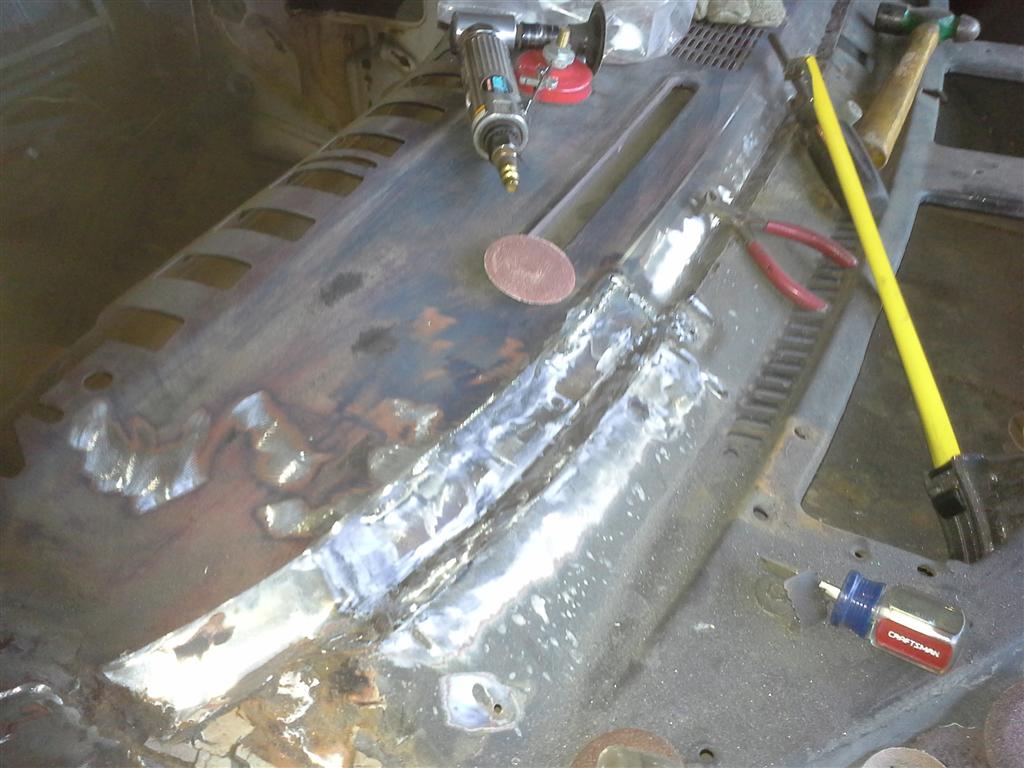
Okay, enough playing. Time to get to work on this windshield channel.
Start by cutting on the first set of lines, to get the back of the channel. |
| Then the second and third sets of lines. Will use three separate
pieces of metal to correct this. I don't have a brake or a slip-roll,
but I do have a very nice throatless shear so I can make patches. |  |
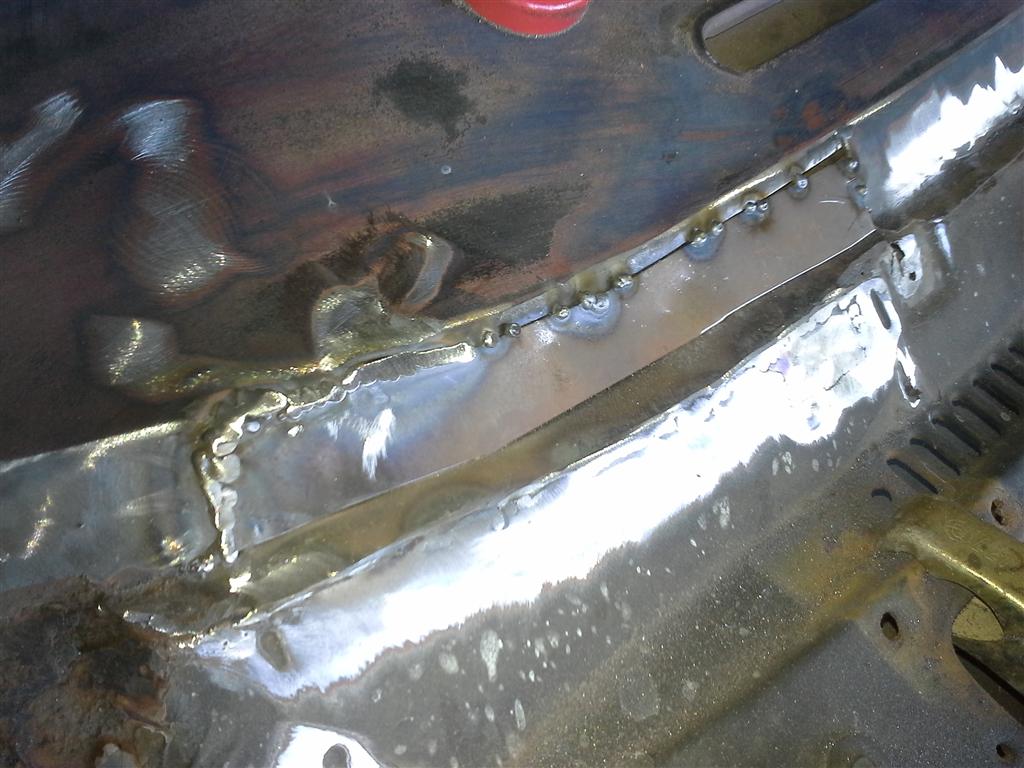
 |
I do not, however, have particular skill at welding. Here the first
piece has been tacked in place. |
| And then it's been welded around the perimeter. This was the easy
one. |  |
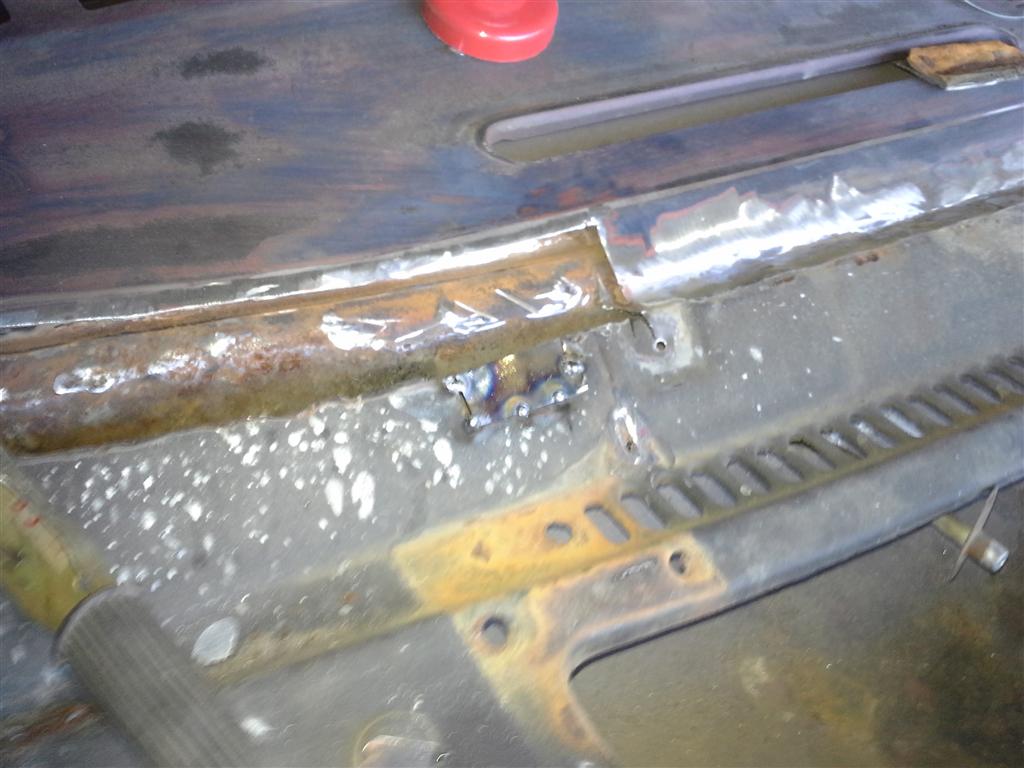
 |
So I forgot to take any pictures of the second piece going in, or the test
fits of either of these pieces, or the painting of the backsides.
Second piece went in perfectly. Third piece, not so much. |
I've run out of coarse/medium Roloc disks, and the fine don't really do
well on smoothing welds so I think I'm done for the day.
It
looks better in the picture than it does in real life. I seem to have
forgotten two things:
1) Hot metal warps.
2) This is an important
piece. Don't use a "good enough" mentality.
I've got a ~1/8"
low spot in the top of the dash here, and the channel-back has about a 1/4"
low spot. I am not yet sure how I want to correct these, and I still
need to clean up and finish the welds. I've had a stud-welder on the
tool list for a while, perhaps this is the justification I've been needing.
That would likely also help with the door mirror dent thing. |  |
I think the cowl sides are next. Either that or the closing up of unneeded holes, but to do that, I'll have to put the tunnel back in place, and before I can do that, I need to do the body mounts so I have the final clearance... so probably cowl sides.