 |
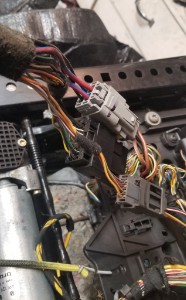
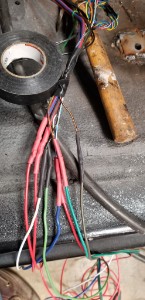
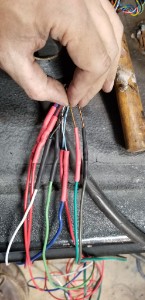
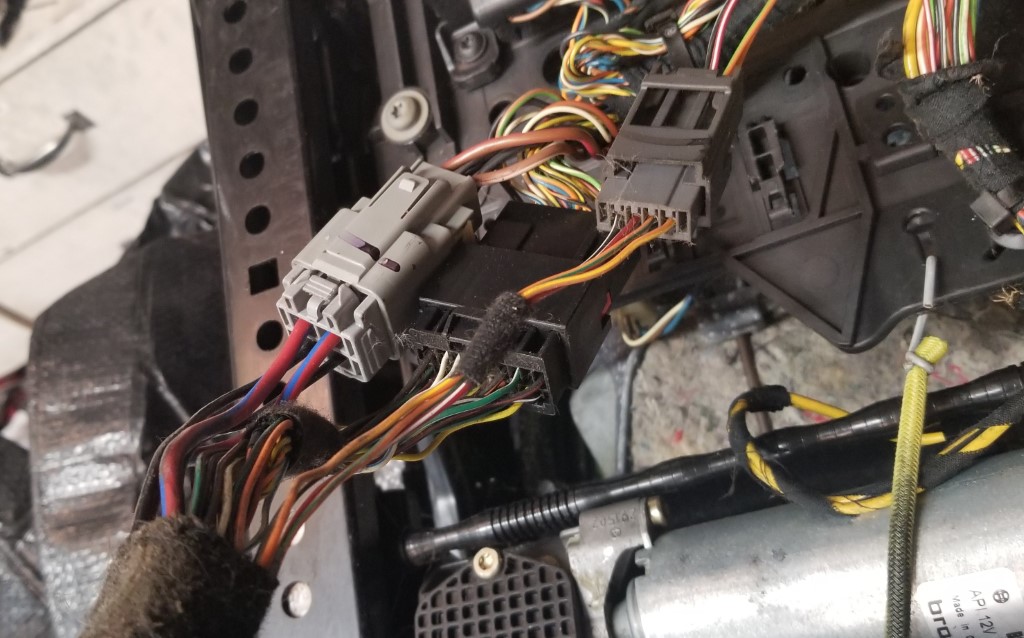
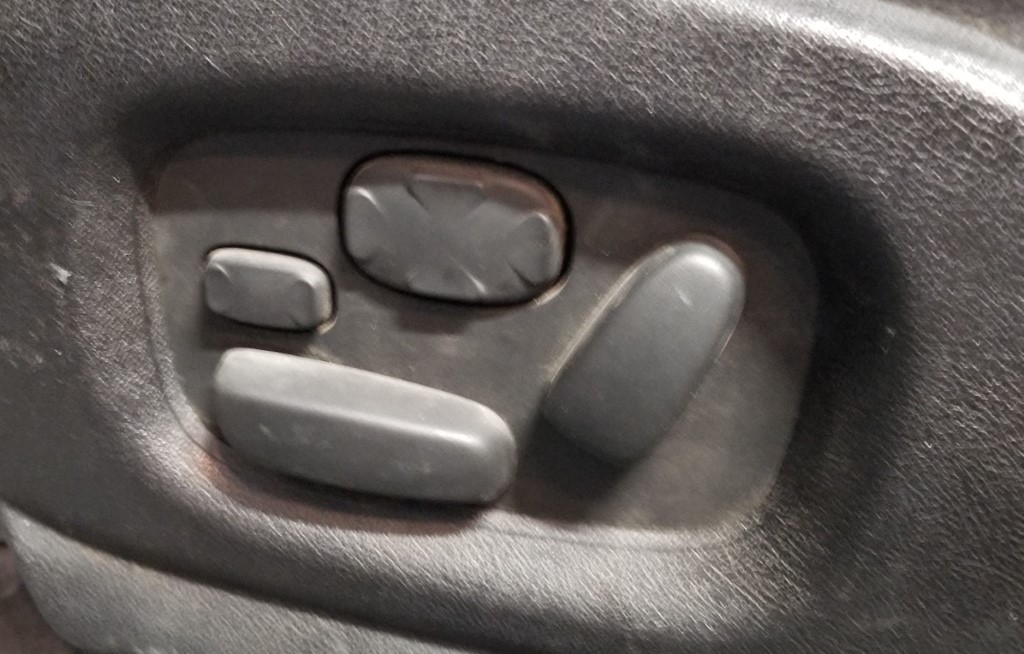
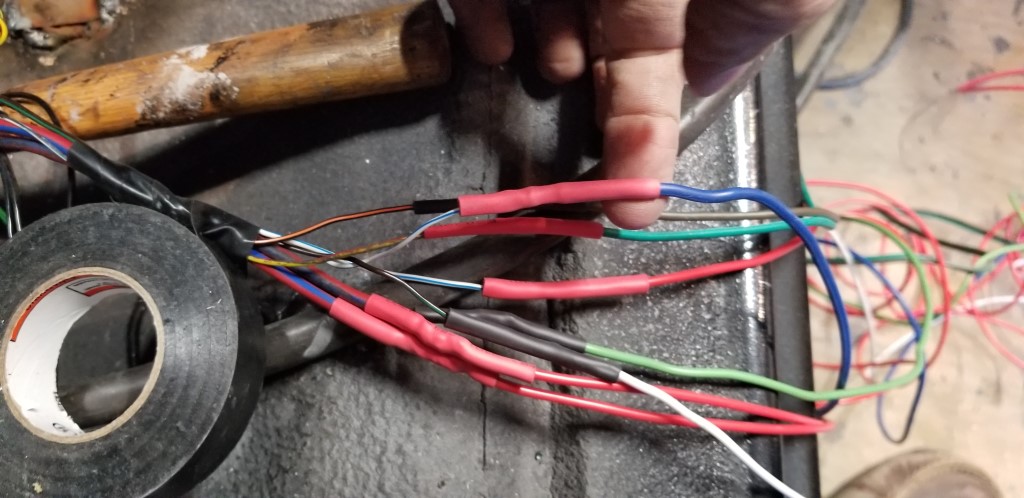
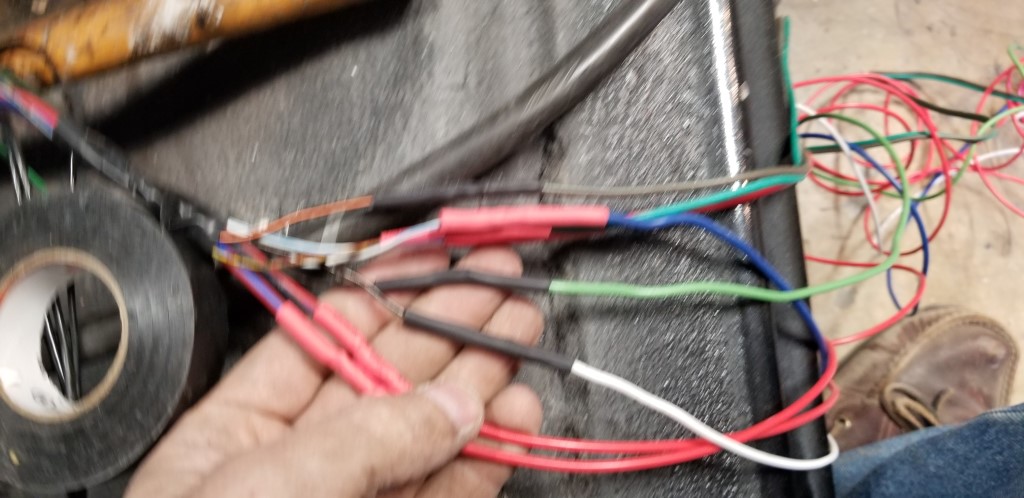
The upper two connectors are the relevant ones. The power requirements
are high for the seats, so the grey connector at the top is just power for
the motors. |
| This connected to the airbag controller. Certainly don't need
that! |  |
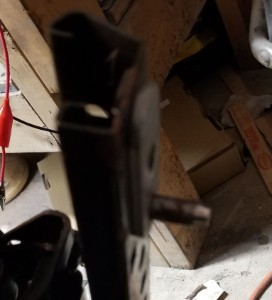 |
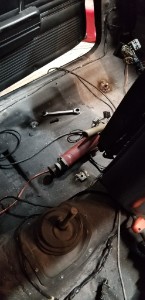
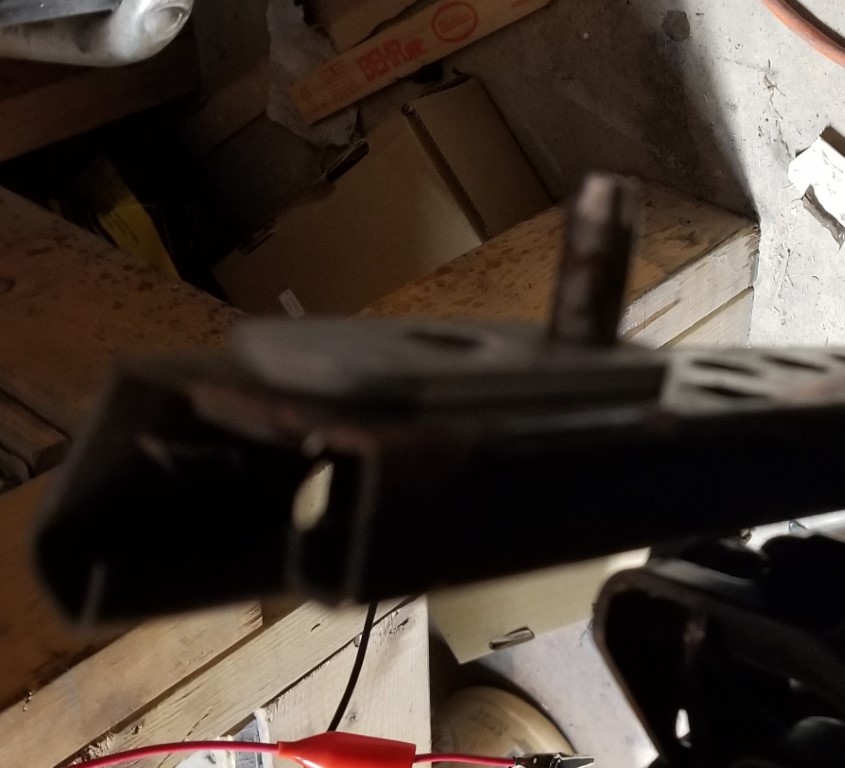
The front of the rails had this pin that located into the floor of the
donor. |
| Hard to tell, but the plate with the pin is just riveted in here. | 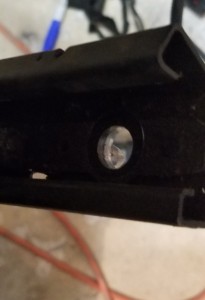 |
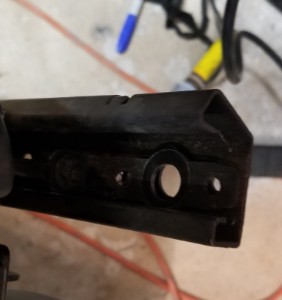 |
A drill will fix that. |
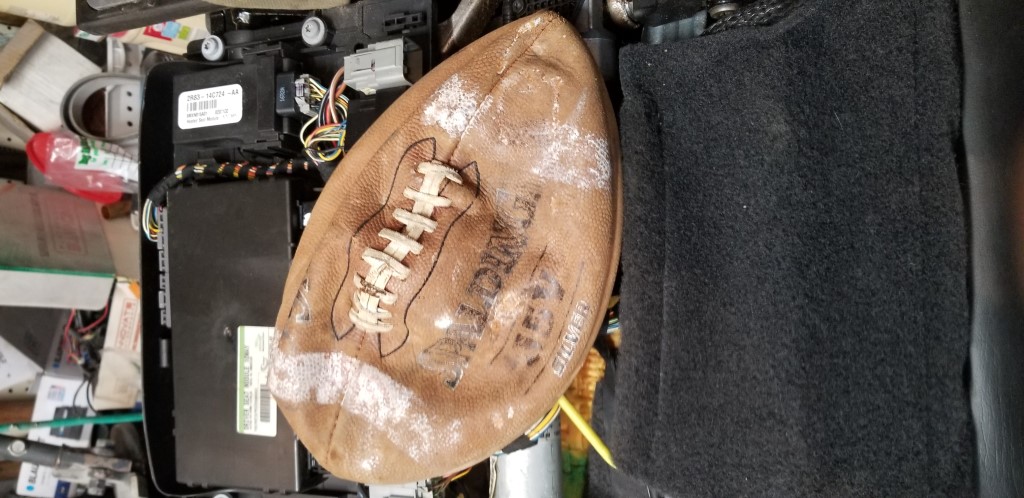
| In cleaning up the seats, I found this football shoved up in the
mechanism on the driver's side - whether it served a purpose or just got
caught, I don't know. |  |
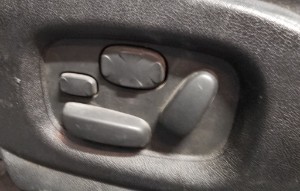 |
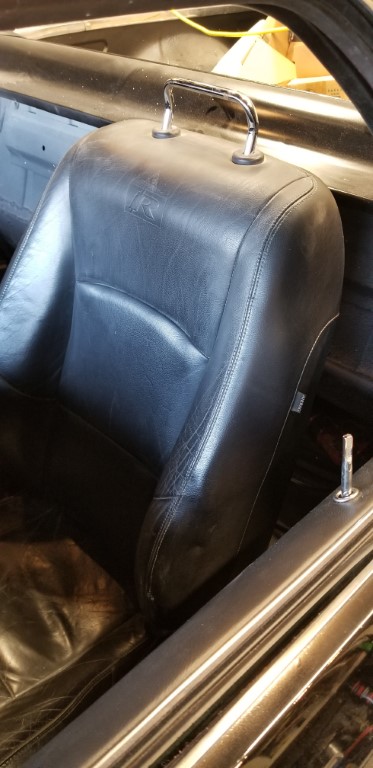
These are seriously configurable seats. |
| Making mounts | 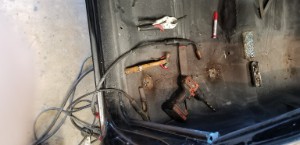 |
    |
Images more for my benefit than for yours. Unlike the rest of this
site. |
| The headrests are "power"; someone tried - and failed - to remove them
at the yard and just accomplished tearing up the covers. The chrome
bar looks good enough, and can be raised/lowered. | 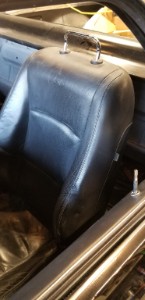 |
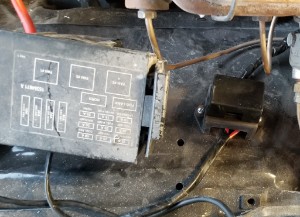 |
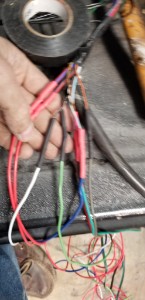
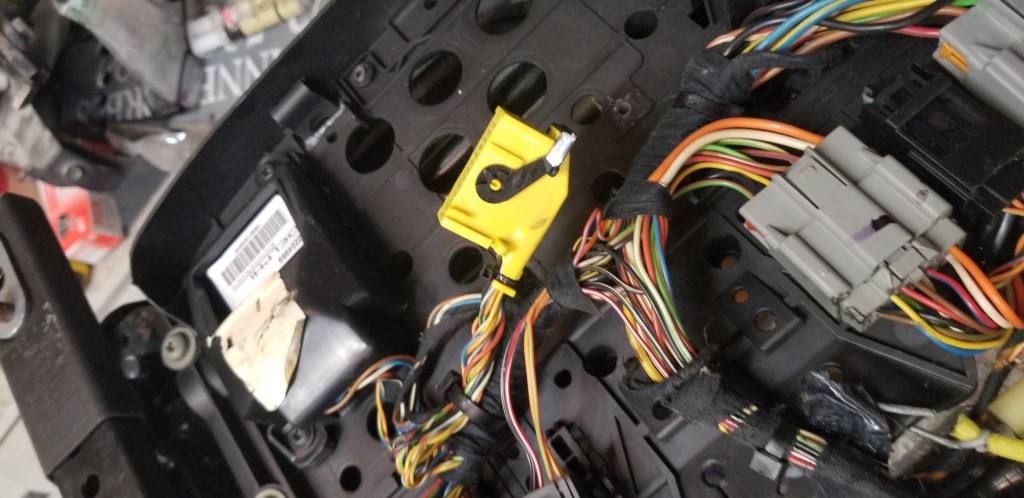
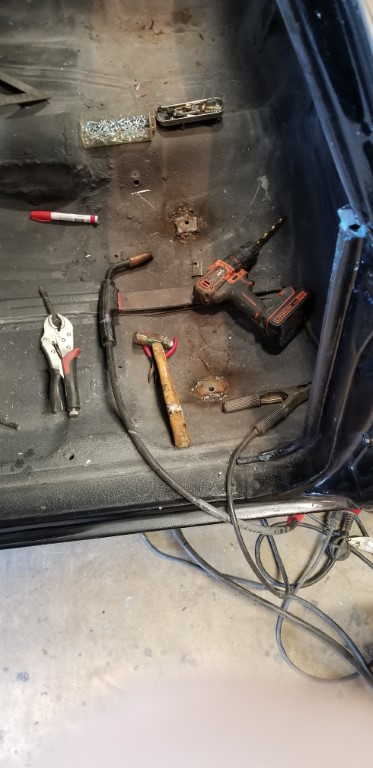
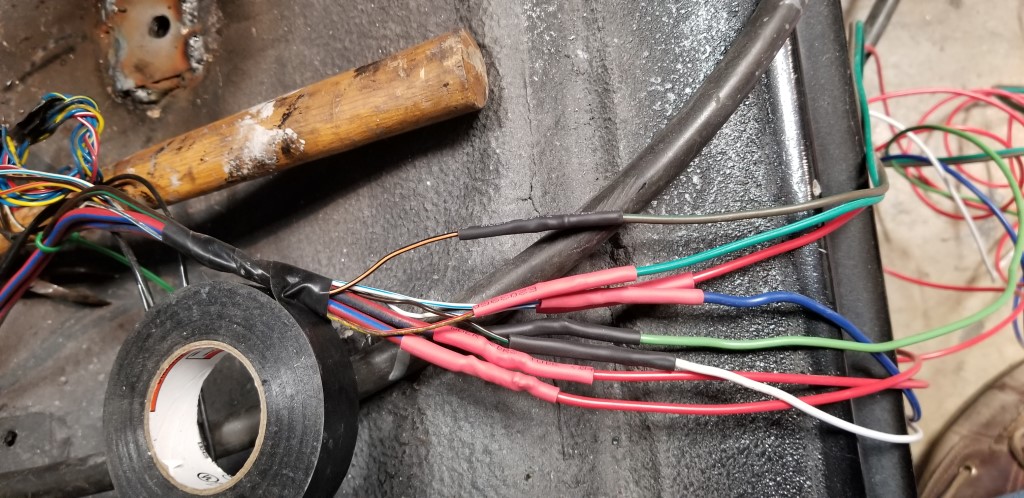
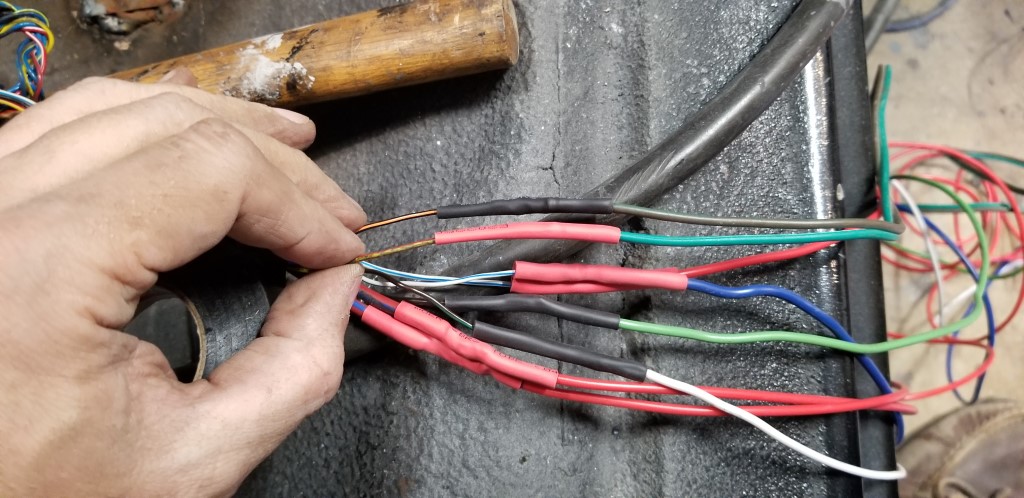
Ancillary fusebox for the seats. Two 30 amp fuses, a 10 and a 15. |
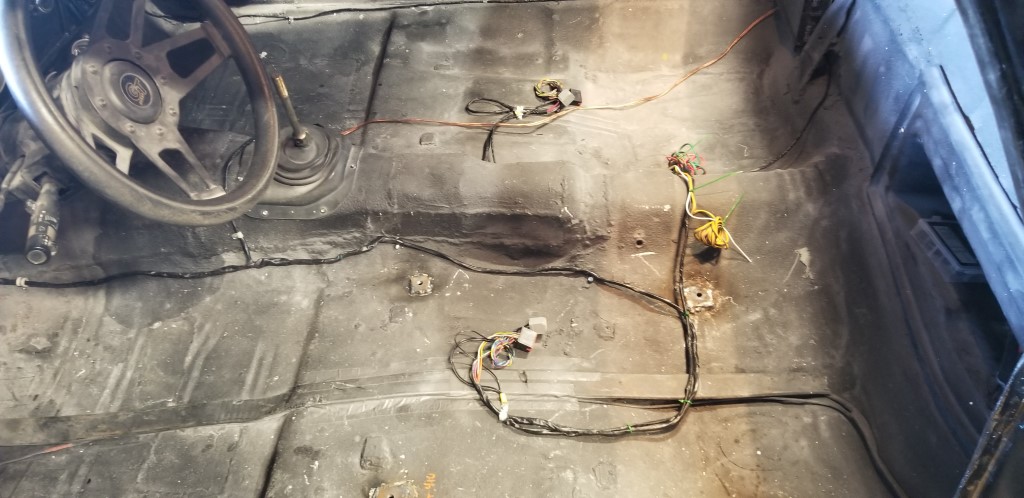
| Wires routed. |  |
 |
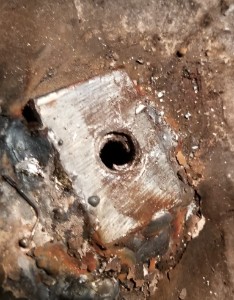
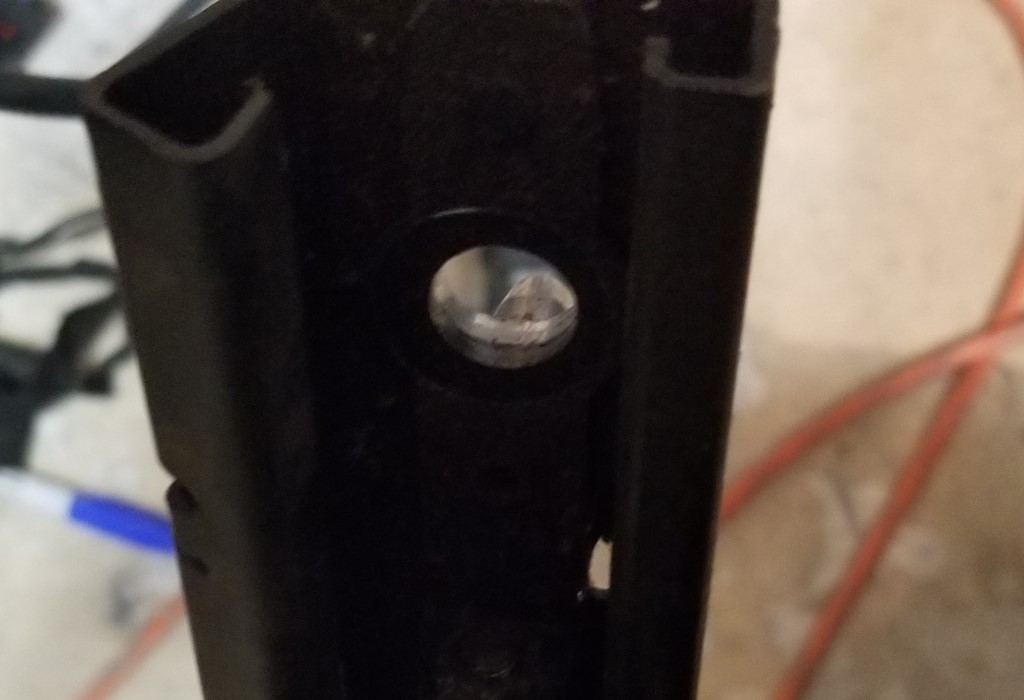
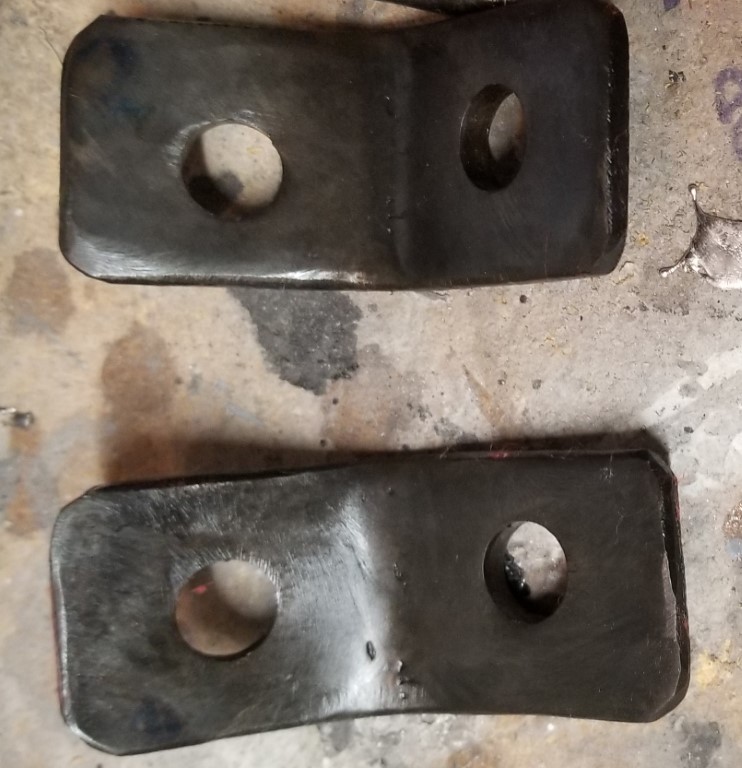
Mounts for the pass side. |
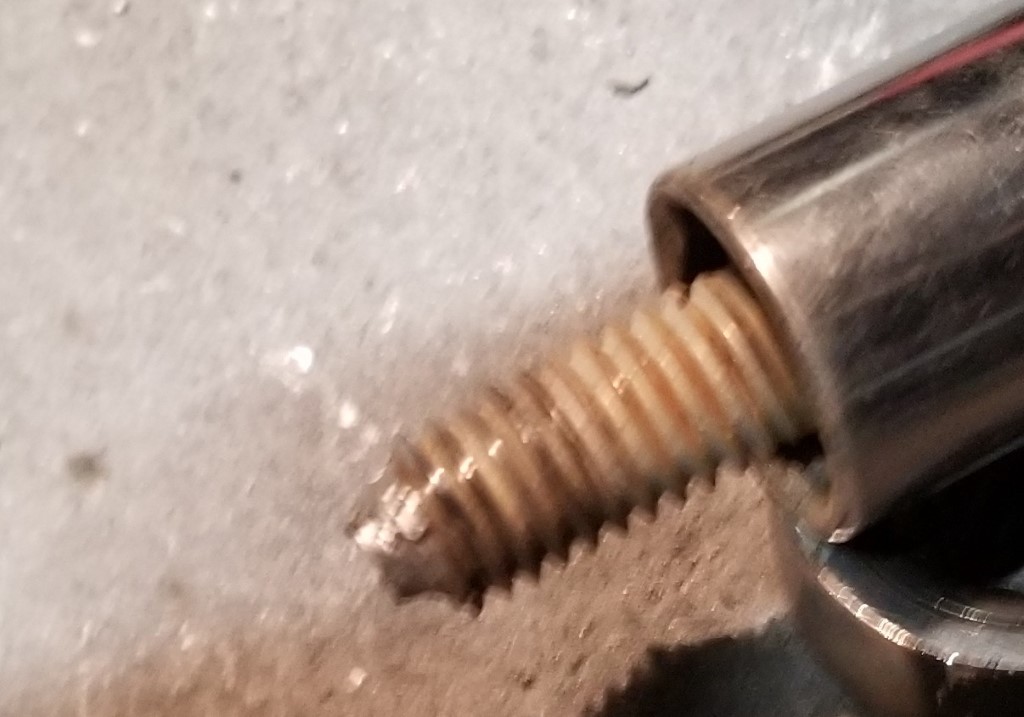
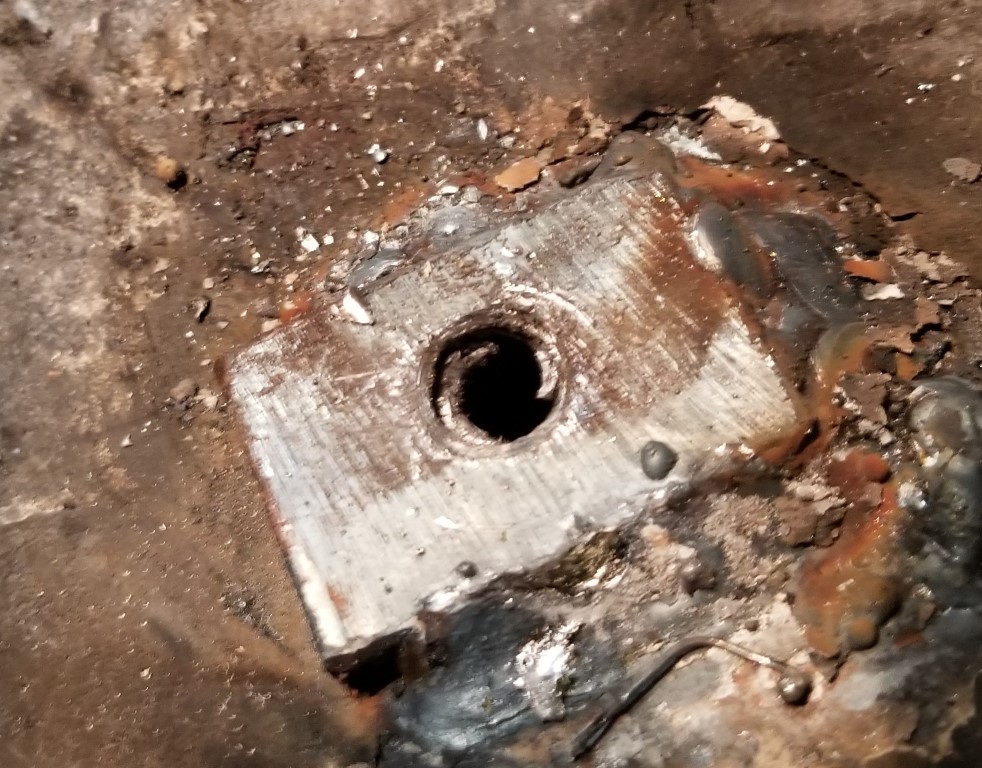
| Put the bolt in to give the ground clamp something to clamp to.. but in
this case, the bolt welded itself to the mount. | 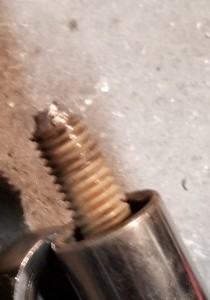 |
 |
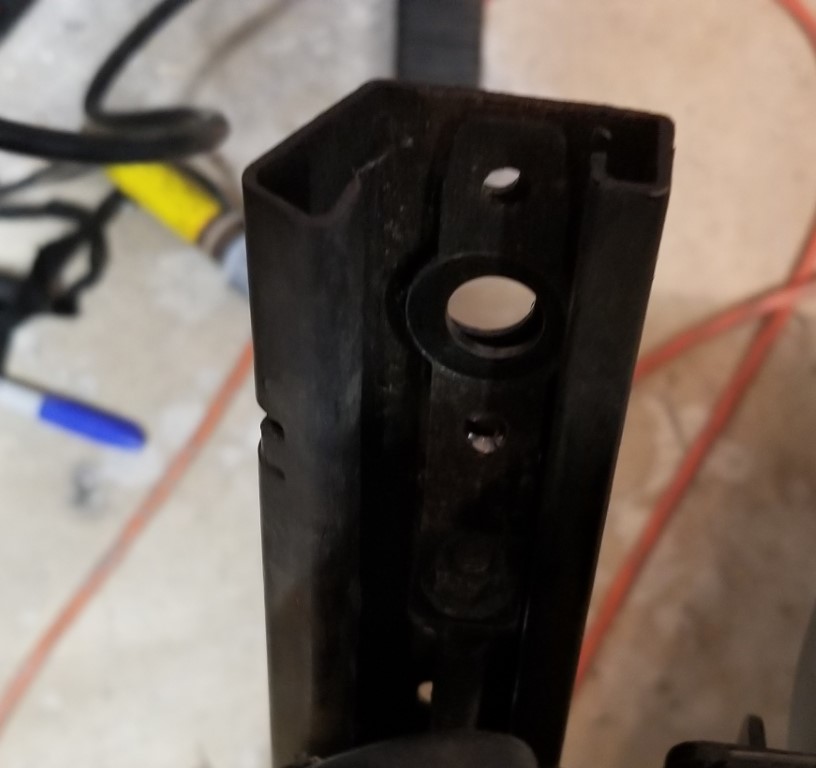
Here's the missing threads. A drill and a tap took care of this easily
enough. |
| Made brackets for the retractors for the seatbelts... tried something
new; these are "blued" like a gun. | 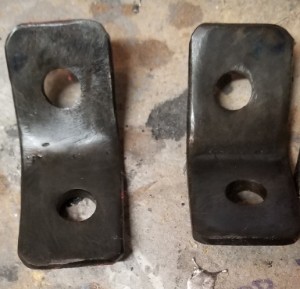 |
 |
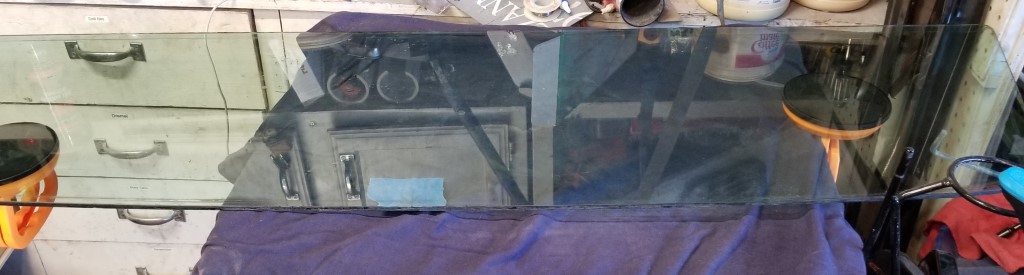
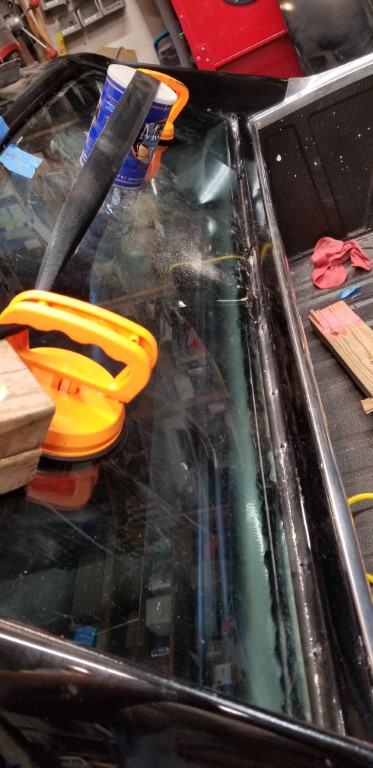
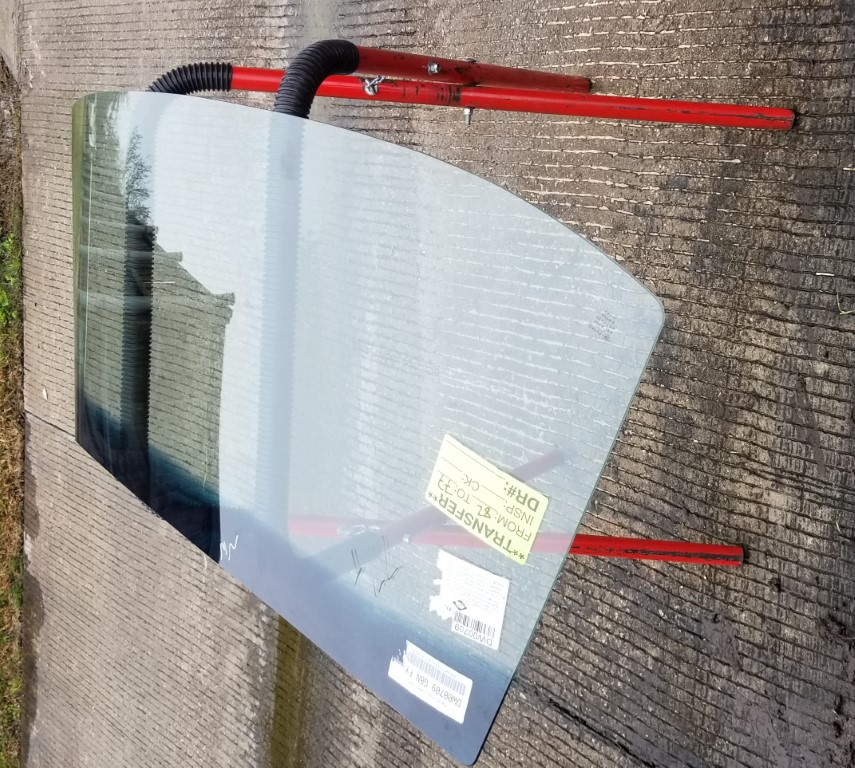
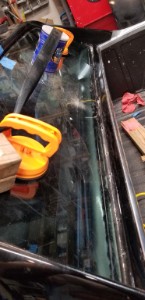
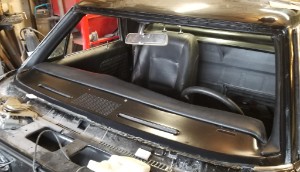
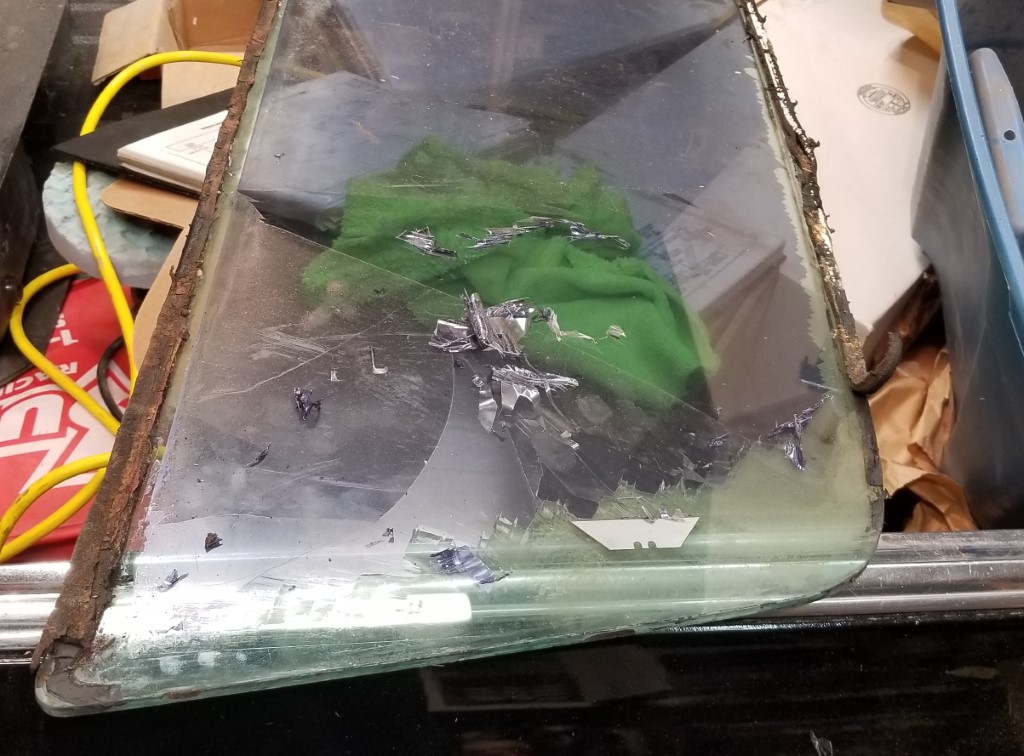
Brought the rear window down from the attic. Lots of tint to scrape. |
The doors are abnormally hard to open - by which I mean there's enough
tension on the striker that I can't press the button hard enough to open the
door; I have to use the inside handle.
This
thread on El Camino Central includes a discussion on when they're
backwards or not - with adherents on both sides of the aisle. There's
a linked video from Steele Rubber, though, that says this is wrong.
Sigh. Tear these free, clean the adhesive out, order new ones. |  |
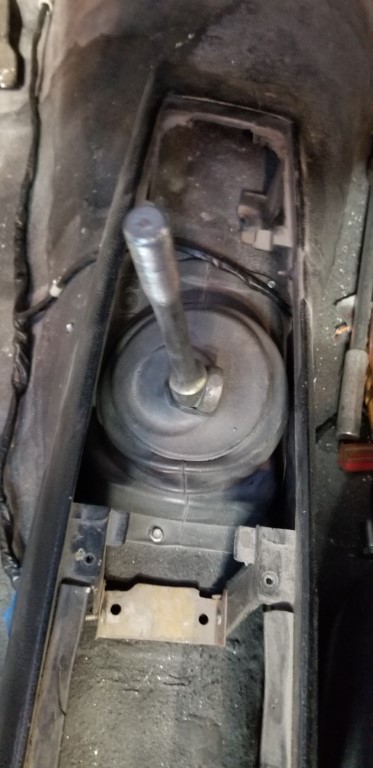
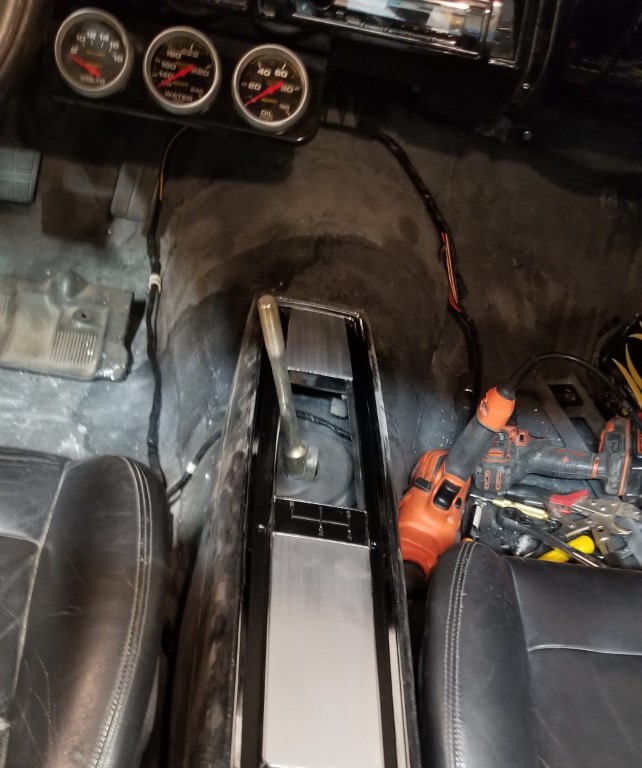
| Test fit of console with 4spd lid. The angle of the shifter handle
is going to be a problem - that is indeed hitting the edge of the console. | 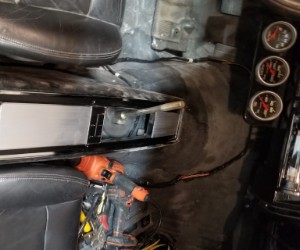 |
 Here's
how far forward it'll sit. Here's
how far forward it'll sit. | |
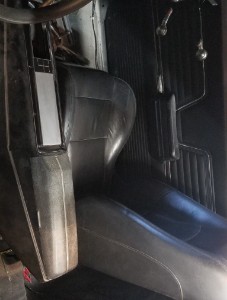
| After some additional cleaning (and removed for console work) |  |
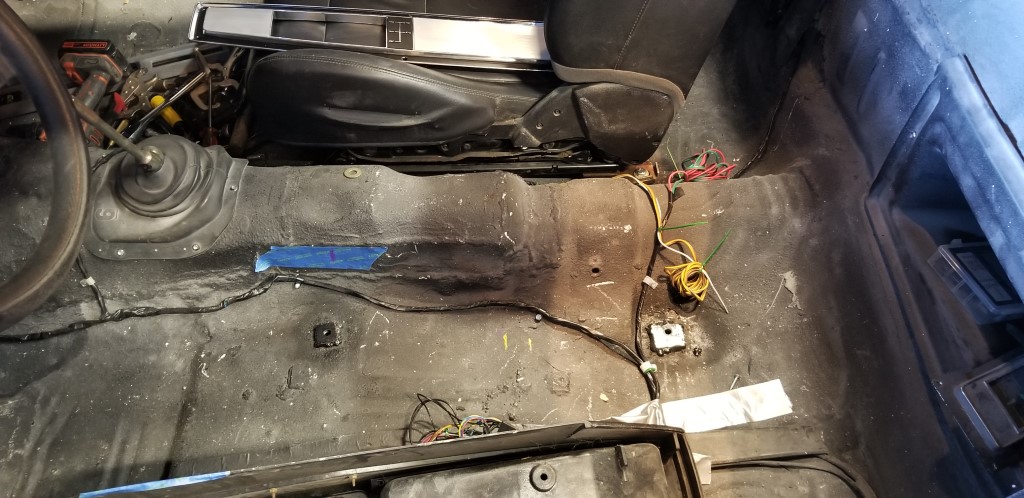
 |
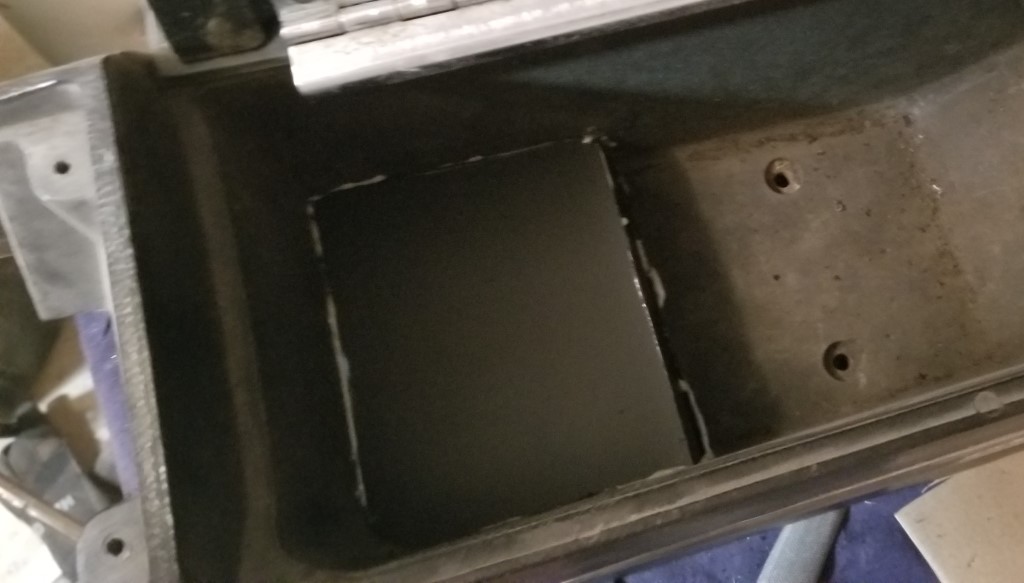
The profile of the tunnel is not what it once was. |
| Because of this, I need to cut part of the storage area away from the
console. | 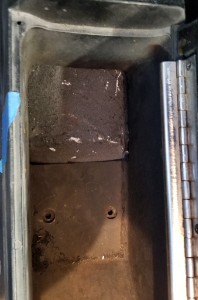 |
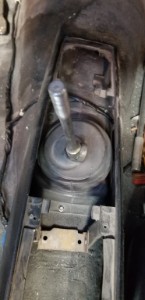 |
Maybe can't see it - but I put a washer between the bottom bolt and the
shifter, hopefully that helps the angle. |
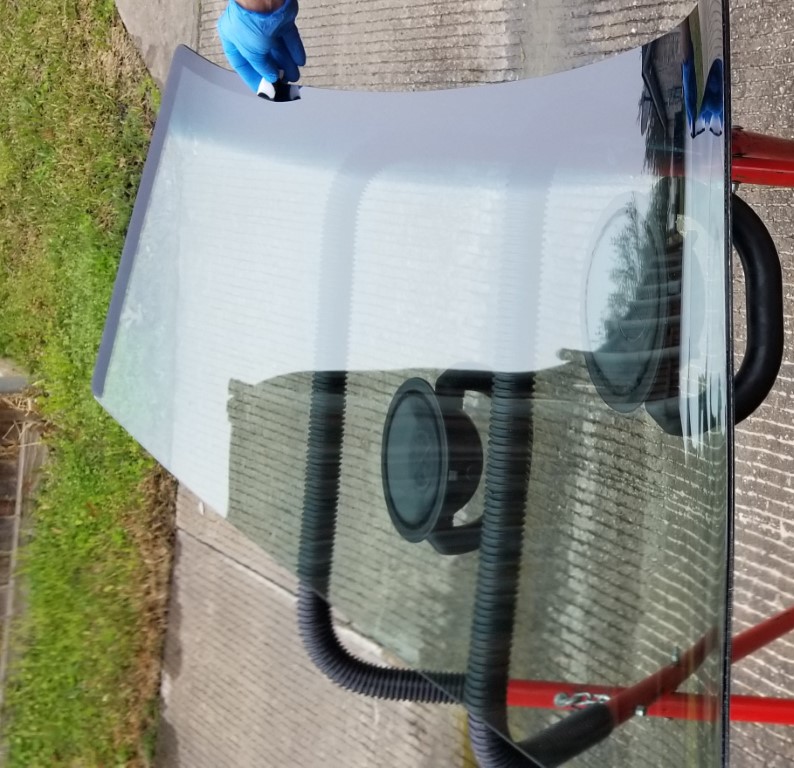
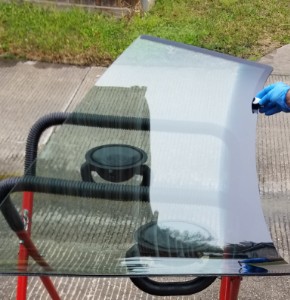
Rear window cleaned and ready for glue.
Side note: I destroyed
two caulking guns trying to dispense 3M Windo-Weld. I got it done but
I sure wasn't doing anything else with that forearm for the rest of the day. |  |
 |
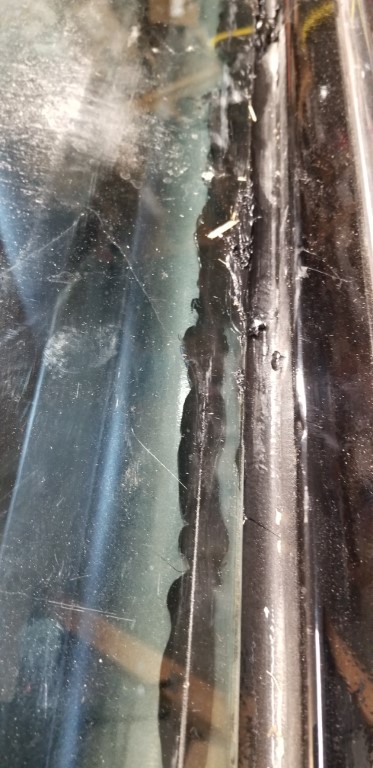
I didn't like the way it fit into the rear window channel - too much gap
here, etc. Forced better connection with a strap, probably not the
best idea. |
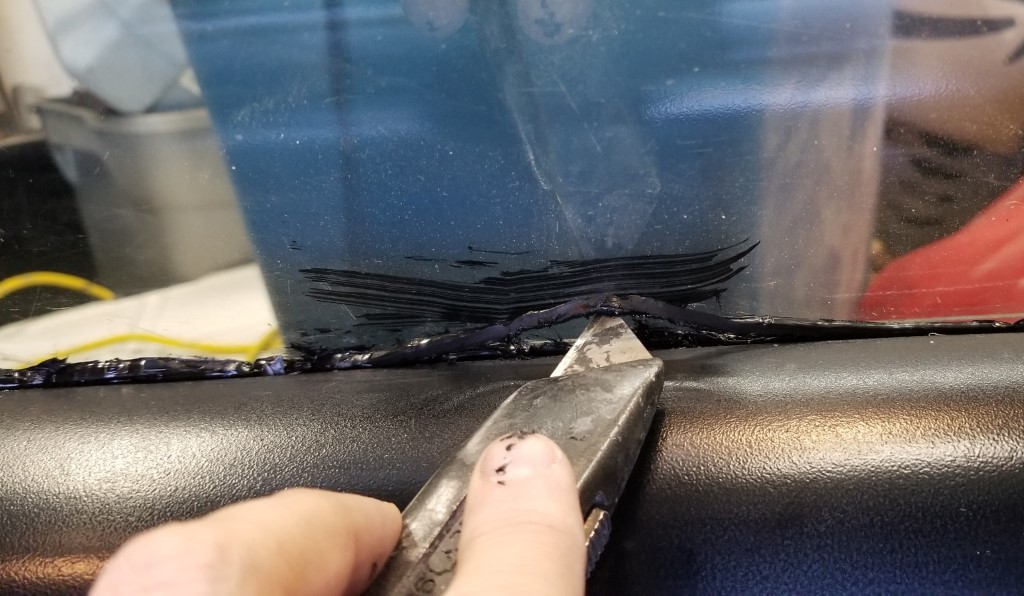
| Put the glue too high on the window at the bottom, now I have to clean
this up. | 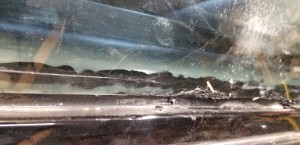 |
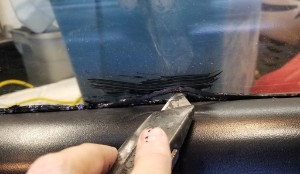 |
It's a mess that I really can't do anythng with until it's drier. |
| If you look really hard, you'll notice that I'm missing the trim at the
far bottom corner. I know I own it, but I don't know where I've put
it. | 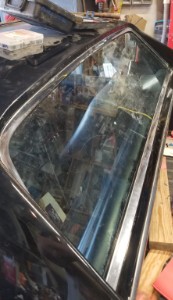 |
 |
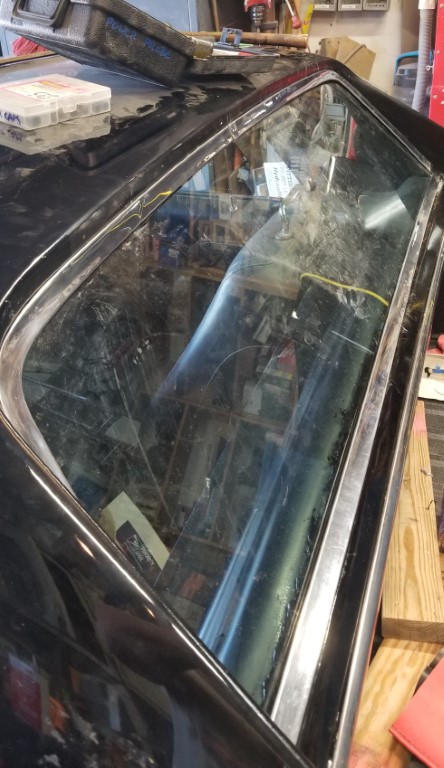
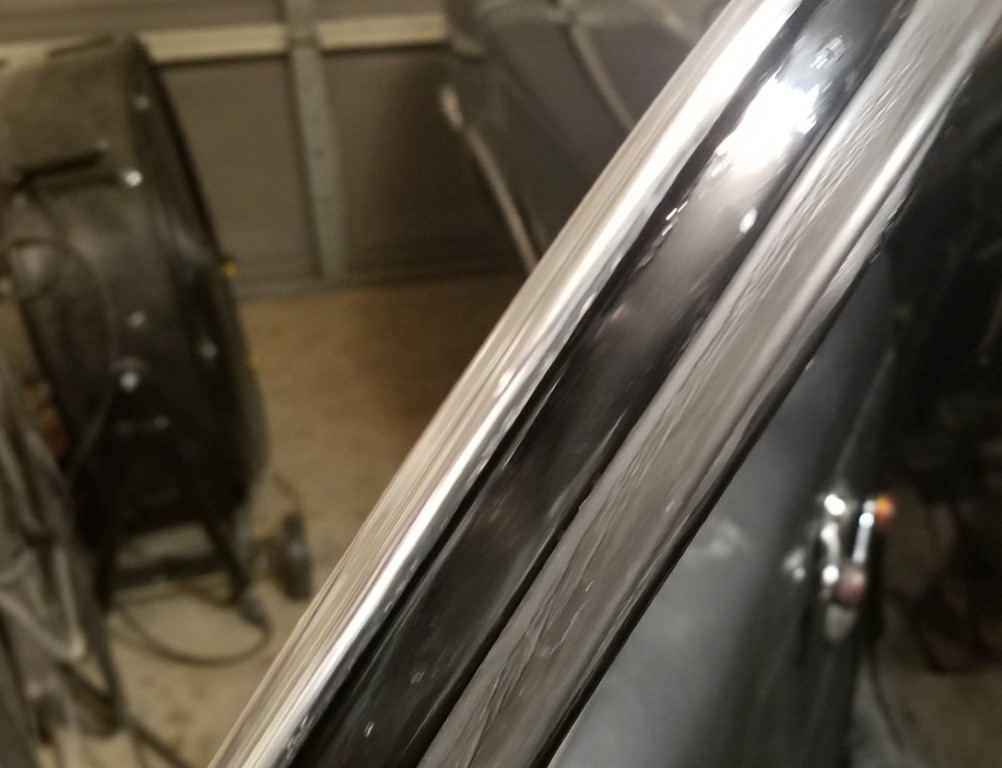
And then came the windshield guy. Here he's scuffed the windshield
channel and applied the glass-primer. |
Shiny! I was surprised that they ordered this the night before
(they didn't ping me until COB the afternoon prior to ask if I needed the
antenna embedded or not).
The glass is from Fuyao, who I'd never
heard of, but apparently is one of the biggest.
Absolutely
disappointed with Safelite and Auto Glass Now - both let me go through the
online quote process - even had drop-down options for the year - but after
they quoted and got me to a live person, both announced that "they don't do
cars over 25 years old."... then why on earth is it even an option to get a
quote?
Glass Doctor, on the other hand, was a joy to work with. | 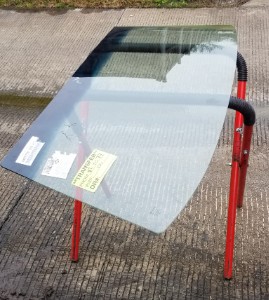 |
 |
He's priming the glass too |
Shiny!
Along the same line as the missing trim for the back - I
found the top and pass stainless, not the driver nor the big bottom piece.
I own these too, and I'm sure I put the bottom somewhere clever. | 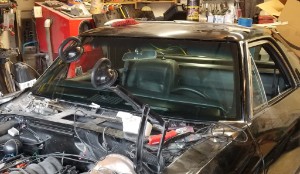 |
 |
The new weatherstrip is mounted in the other direction and the door is still
impossible to open.
More work required. |
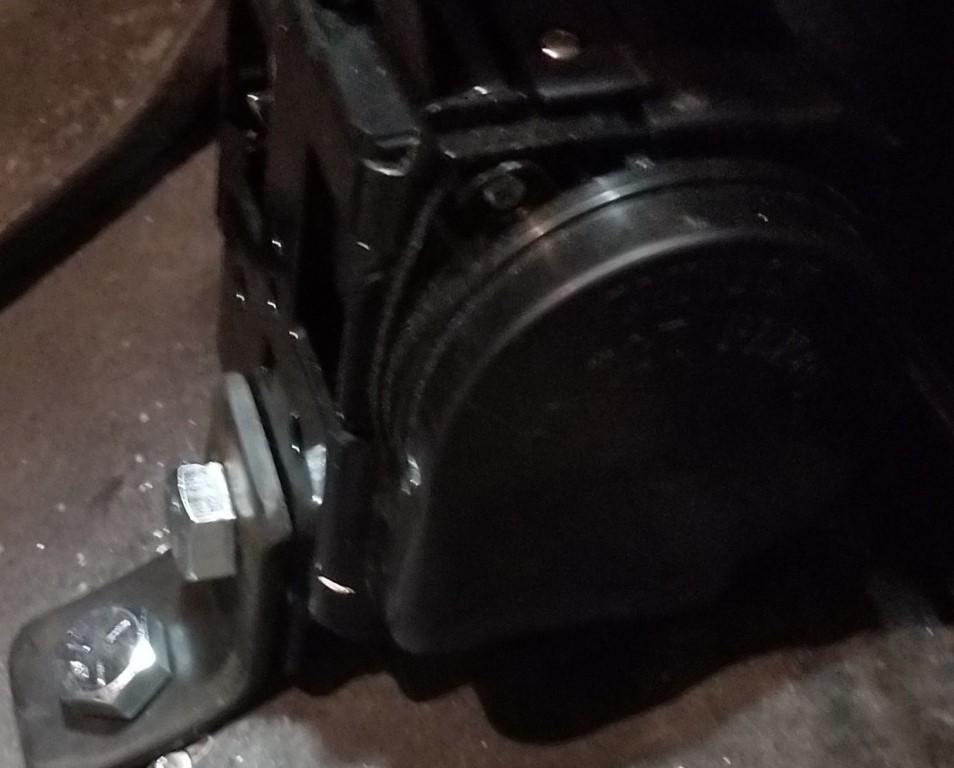
Retractor is mounted.
Minor miscalculation: the retractor mount
needs to go directly above the frame rail here. I made a plate to go
underneath to receive the bolt... but there's only about 3/8" clearance
there, I can't push the plate into position. Got this one in place
with luck, got it pop-riveted in place, so it should be good but what a
pain! |  |
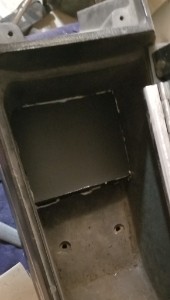 |
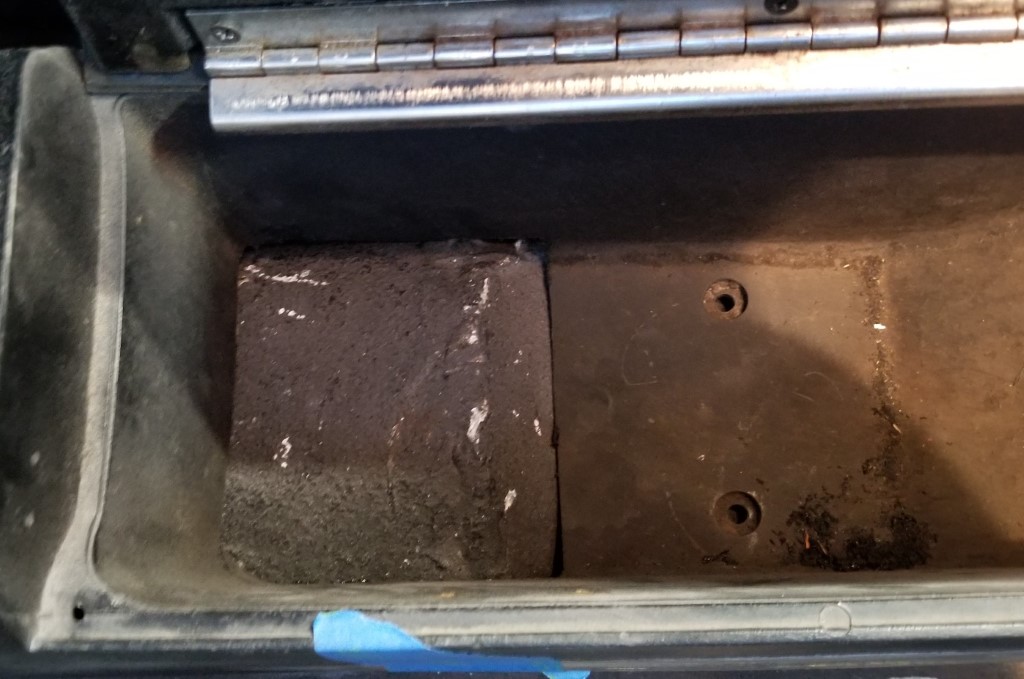
First pass on the cutout area in the storage.
Still needs work. |
| Still shiny! | 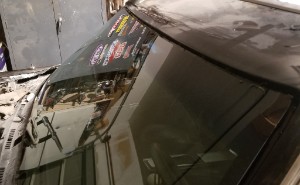 |
Had hand surgery Monday so probably a few weeks before next update. Hopefully between here and there I'll find the missing trim.
Oh! The carpet is here too, just need to get the console and the other retractor mount done before I'm ready to start on that.


 Here's
how far forward it'll sit.
Here's
how far forward it'll sit.